|
The F-14 is one of my favorite modern aircraft. One
day while cleaning up my hobby room and tinkering with ideas for a
new project it occurred to me I didn't have a single example of a
Tomcat in my completed model collection. When deciding to model the
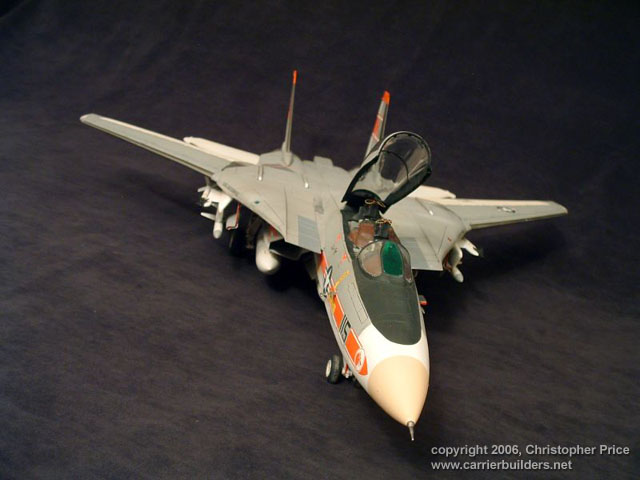
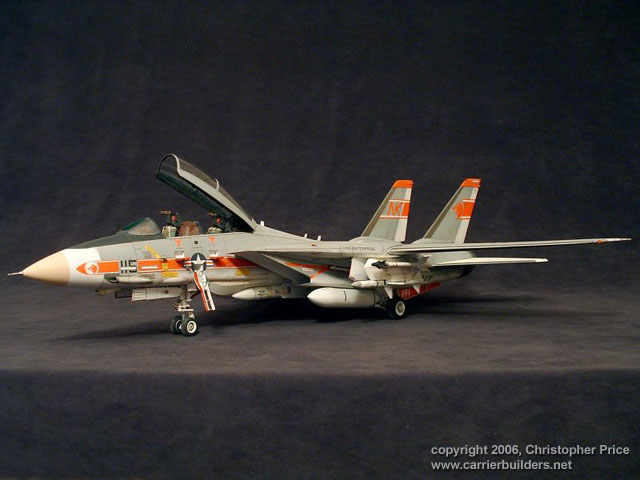
F-14 I had to decide on a scheme and a scale. I really love the look
of the VF-1 so I decided to model an early F-14A. For this subject
matter the decision was made to not over-weather the model as my
goal was to show a fairly new tomcat in the bright orange scheme of
the wolf pack…
In searching for a suitable model I stumbled upon and purchased an
old 1/32 Revell Tomcat on Ebay for $15. (Having built this model
when I was a kid the feeling of nostalgia was too great to opt for a
more practical 1/48 scale kit and the price was just right!) The
Revell kit, although not as detailed as the Tamiya kit, is a great
kit for the money considering the Tamiya 1/32 kit is anywhere from
$70-$120 and the front fuselage has raised panel lines, where as the
Revell kit has recessed panel lines all around.)
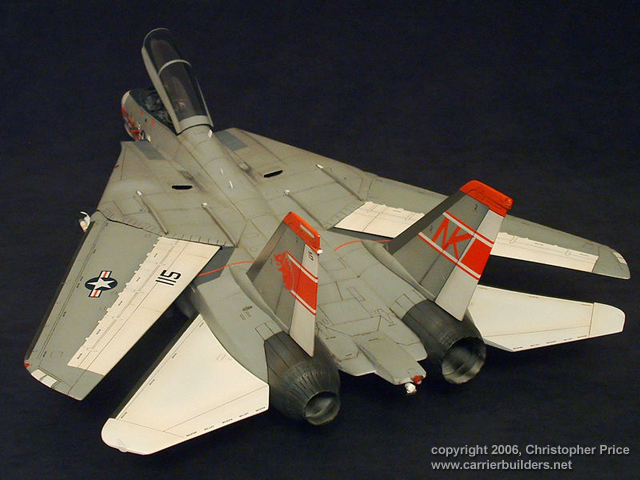
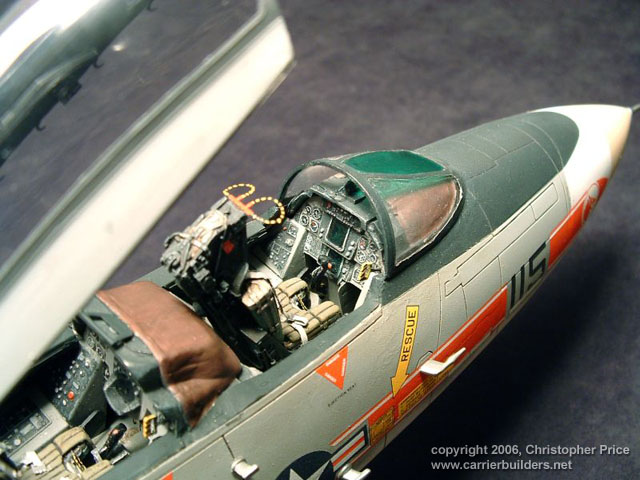
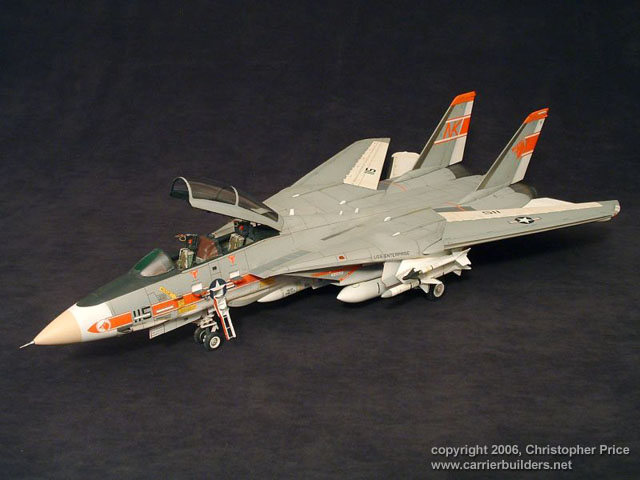
The main flaws of the revell kit, especially on the
early 1981 version, are the engine nozzles and the cockpit. To
correct these short falls I used resin ejection seats from Teknics,
the Eduard photo-etched F-14A interior fret, and a set of nozzles
from the Tamiya f-14A kit. I also replaced the kit decals with those
from CAM.
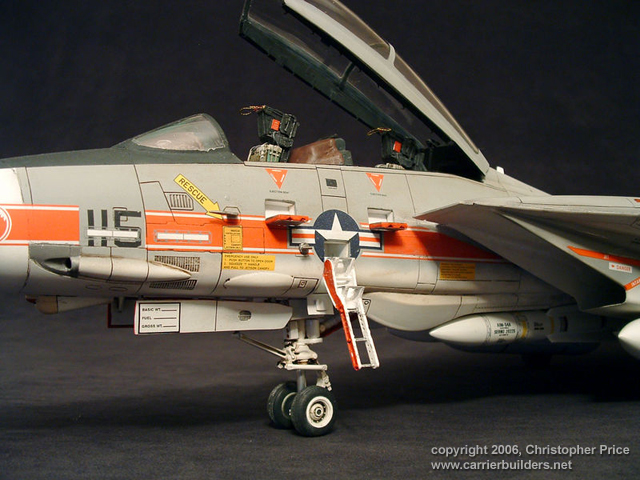
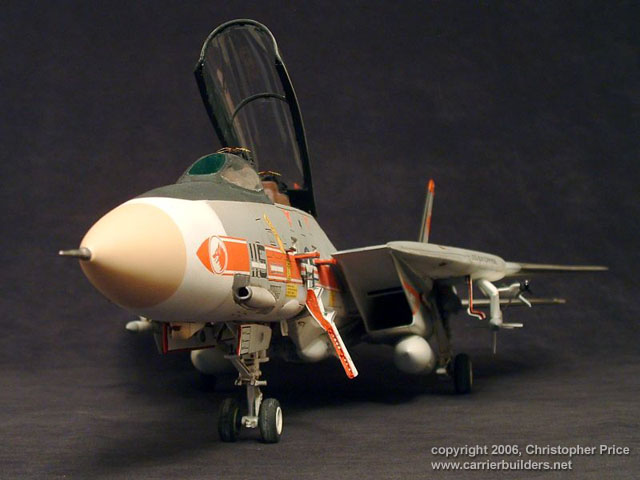
To add interest to the kit I decided to extend the boarding ladder.
The Revell kit does not give the modeler the option of showing the
boarding ladder extended so the parts were scratch built from
styrene strip, brass sheet, and brass rod. (I was inspired by an
F-14 built by Kaan Gok which can be seen on Aircraft Resource
Center's Gallery www.aircraftresourcecenter.com)
The landing gear on the Revell kit are also in sore need of extra
details. I used polished aluminum tubing for the oleo struts and
various small gauge wires for hydraulic lines etc. HO scale train
light lenses were used for the landing lights on the nose gear. This
particular kit came with rubber tires which I've been told
deteriorate of the years. The tires the kit came with this kit
looked fine to me even though they were 24 years old so on they
went.
The painting was done almost exclusively with Tamiya Acrylic paints
on top of automotive lacquer white primer. I used Alclad II for the
bare metal parts.
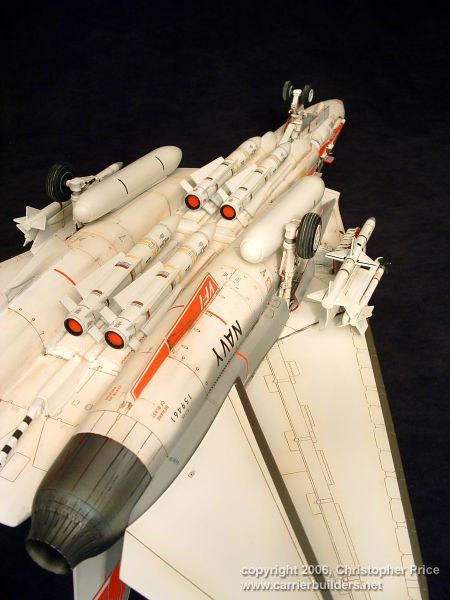
The kit doesn't come decals for any of the f-14's weapons. I used
Two Bobs decals for the Sidewinder and Sparrow missiles and printed
my own for the Phoenix missiles. A modeler by the name of Jeffery
Brundt was kind enough to email me the digital file he used to make
his Phoenix decals on his own F-14 build. The application of the
weapons decals was the most tedious part of the build.
It took a while to build and has been through it's share of
difficulties but all and all I'm very happy with the finished plane.
I hope my fellow modelers appreciate it and can find it as a source
of inspiration when tackling their own projects.
References: "F-14 Walk Around" book from Squadron/Signal, and
various pictures from the internet and other print publications.

Sincerely,
Chris
Photos and text © 2006 by
Christopher Price
October 10, 2006
www.carrierbuilders.net |