|
Tomcat was created as result of US Navy’s
VFX program back in late 60s. Designed as a variable geometry aircraft,
she was one of the “swing-wing” trends in that era, which is proofed
success. Tomcat can successfully accomplish her role both as fighter
interceptor and as ground-attacker.
Tomcat’s career was not only in military area but also as a famous film
star. Her aura is so strong to affect anyone who loves aviation.
Hasegawa has released this mighty aircraft in model forms more than two
decades ago, and in 1/48 scale, there’s still no equal yet in terms of
shape and quality.
There are a lot of articles on this model and I prefer not add more. In
short, it is not a shake-and-bake kit at all. A lot of dry-fitting,
filling, sanding, correcting, updating and of course, cursing, but it’s
all worth the effort.
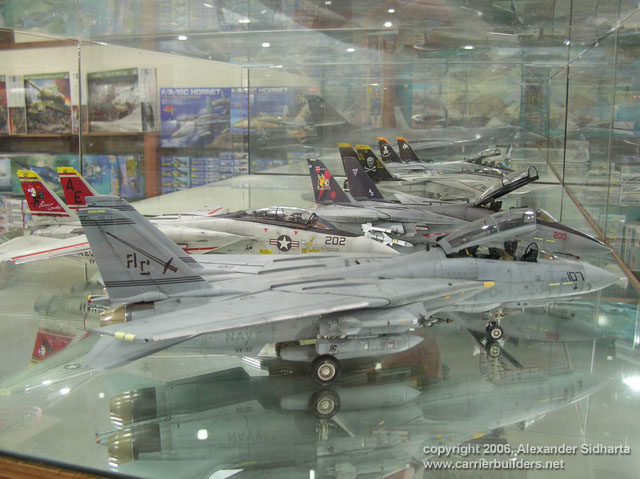
I built this model as part of our local modeling club group-build themed
“Farewell to the Cat”. There were 13 who signed to finish the models on
Dec 31, 2005 but only 5 succeed. All of the finished models are now on
display at our local hobby store in Jakarta.
I used old Hasegawa F-14A+ kit that I bought more than 15 years ago. The
kit did showed its age. Fuselage wrapped, decal yellowed badly, some
broken parts, etc. More challenge, I think…
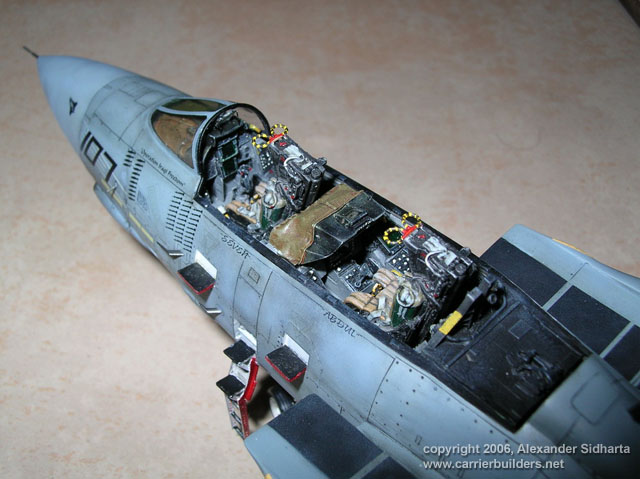
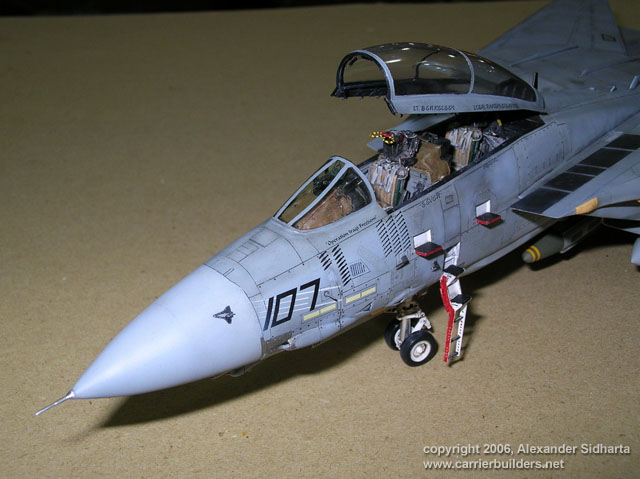
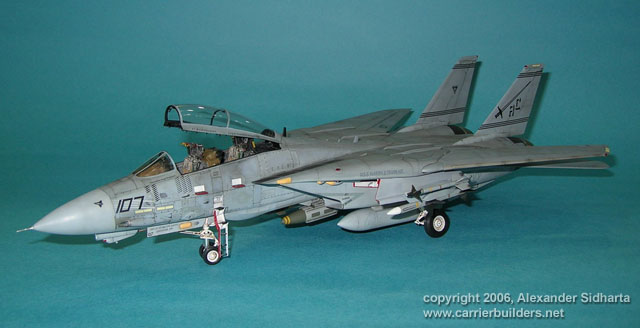
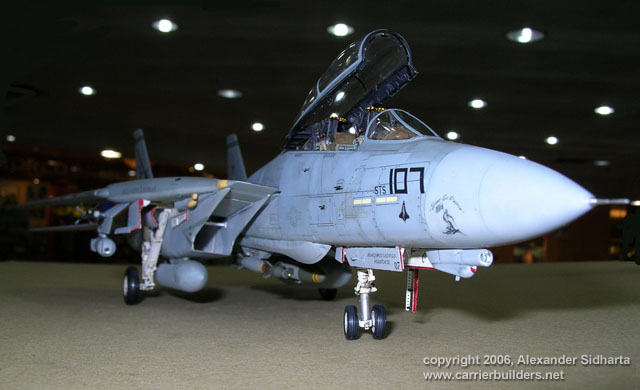
I decided to model this particular bird mostly because its nose-art. It
was for a memorial of the Columbia tragedy.
I received help from my friend Brian Marbrey, a Tomcat fanatic who knows
this bird inside-out. We talked a lot especially about this particular
bird, Gypsy 107.
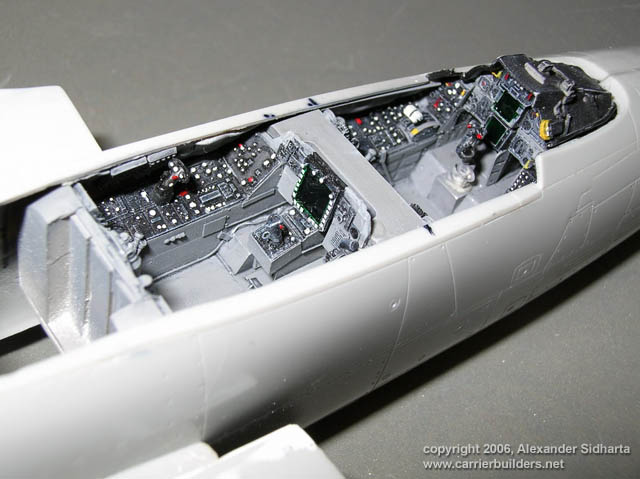
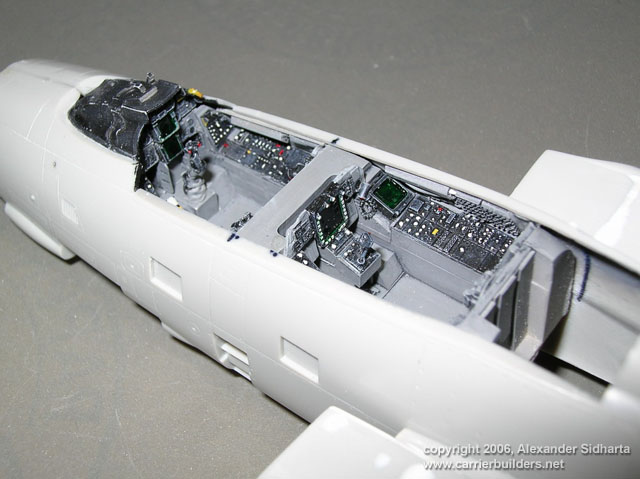
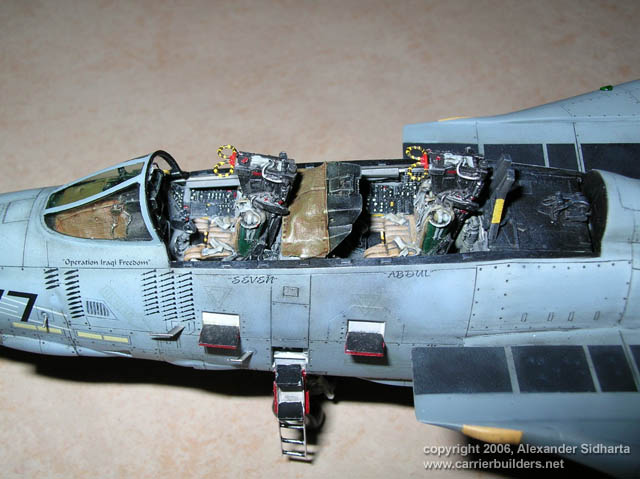
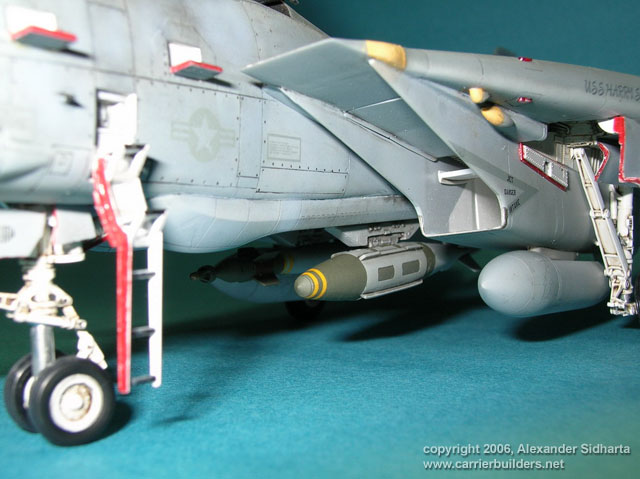
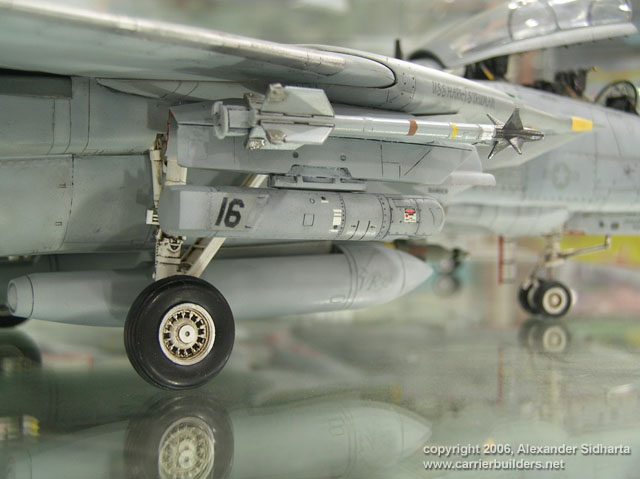
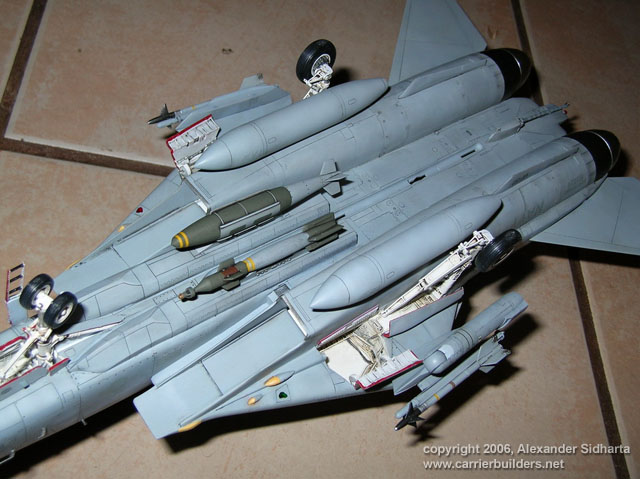
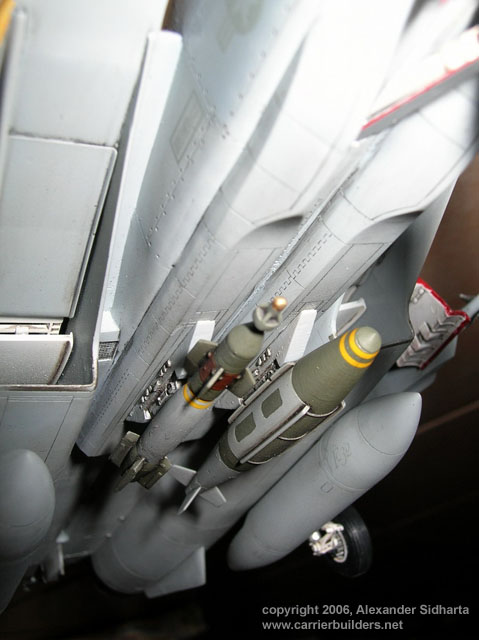
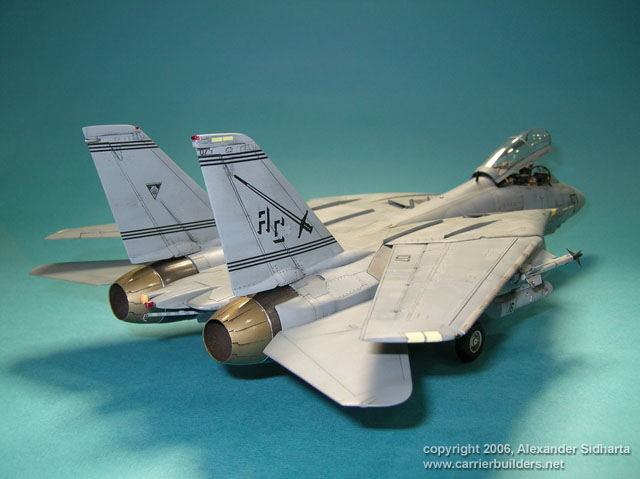
I have to make a lot of modifications and
updates to the model to make it as accurate as possible. Blackbox F-14
Bombcat set for the cockpit, Eagle Design Bombcat set for the LTS (LANTIRN
Targeting System) pylon, BOL launchers, and bomb racks, Hasegawa Weapon
Set for the LTS, JDAM and GBU. I scratch-built the GPS dome,
plate-strengthener around the aft-footstep, silver-colored exhausts
rings, and flap hinges. Eduard photo-etched set was also used to add
tiny details to the models.
Inserting the resin cockpit was quite difficult but with a lot of dry
fitting and references in hand, it could be sandwiched inside the
fuselage halves. Not a perfect “sit” though but I think it’s enough.
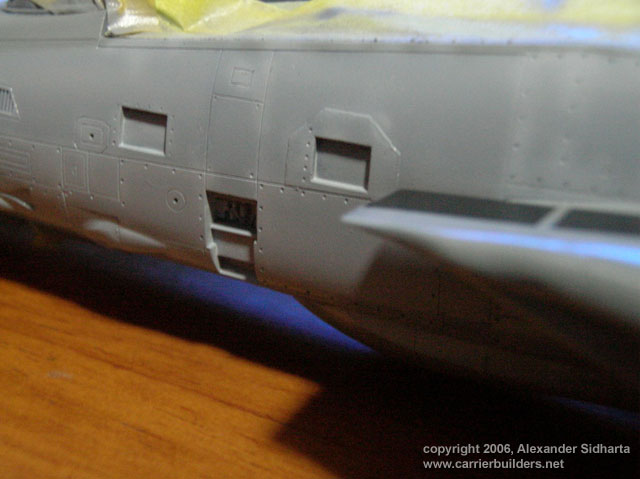
Other parts were built as per instruction. Some great articles on
building this model taken from Internet were very helpful, although some
problems still rose due the age of my kit.
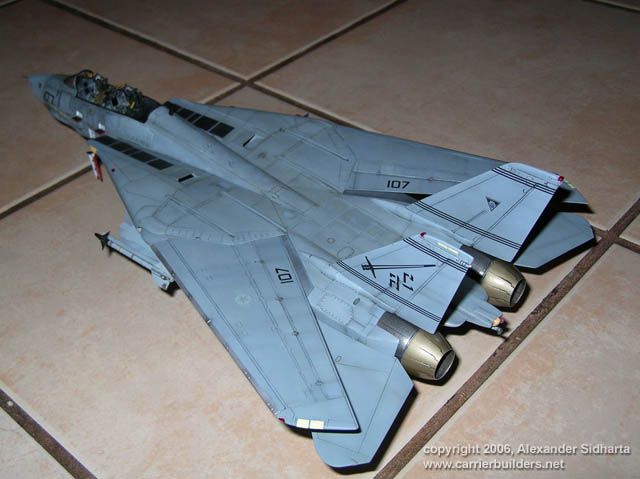
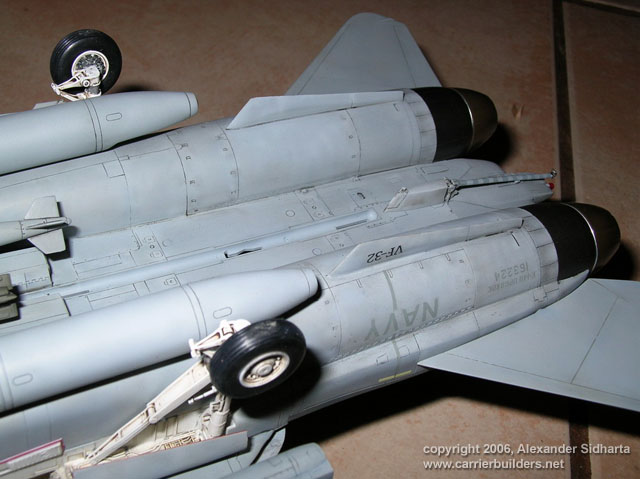
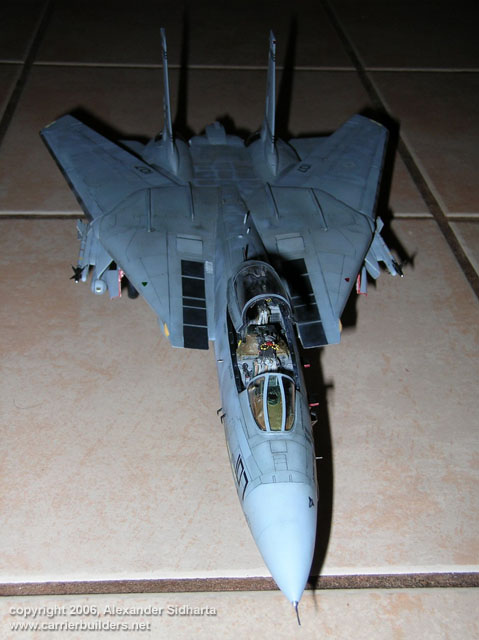
I used Gunze lacquer paints for this model and I love the result. The
colors are spot-on and they are very durable. I didn’t have to spray
clear coat for protecting the colors before weathering. Decal is my
trusty TwoBobs. It’s one of the best decal producers so far.
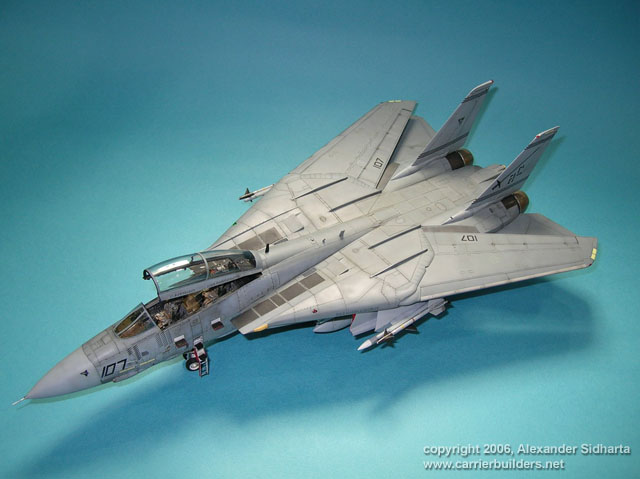
I opted to keep the model quite clean and beware, it’s easily over-do on
weathering US Navy aircrafts. I sprayed some toned-down colors to some
areas based on the real aircraft’s pictures. References should be always
in hand during this stage.
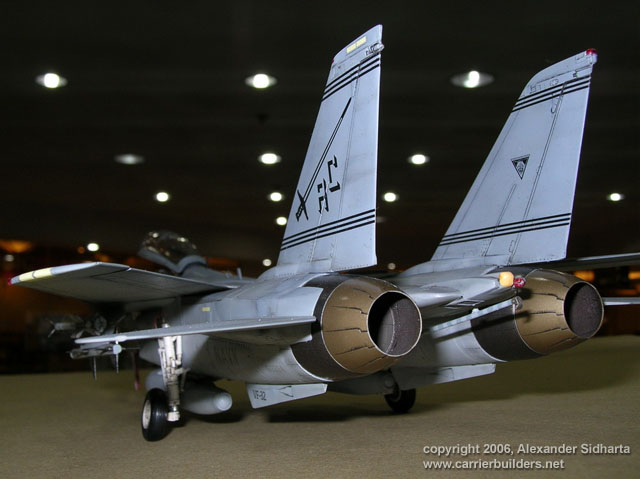
Then, oil paints were deliberately washed to highlight the panel-lines.
Some oil streaks, dirt, etc were simulated using Tamiya’s Weathering
Set. It is pastel tiny grains that work best on dull surfaces. Tamiya
includes an applicator also.
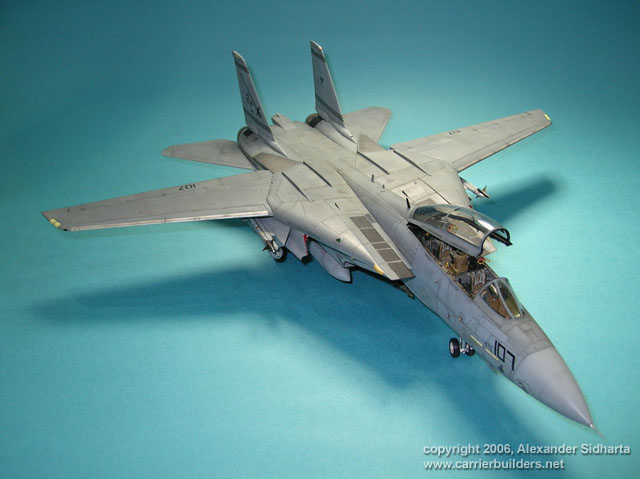
Final step was, of course, sealing all paint works using Gunze’s Flat
Spray. Canopy, Windshield, antennas, and other details glued in place
and finally… my first Hasegawa 1/48 Tomcat model is done exactly at the
deadline date.
Photos and text © 2006 by
Alexander Sidharta
August 06, 2006
www.carrierbuilders.net |