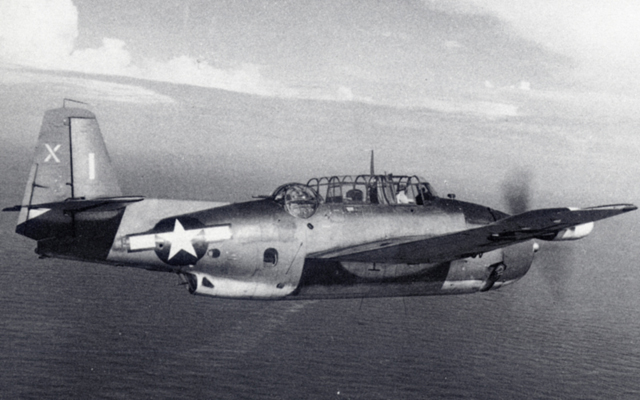
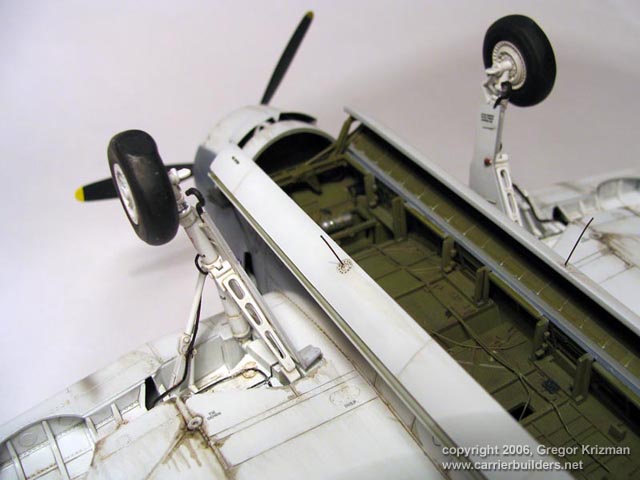
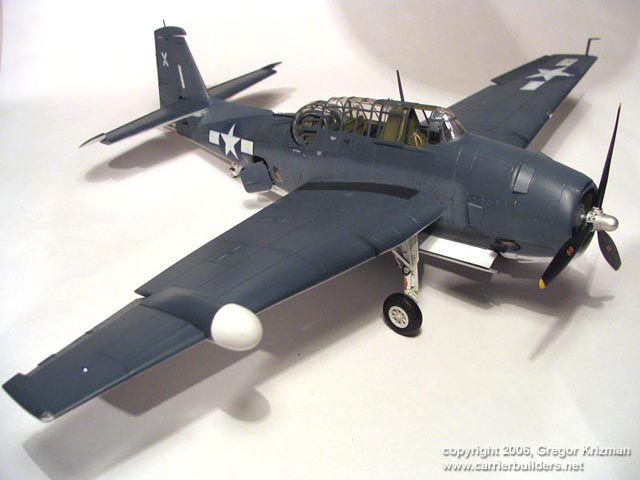
Avenger is one of my favorite airplanes and when I saw this re-boxed Avenger in my local hobby shop, I couldn't resist. There is no doubt that the Italeri just re-boxed Accurate Miniatures kit (and I'm glad), and lowered the price of this excellent kit. Box itself contains a huge decal sheet for six different versions, and I decided to build TBM-1D radar version, flown by LT. cdr. JD Melvin, commanding officer of VT-51 abroad San Jacinto in 1944.
The model
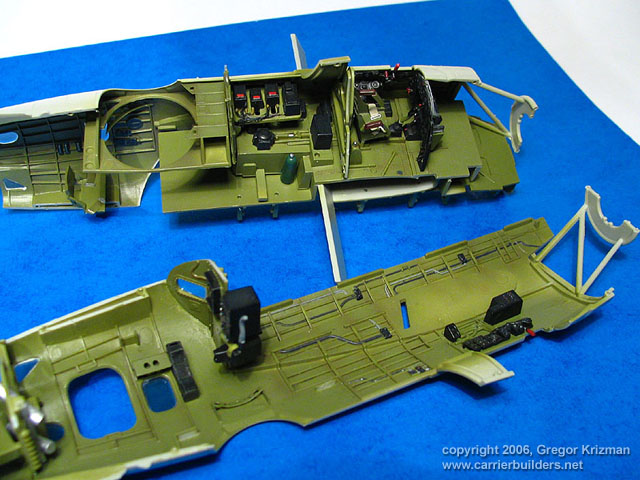
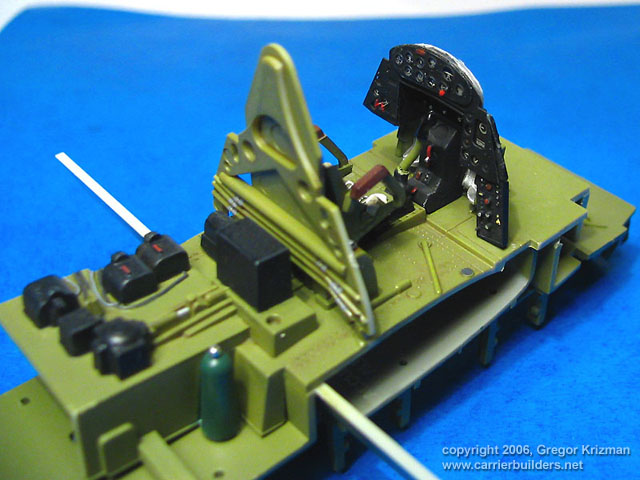
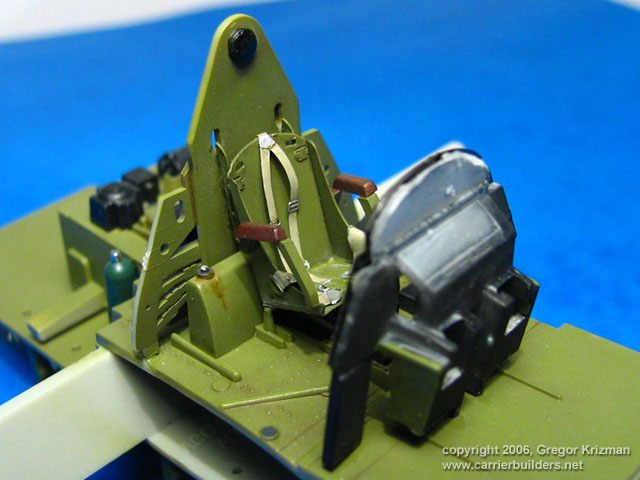
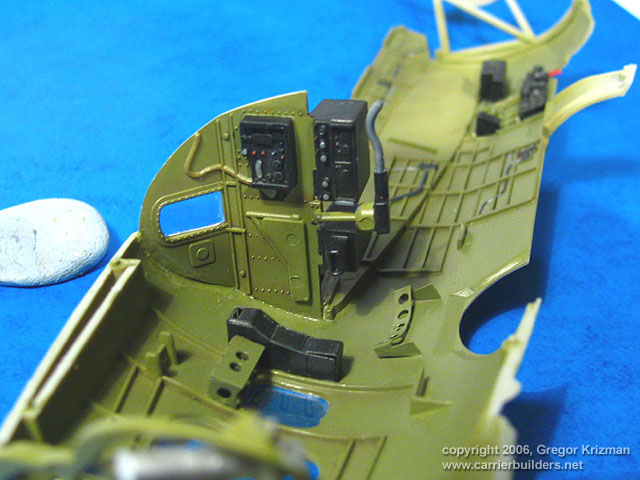
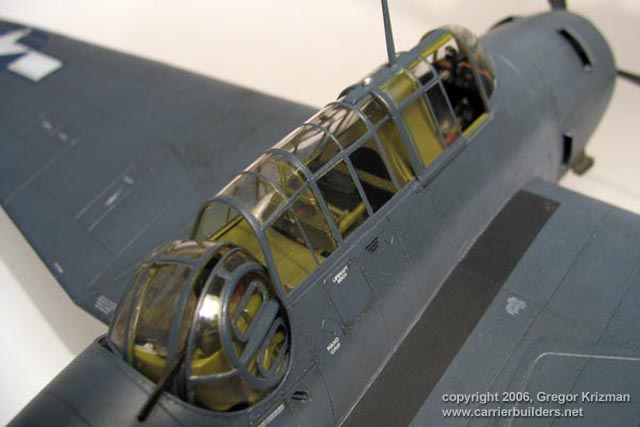
was slightly enhanced with Eduard PE set, which contains some cockpit
bits, cowl flaps, seatbelts,
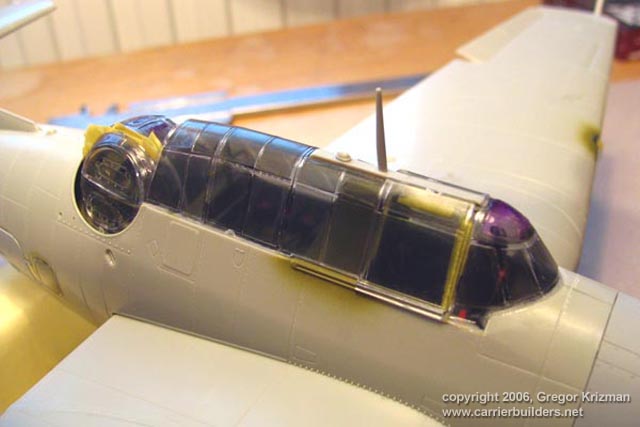
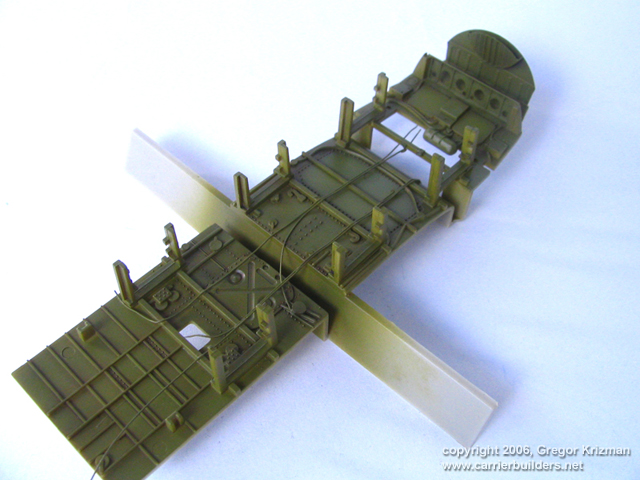
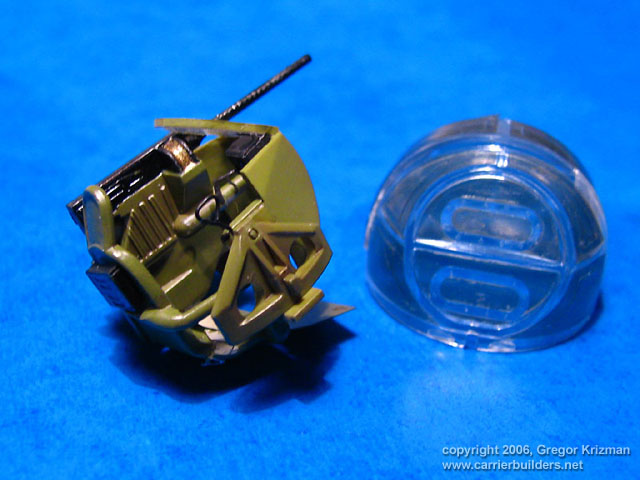
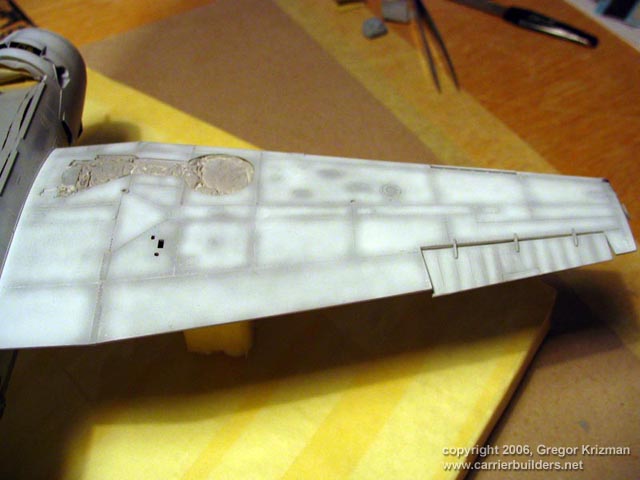
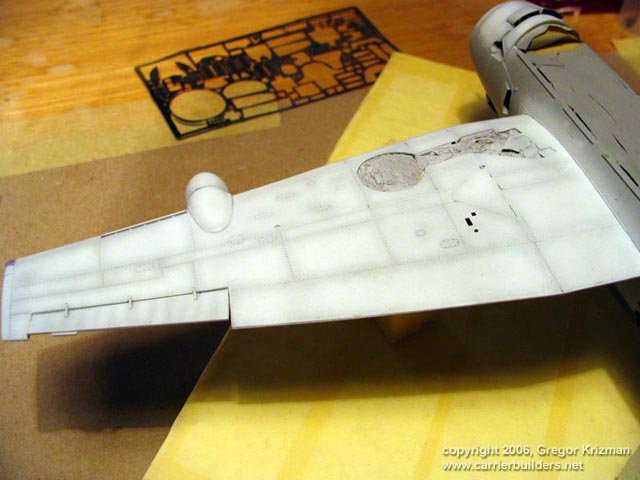
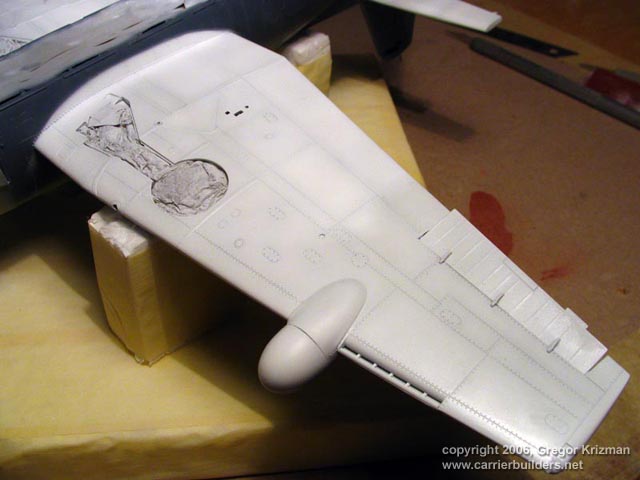
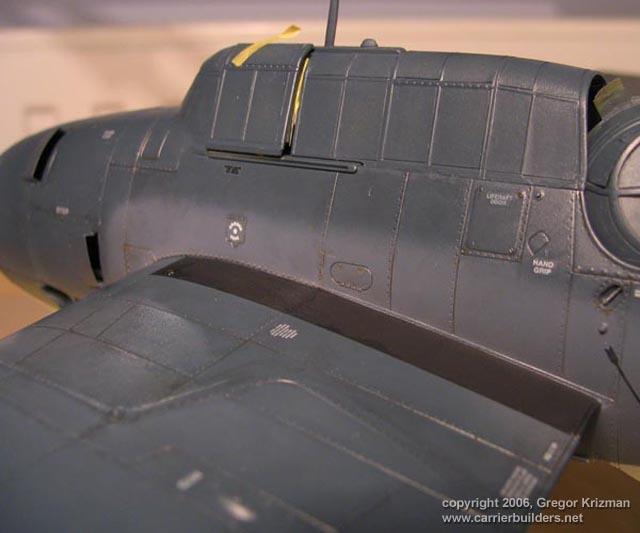
Wing parts went together with no problems, there are however some sink marks here and there, so they were filled with Mr. Surfacer and sanded smooth. After the model was glued and sanded, it was time to put on clear parts. I have a habit to glue them before painting as they blend in better. Masking the transparencies is a nightmare on this aircraft, so excellent Eduard masks were used. Note that because of gluing the transparencies at that point required that gun turret was installed. After that, the model was wiped off with alcohol and ready for first coat of primer.
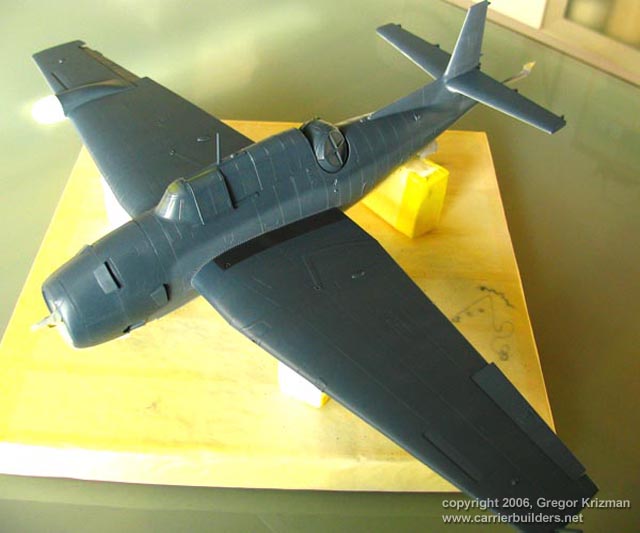
After
priming, the model was sanded smooth using 1500 grit sandpaper. Primer
was used as a base coat for painting and because of that, it makes a
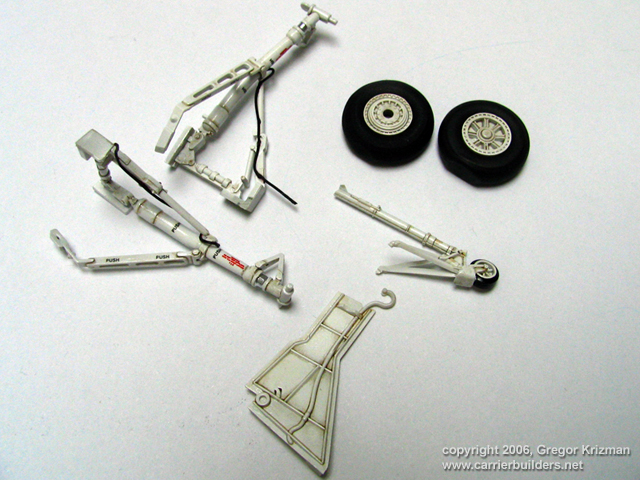
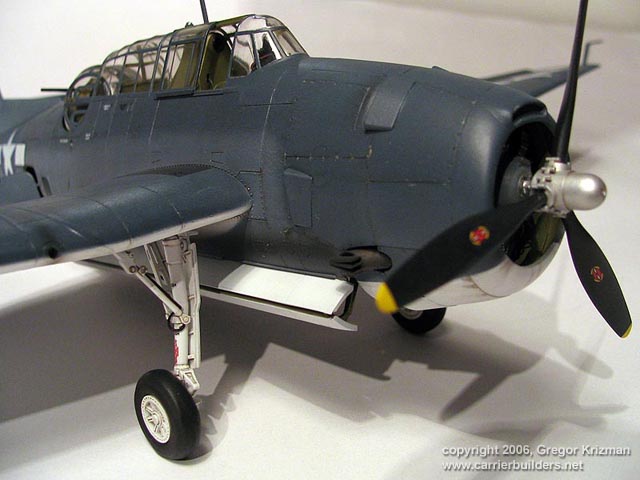
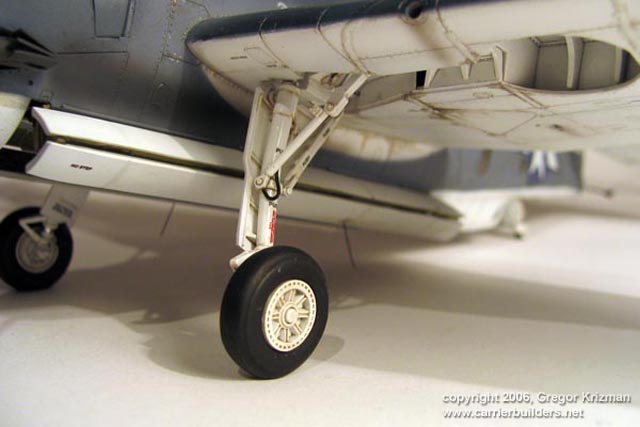
good base for preshading the model. First I painted the undercarriage
with Tamiya Gloss white, mixed with alcohol. I used light coats of paint
and cover it so some spots of primer were still visible.
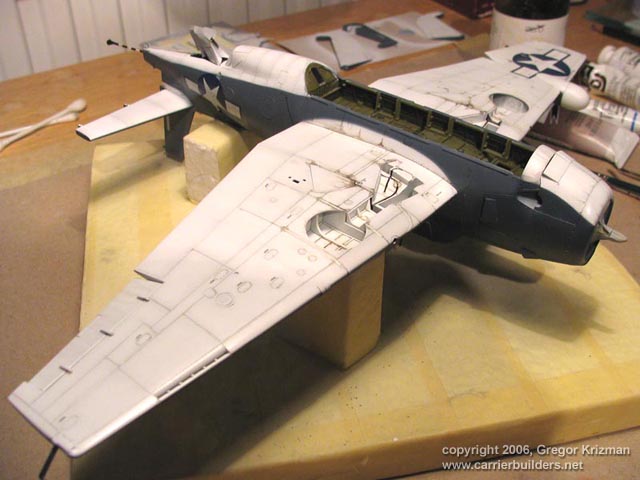
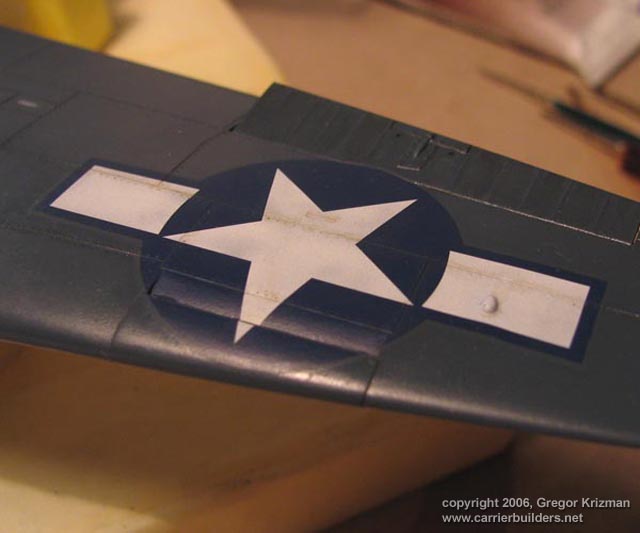
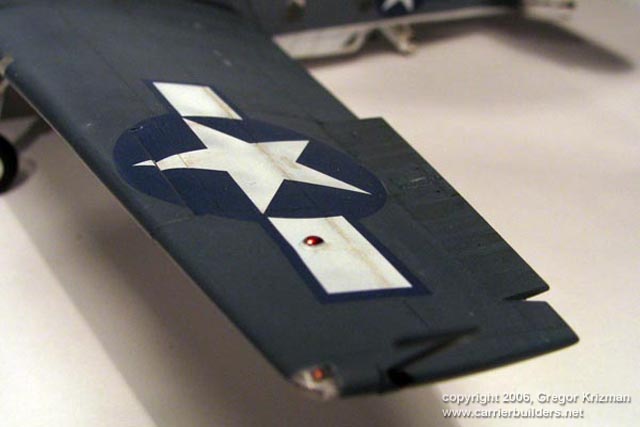
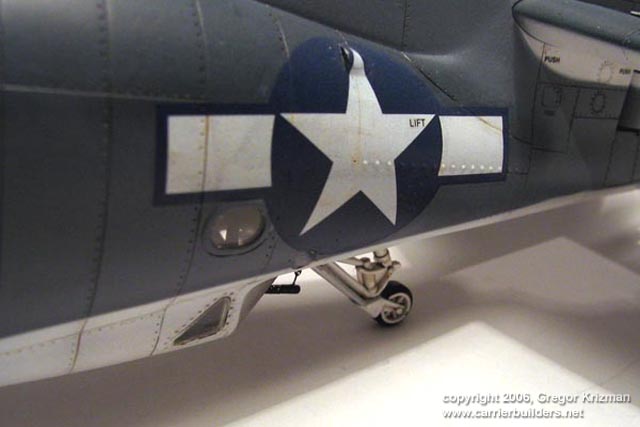
After the model was set up to dry for a week, it was time to put on the decals. They conform well with some help of Microset and microsol. After the decals were applied, i used very thin mixture of base paint to tone them down a bit.
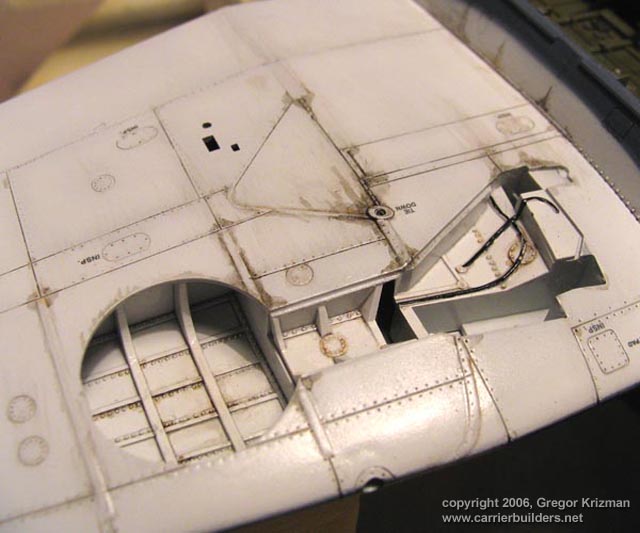
For a weathering I use artist oils mixed with turpenoid. Since the base paints are acrylic, i apply wash without any barrier coat (future). I used Raw umber, black and burnt sienna to create oil spots and streaks, and panel dirt.
After being satisfied with weathering effect, it was time to lay down a flat coat. For this i use future mixed with Tamiya flat base. Be careful not to mix too much flat base into future as your model will turn out white! Mix it in 20:80 ratio or even less. When the flat coat was dry, it was time to unmask the canopy, to paint signal lights, attach undercarriage, antennas and other small parts.
Italeri; or should I say Accurate Miniatures kit is probably one of the best kits made. Though the instructions are really hard to follow and the paint instructions are all wrong, it is a challenging kit to build. Just take your time, do lots of dry fitting and the result can be fantastic. I recommend it to the experienced model builder.
Photos © 2006 by Gregor Krizma May 22, 2006 |