|

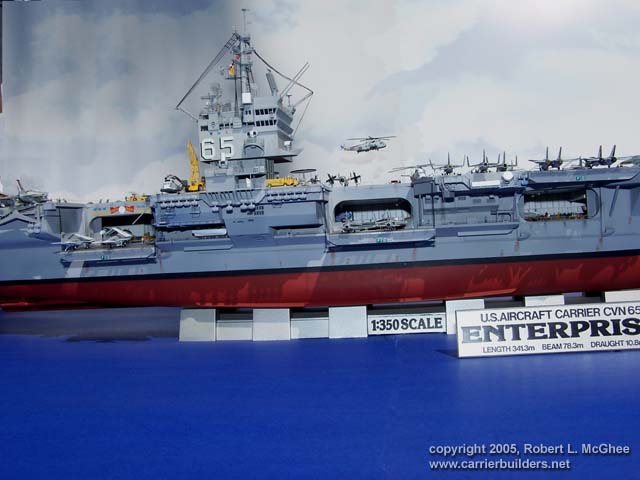
I started this build of the
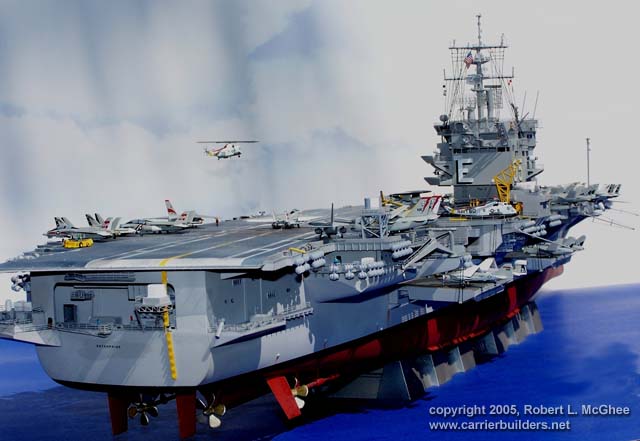
Tamiya, 1/350 USS Enterprise in November of 2003 and completed it in May
2005 with a 3 month delay in building, due to two hurricanes which
heavily damaged my Florida home in Sept. 2004.
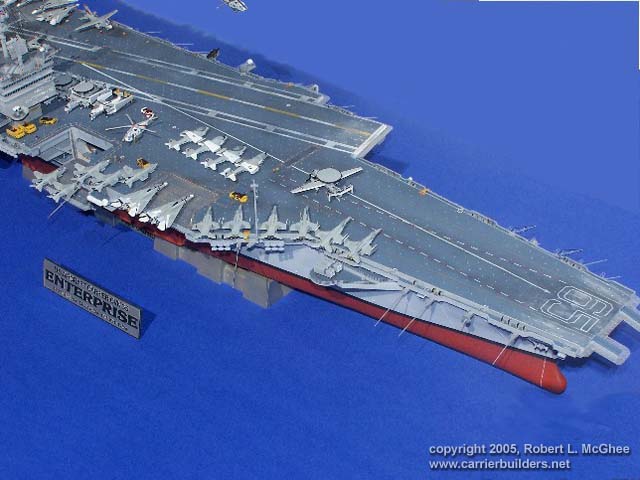
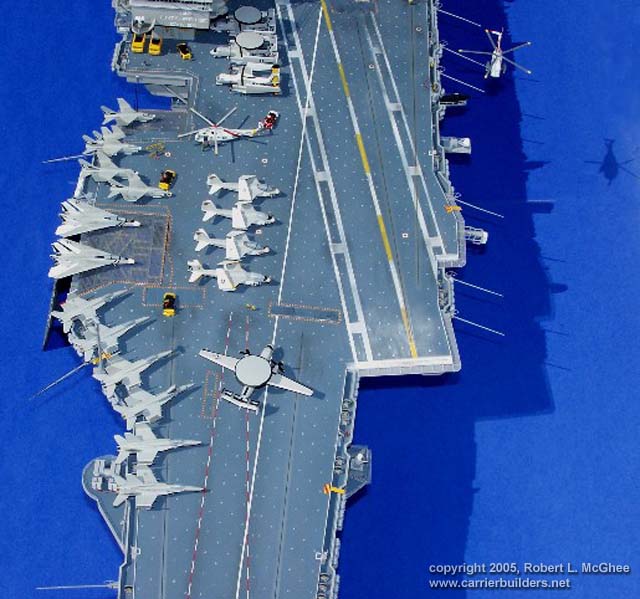
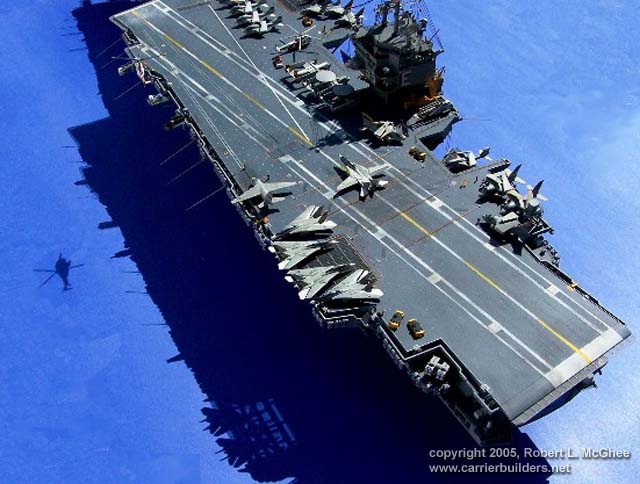
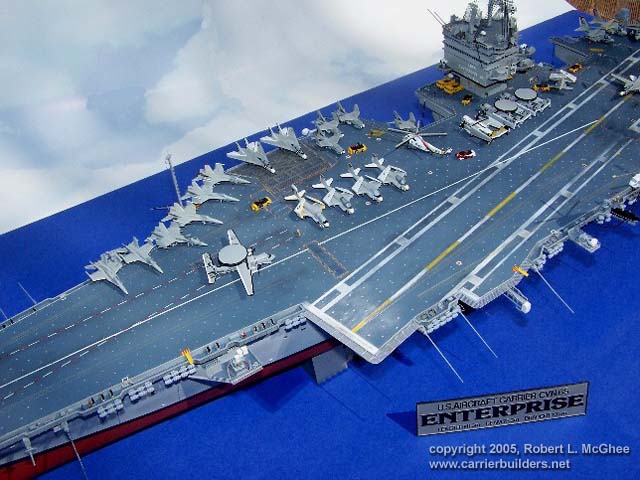
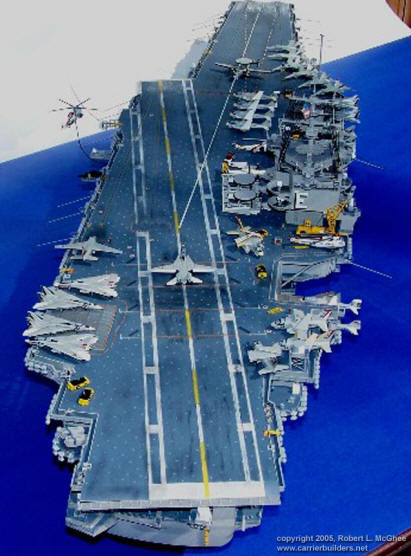
I decided to build the kit as a late 80’s fit as closely as my talents
would allow and in addition to the kit, I purchased 4 Tamiya aircraft
kits and finished the model with an airwing of 60 aircraft on the flight
deck and hanger deck. Also purchased were Enterprise PE sets from WEM
and GMM, including both ship and aircraft fittings, extra ship and
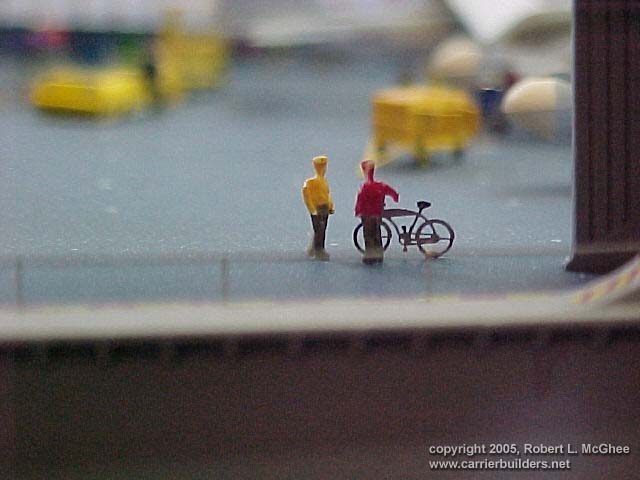
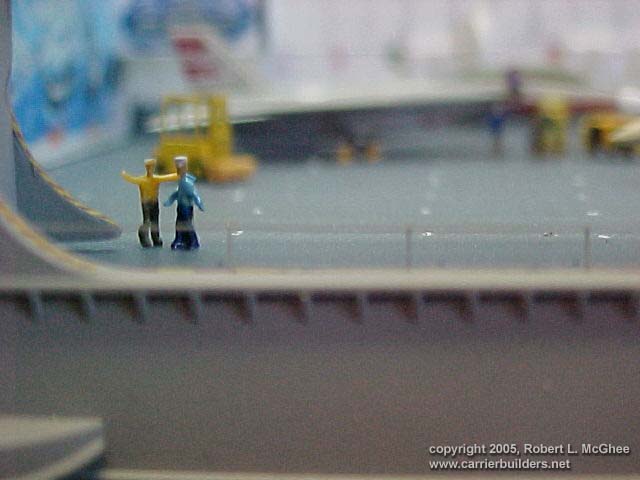
aircraft decal sets as well as 300 PE crew members. From L’Arsenal, I
purchased 100 of their resin figures for use in the more noticeable
areas of the ship. I also purchased the Nimitz PE set, as it provided
additional detail parts which were not available on the Enterprise set.
Model Master acrylic paints were used for the build.
Bert Kenzey’s book, The USS Enterprise was purchase and became a
constant companion on my work bench, as was a thick portfolio of photos
of the ship, copied form Naval sources as well as the many fine models
featured on Model warships.com, Steelnavy.com and the carrier builders
website, Carrierbuilders.net. .
A special thanks goes to Pekka Rautajoki. His build of the Enterprise
was most inspirational and while my build is not so exquisitely detailed
as his is, I am pleased with the way it turned out.
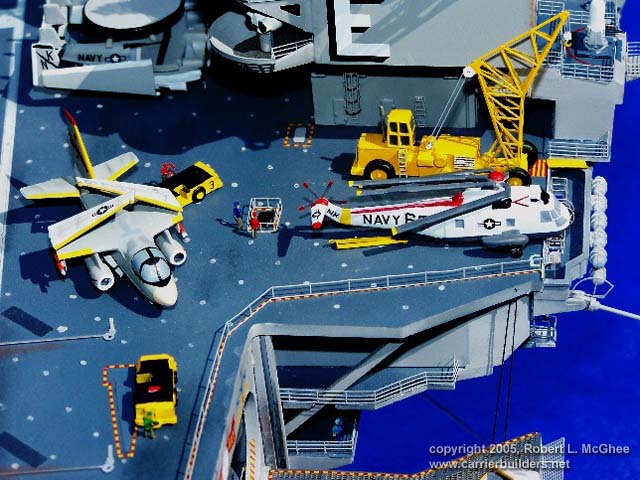
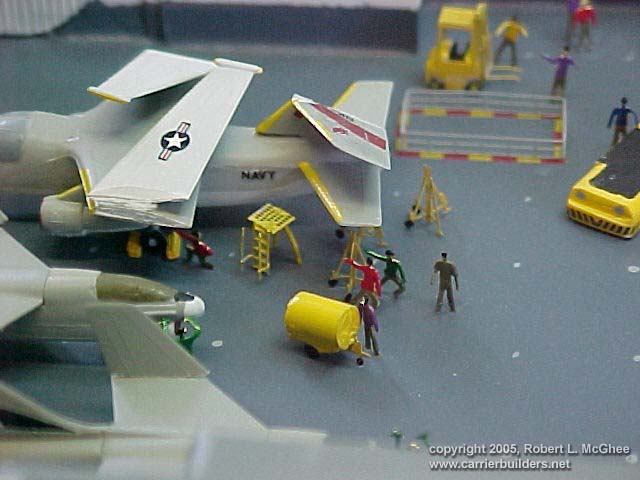
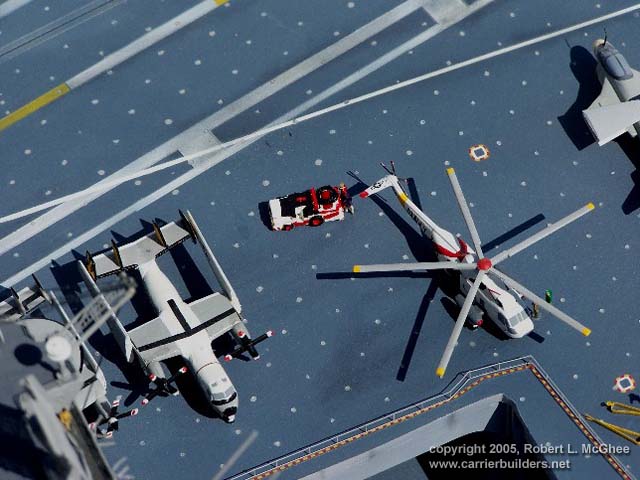
· 1 E2 C Hawkeye was
converted to a C2 Greyhound by rounding off the nose, shortening the
fuselage and modifying the tail.
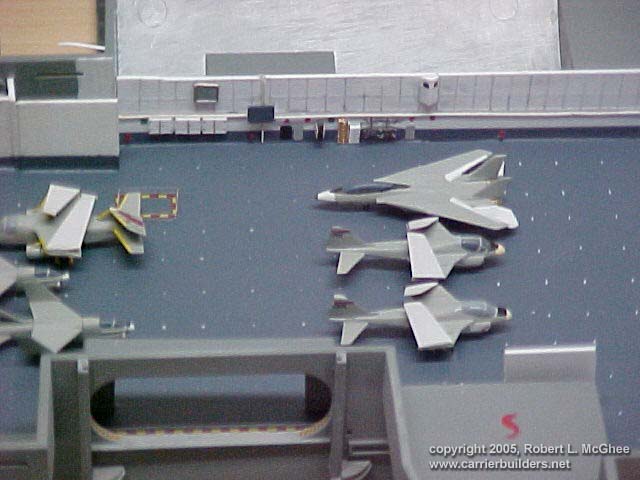
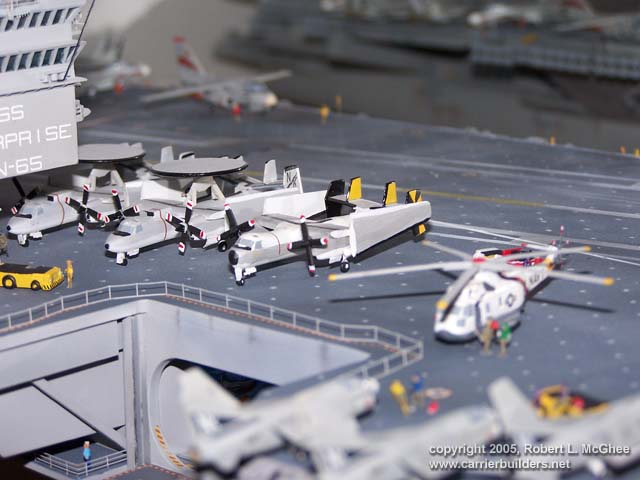
· All jet intakes and exhaust were drilled out and PE details were added
to each aircraft.
· Canopies were opened on several of the aircraft for the flight deck.
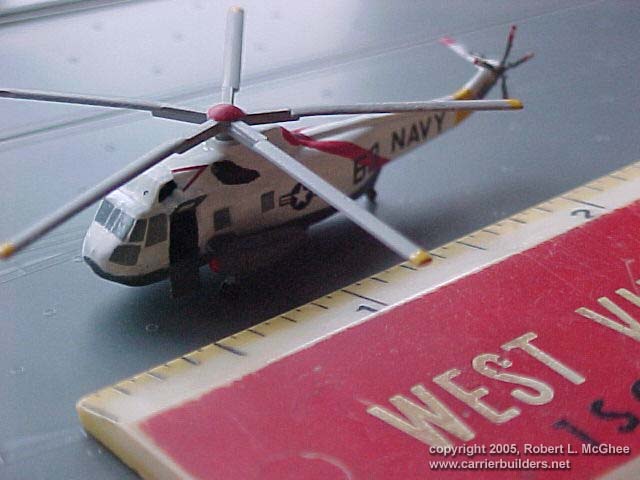
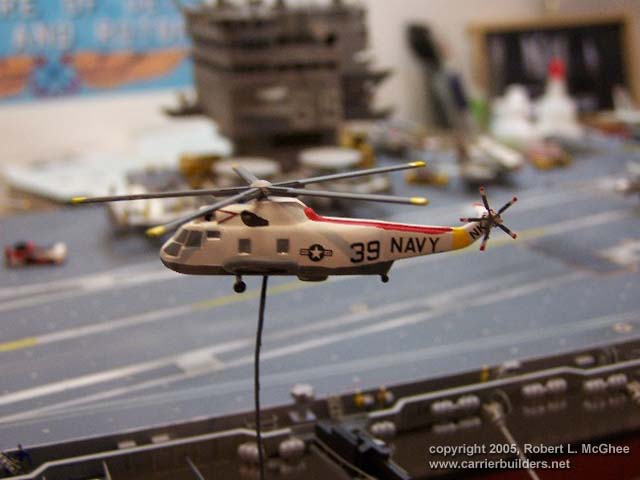
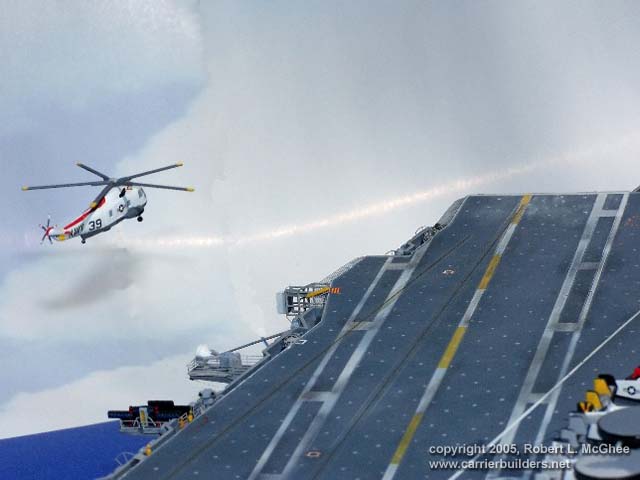
· The doors on 1 SH 3 Sea King were cut open and PE doors added.
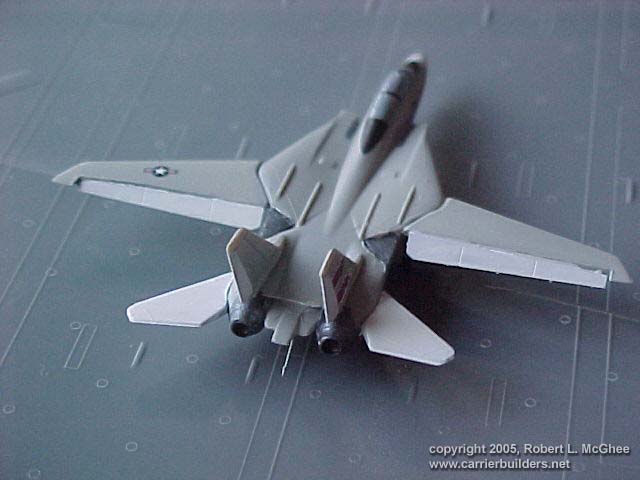
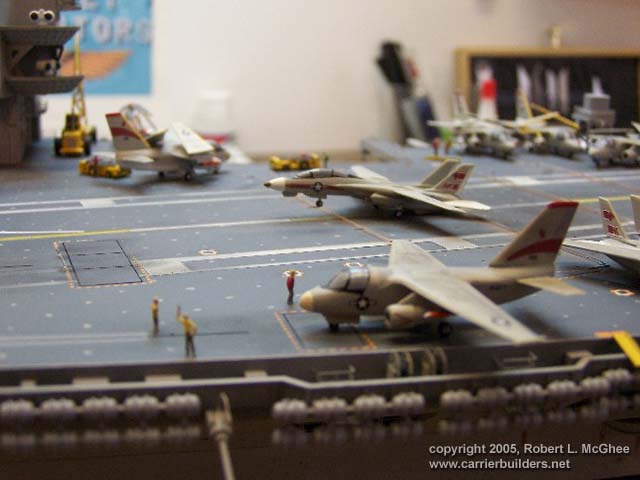
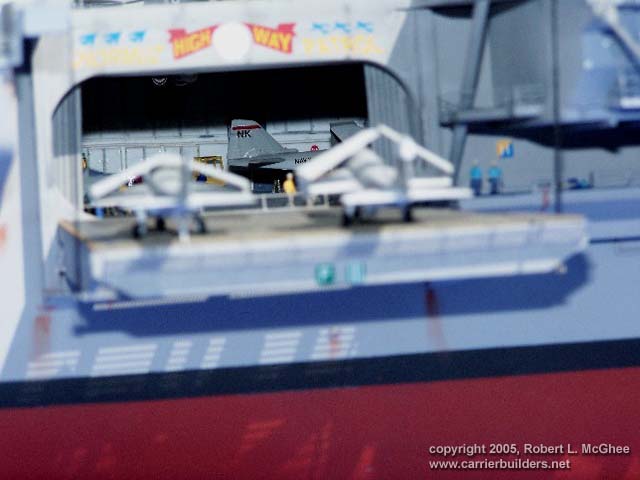
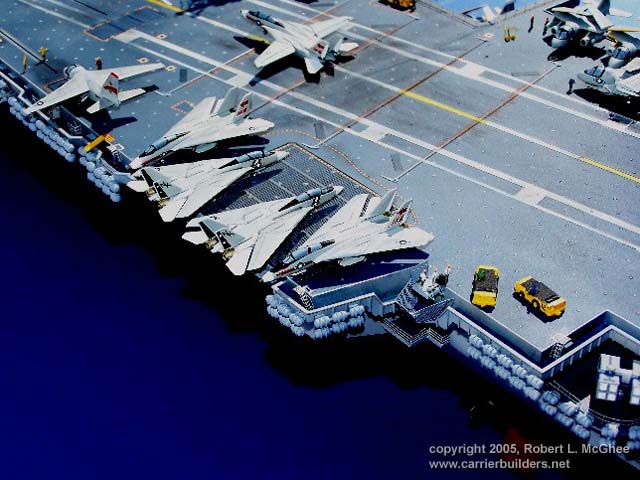
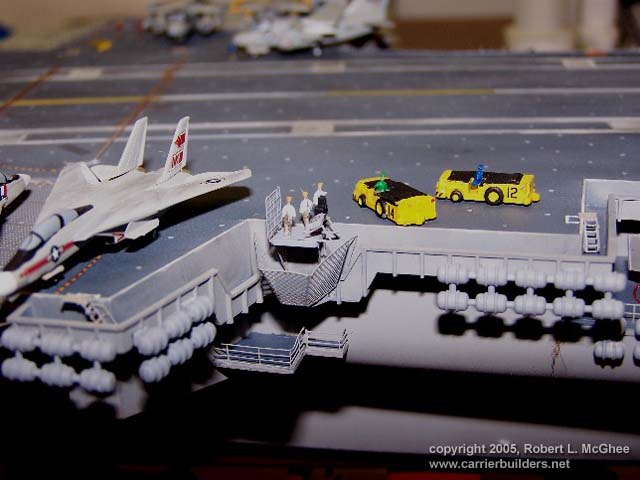
· 1 F-14 Tomcat was converted to a landing configuration, which involved
repositioning the wings and tail as well as lowering flaps and raising
the airbrake.
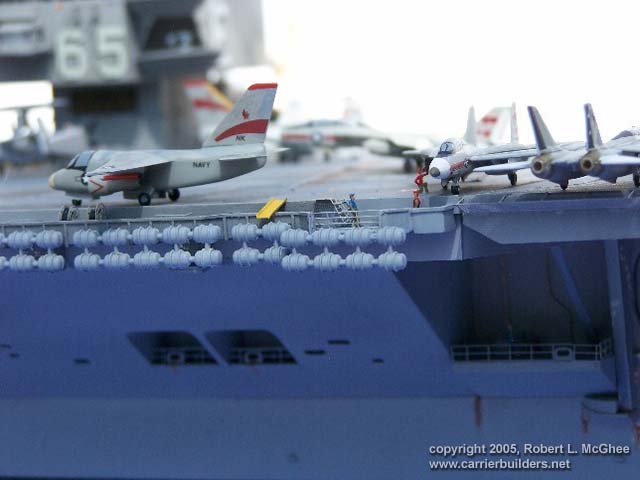
· High Viz and canopy decals from GMM were added and each aircraft was
weathered. While not exact to my build era, they provide some color to
the planes.
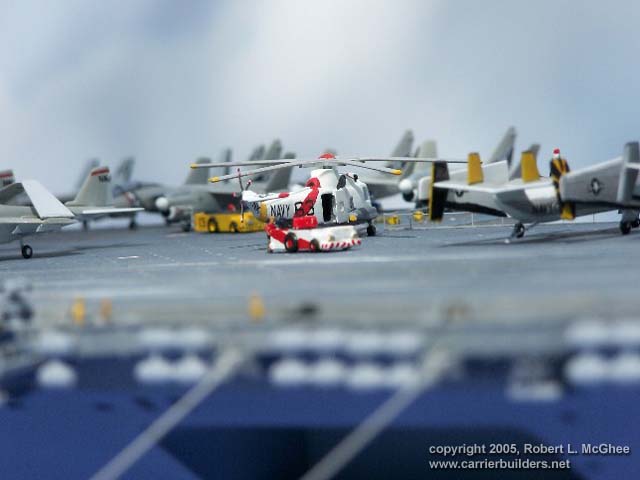
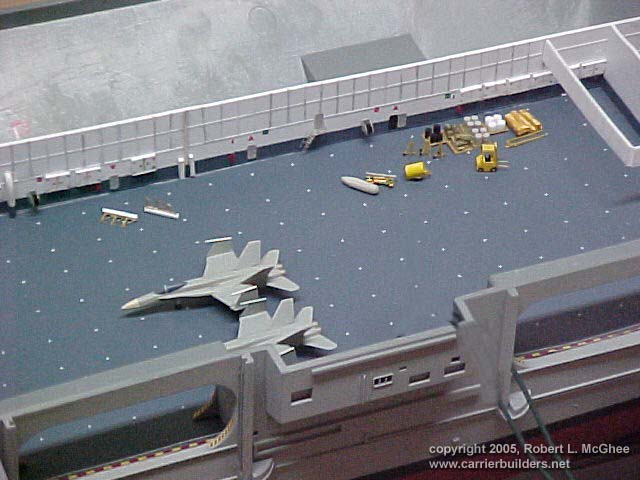
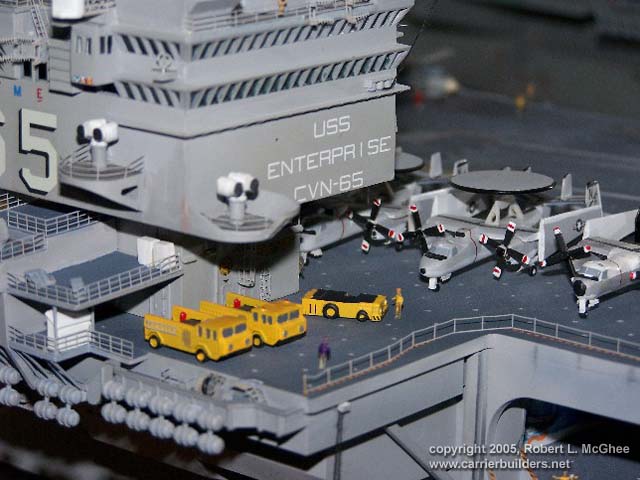
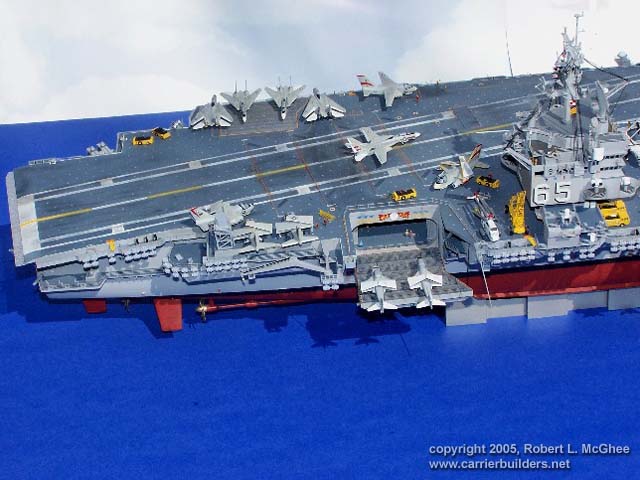
· A total of 60 aircraft appear on the flight deck and hanger deck of
the ship.
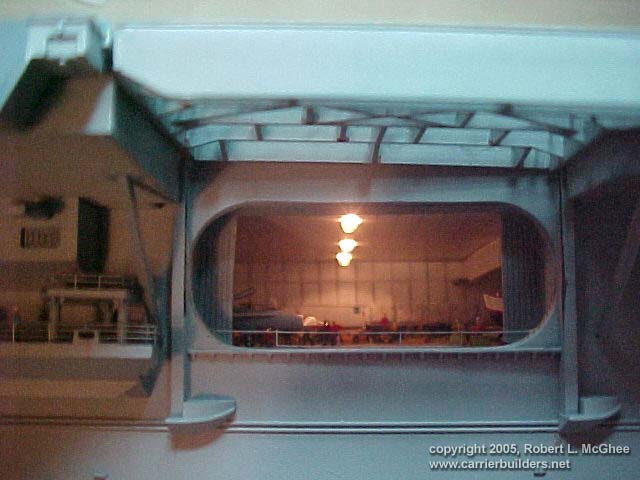
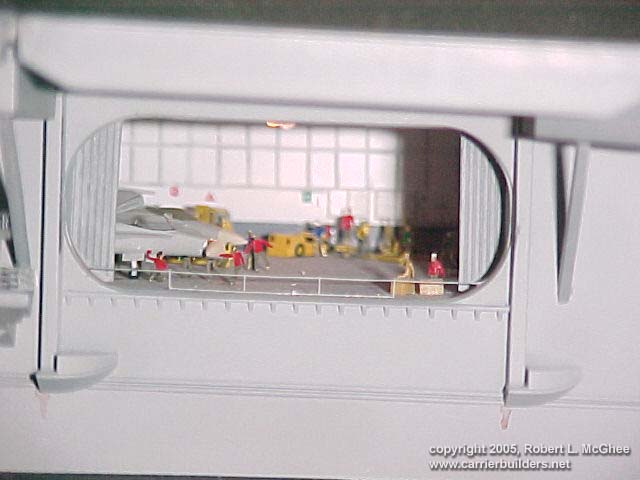
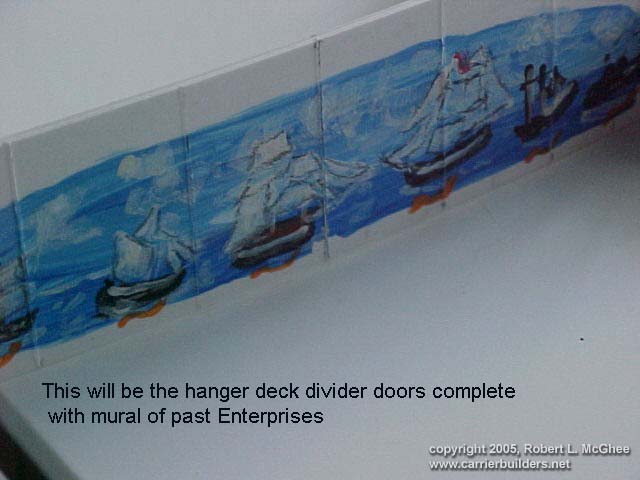
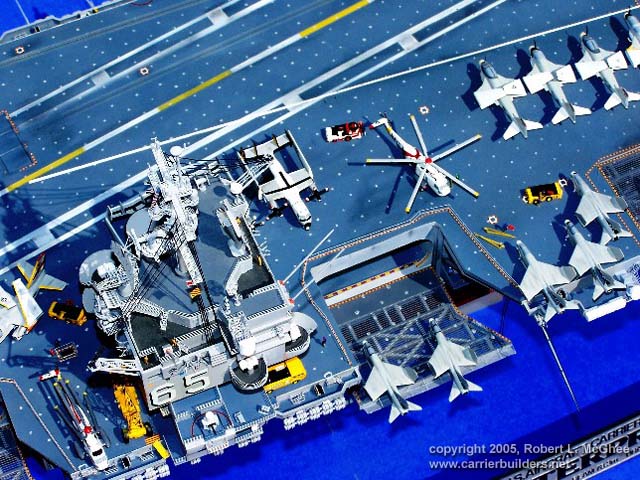
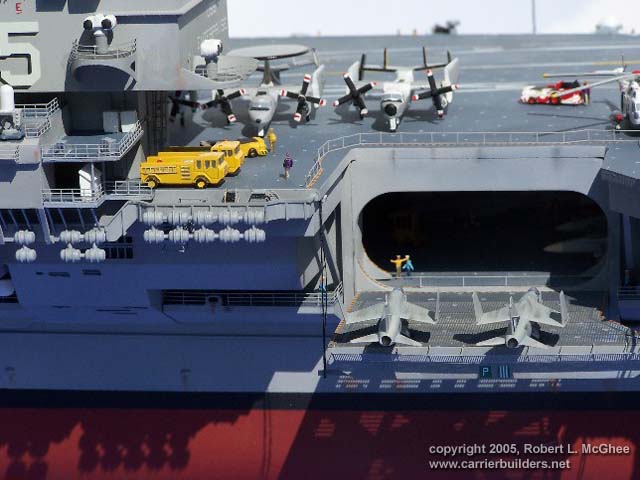
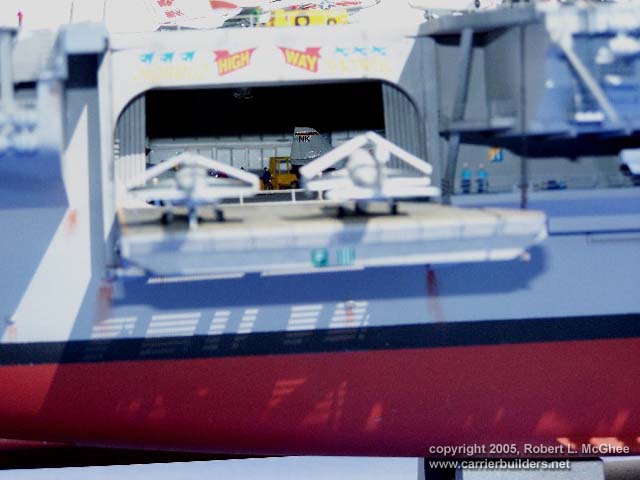
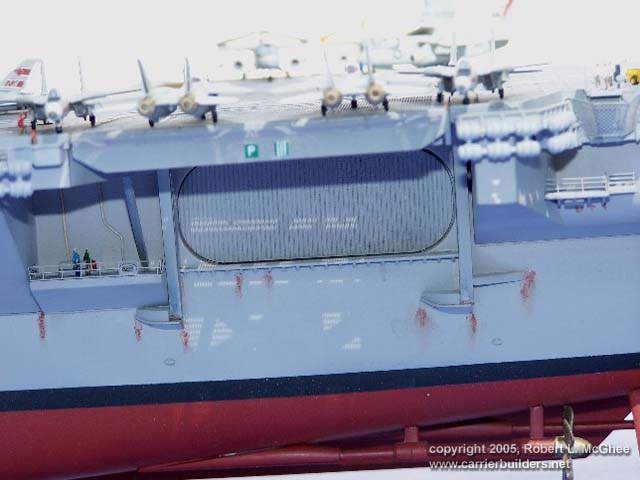
· Hanger doors are opened
with the assistance of a dremel tool.
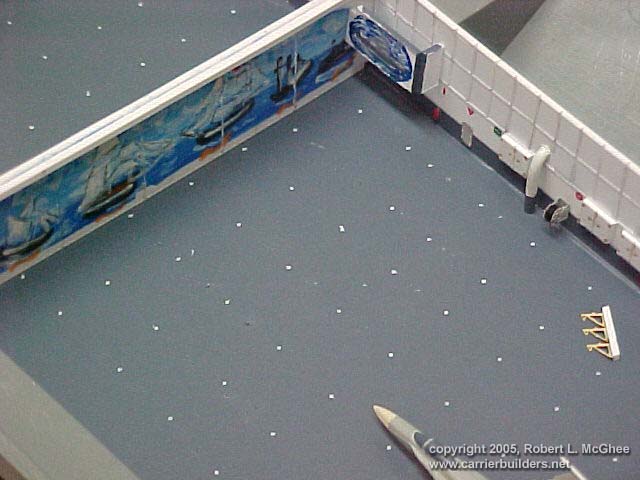
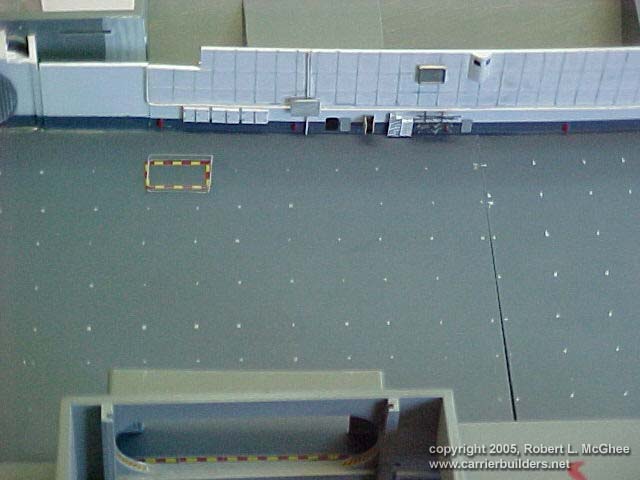
· The hanger deck floor is shaped from two sheets of styrene plastic and
painted deck gray. Tie down points are laid out and painted using a wood
tooth pick as my brush.
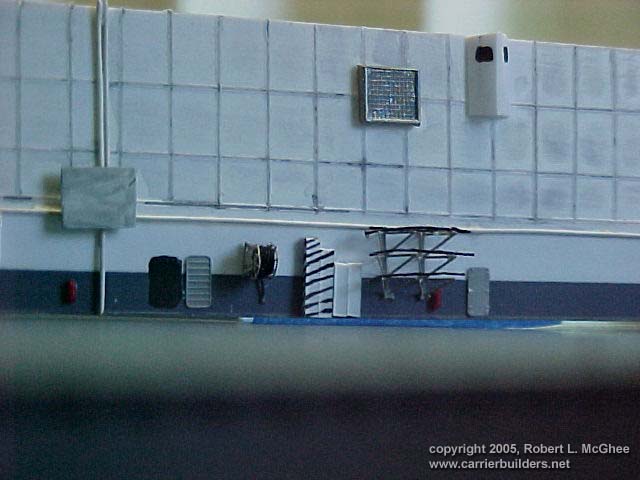
· Hanger walls are built from the same sheet plastic and details are
added, using left over PE pieces, thin brass wire and coat hanger wire.
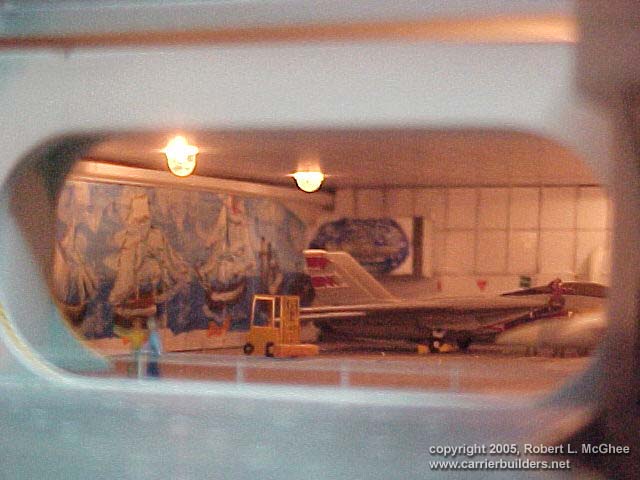
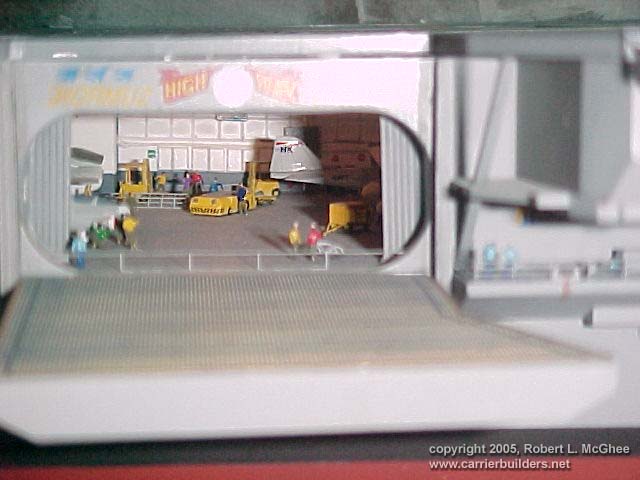
· The dividing doors in the hanger are cut from the same plastic and
hand painted with the mural which appears in Kinzey’s book.
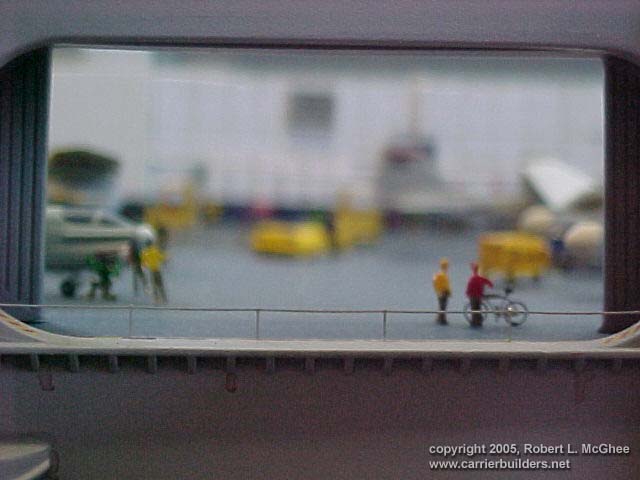
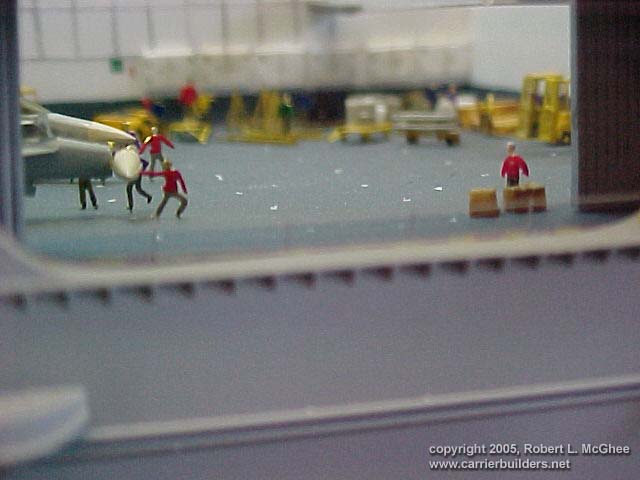
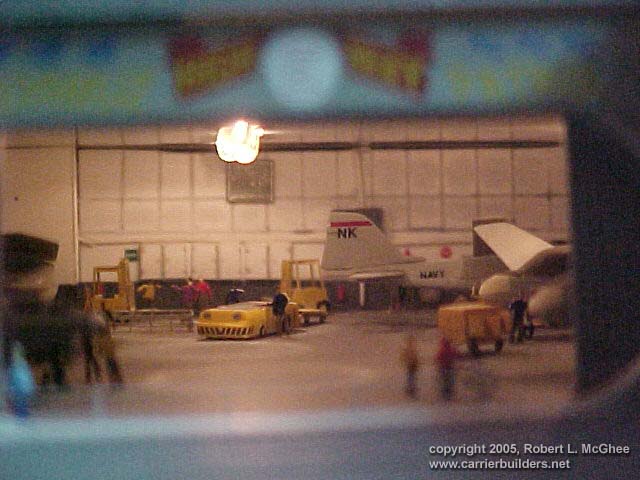
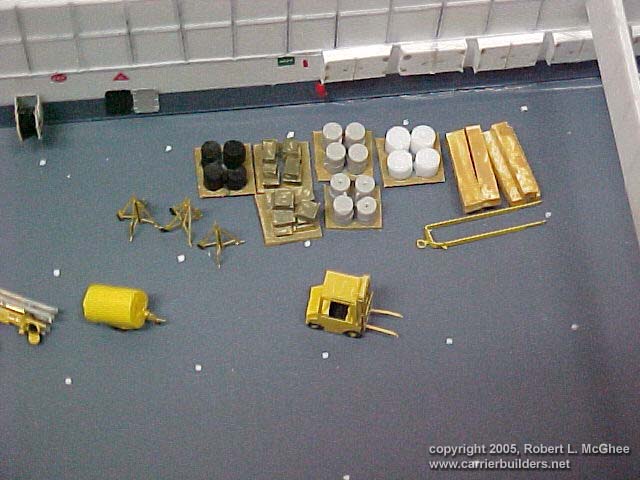
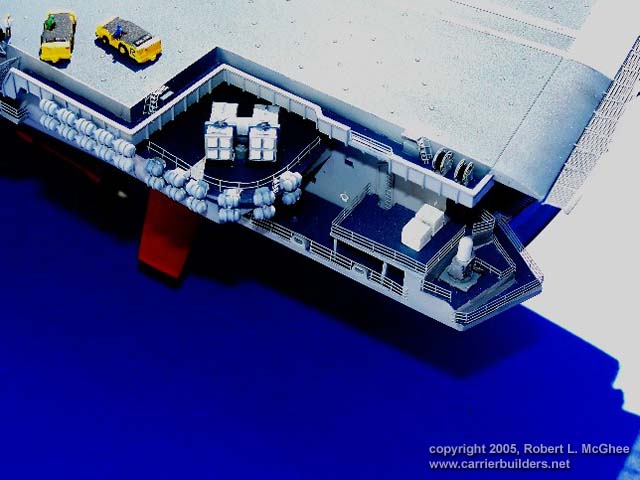
· Scratch build supply pallets are built from left over parts and
anything else I could scrounge up. They are placed in the forward hanger
deck along with PE forklifts and supply trolleys and a few deck tractors
carved from wooden matchsticks.
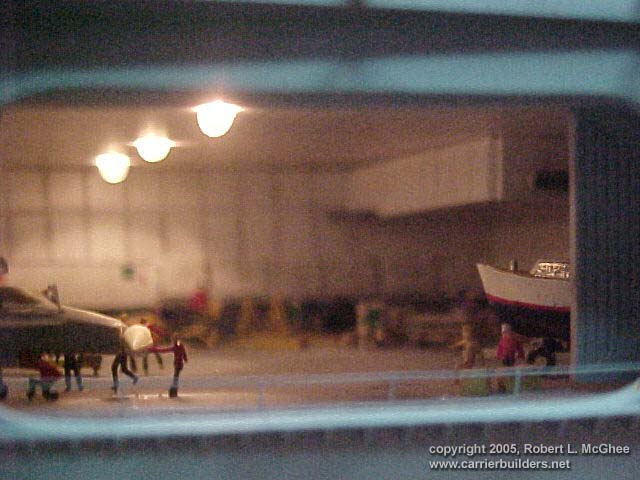
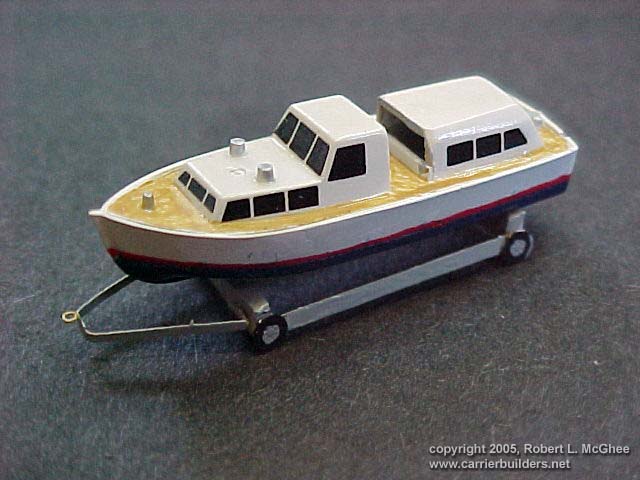
· The captain’s yacht is modified from photos in Kinzey’s book and
stowed on a scratch built trailer in the forward hanger.
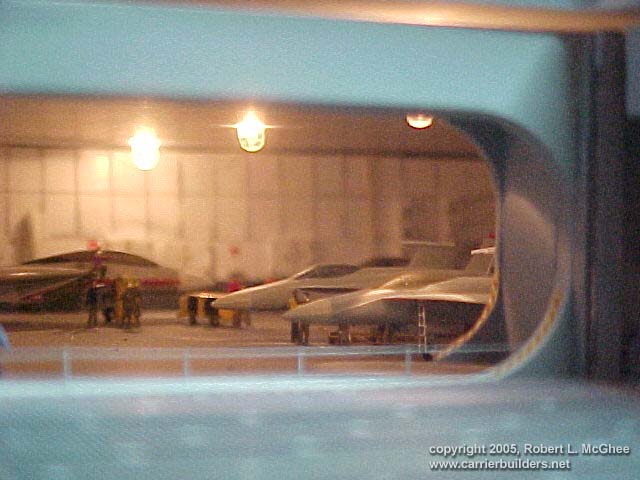
· A ceiling for the hanger is shaped and cut from styrene plastic and
secured in place. I then position the lights from a small set of battery
powered Christmas lights and drill and position them in the ceiling. The
lights will later be wired to additional lights in the ships island and
powered by a 3 volt converter purchased at the local Radio Shack.
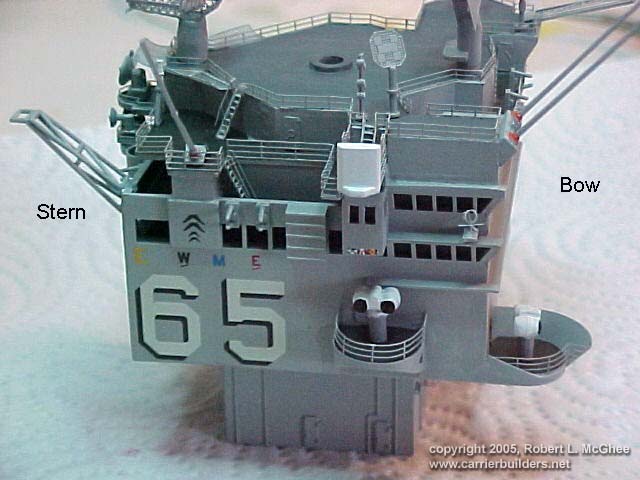
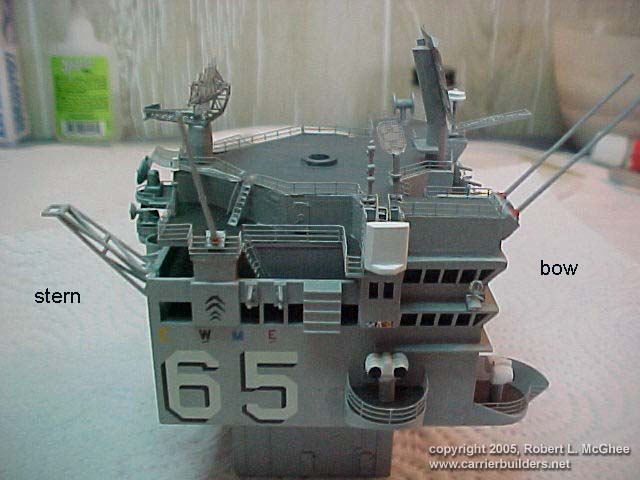
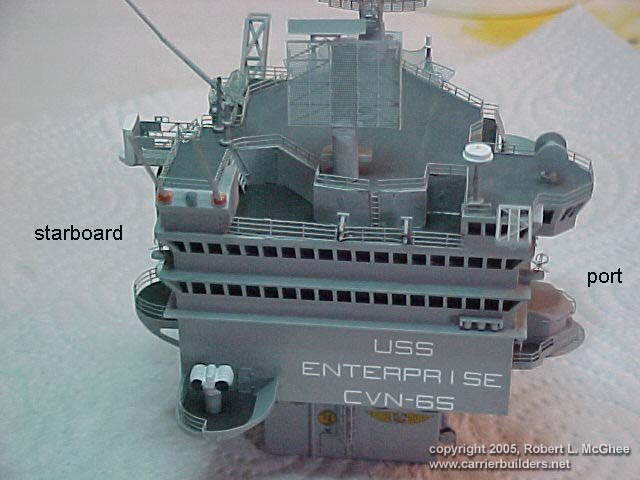
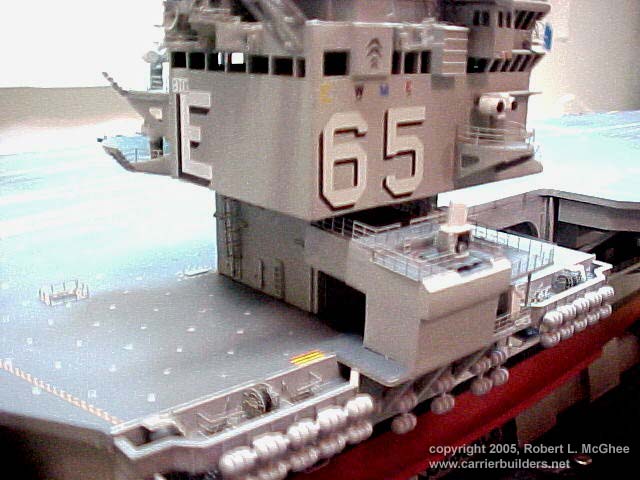
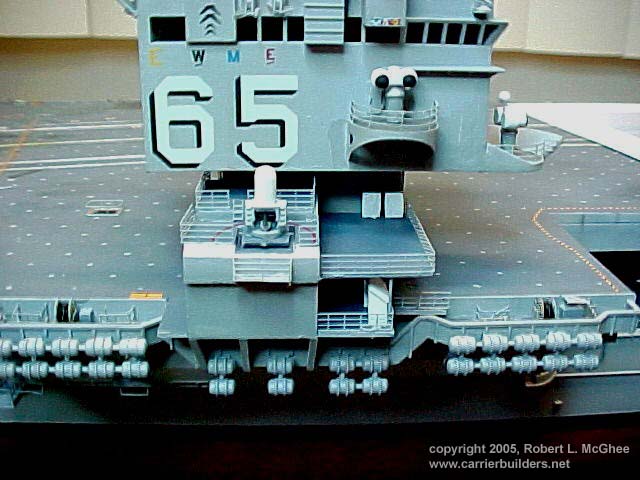
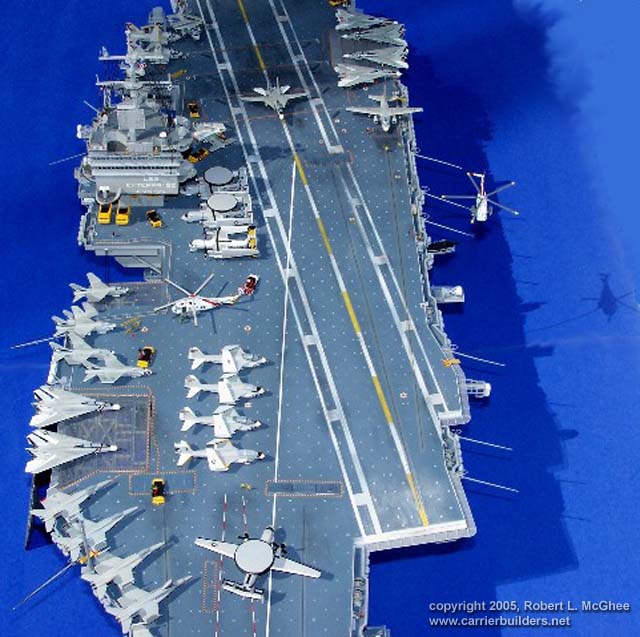
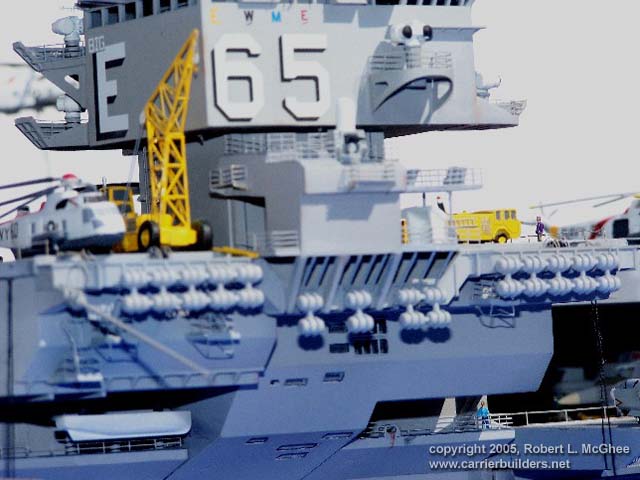
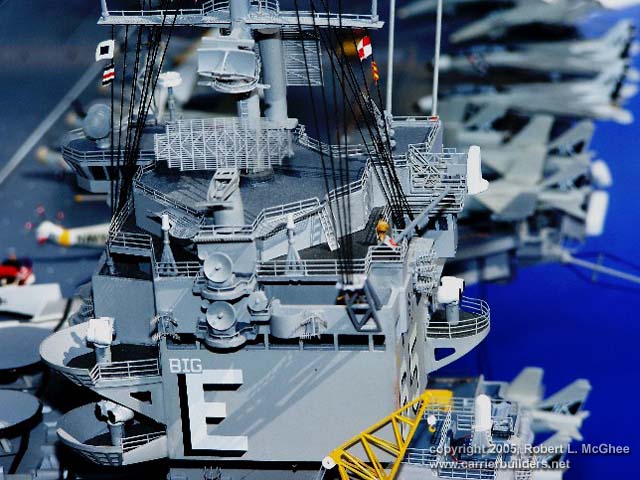
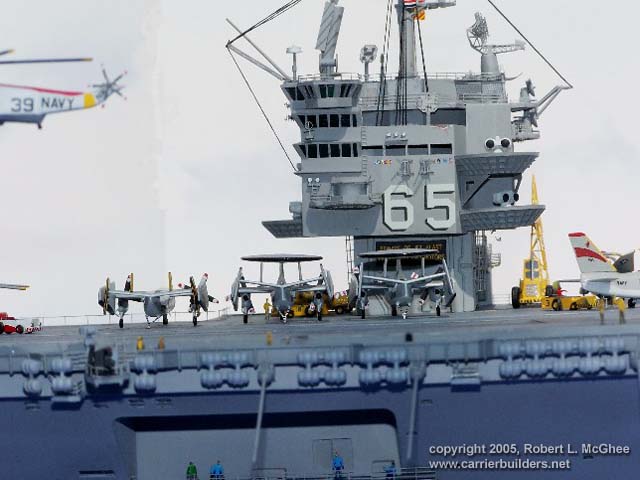
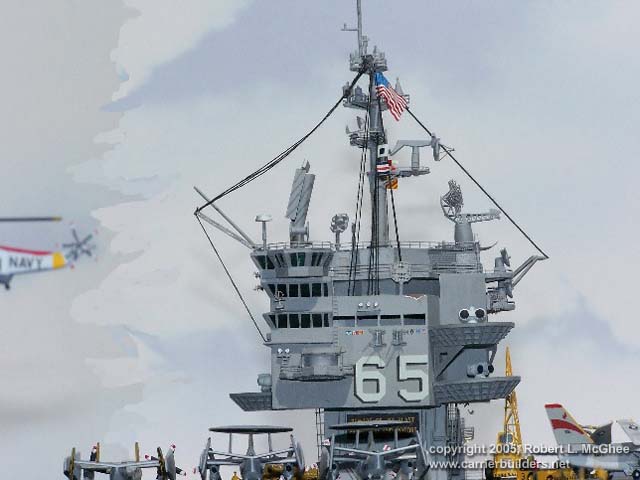
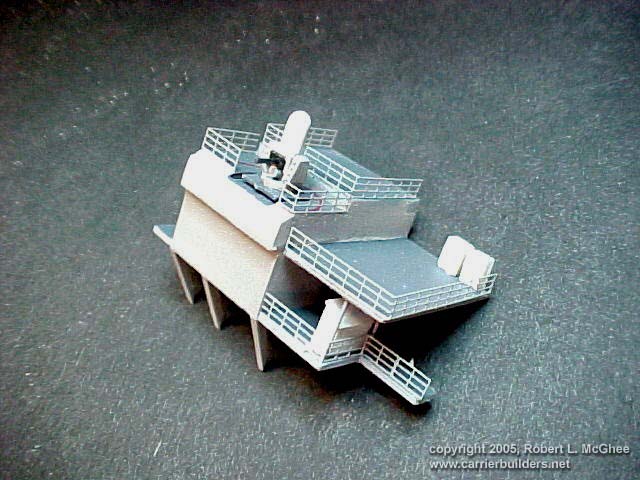
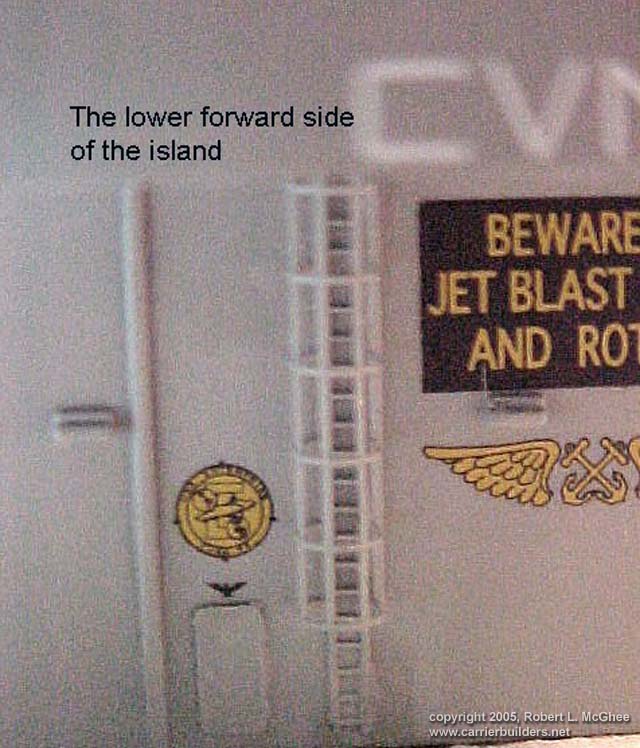
· While building the island,
I cut holes in the inner walls, to accommodate lights and secure them in
place. A total of 6 lights are installed in the bridge areas.
· The islands windows and flight directors area windows were made from a
sheet of thin clear plastic, scavenged from the packaging of some item
my wife bought, which was cut to size and painted using a mixture of
green and black acrylic paint and future floor wax. A little trial and
error was necessary to get the opaque consistency I wanted in the paint
mixture. The windows a placed in the island and a drop of future is then
applied to each opening to make the window look solid.
· Final construction of the Ships Island involves the addition of PE
details and a few resin figures.
· Wires from the lights are left exposed at the bottom of the island to
be later attached to the wires from the lights in the hanger.
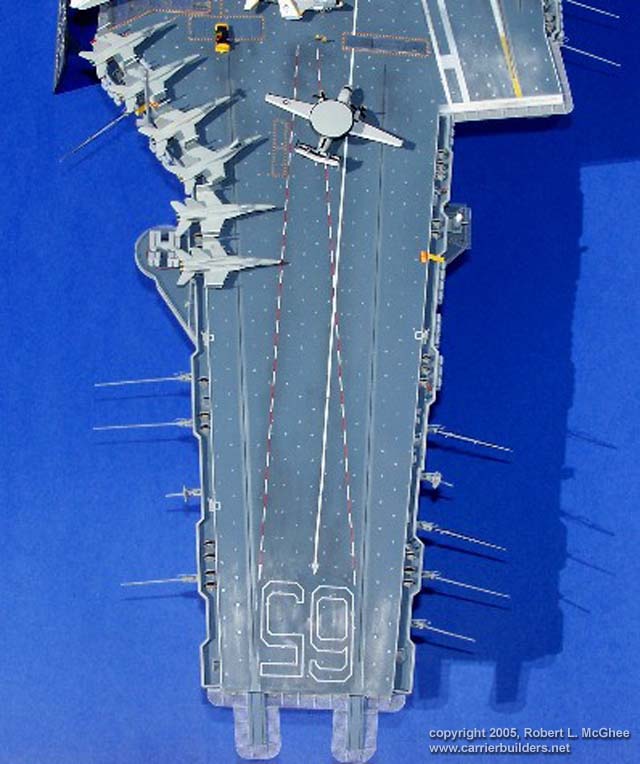
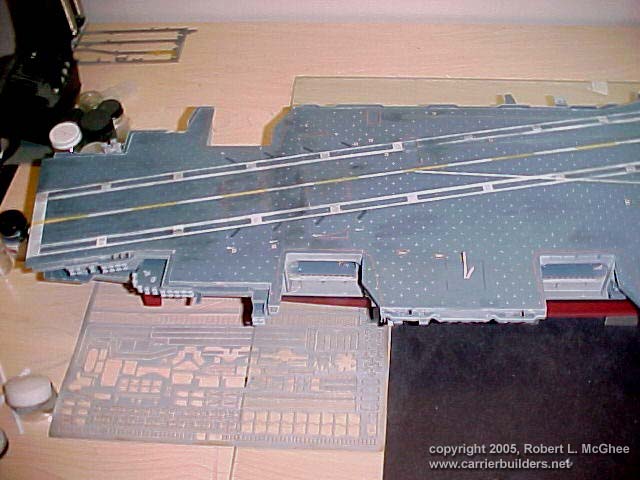
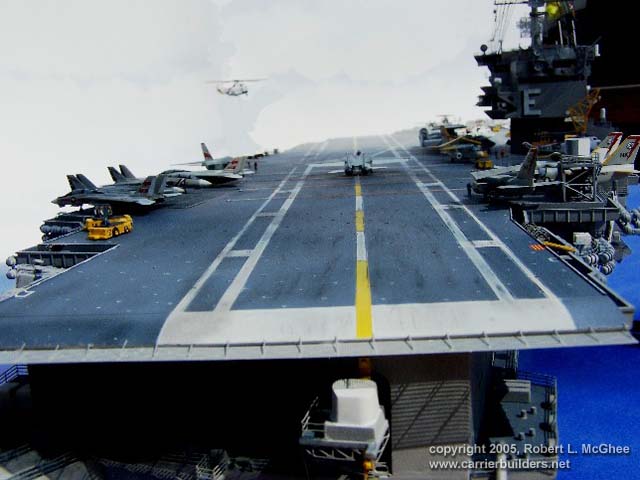
· After removing the number
1 elevator from the flight deck with an X-acto knife, the forward and
mid section of the flight deck are assembled and the join is filled and
sanded. An overall coat of flight deck gray is applied and then sprayed
with clear gloss to better accommodate the decals.
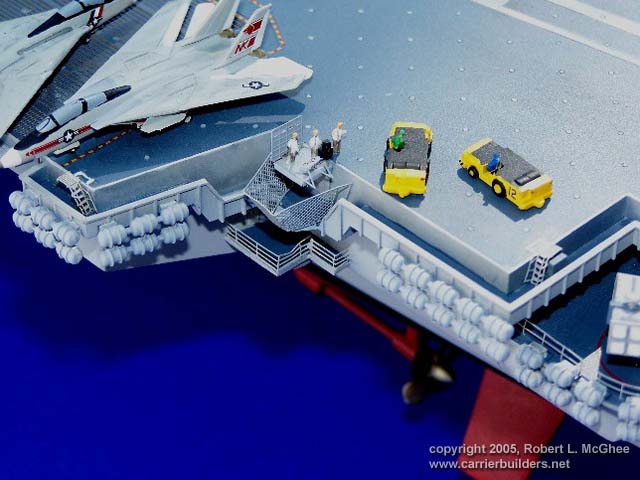
· The kits, deck tractors and tilly crane are assembled and modified
with scratch built items representing fire extinguishers, fire hoses and
tool boxes.
· Decals are added from the GMM decal set, around the elevators, the
center line of the deck and ordinance disposal chutes. The remaining
deck markings are painted using an airbrush and masked with post it note
pad sheets.
· Each tie down point on the flight deck is painted light gray, by hand,
with a wood toothpick.
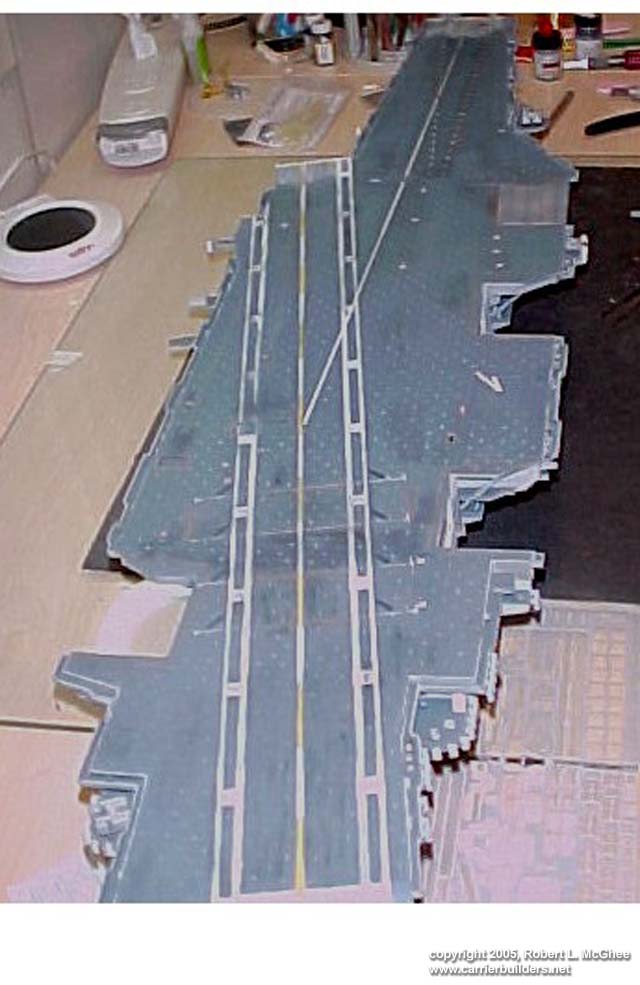
· The aft section of the flight deck is painted in the same manner and
the arrestor wires (nylon fishing line) are installed. After cutting a
hole for wire access, under the island mount location, both sections are
attached to the hull. This joint is then filled and sanded and the paint
touched up.
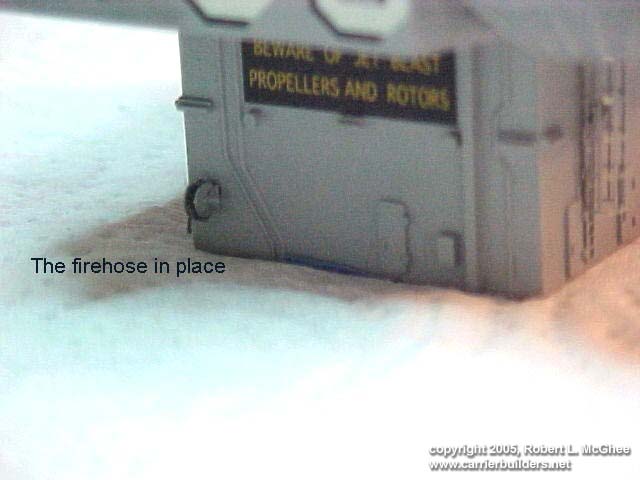
· To ease assembly, I assembled the fire hose reels and installed them,
along with access ladders along the walk ways, before attaching the
island.
· Through the hole in the deck, I soldered the wires from the island and
hanger deck and then attached the island.
· The flight deck is weathered using a combination of airbrushing and
artist chalk of varying colors, applied with paint brushes, q-tips and
fingers. A final coat of clear flat paint is sprayed on to seal the
chalk. (The light colored chalk is applied very heavily as I found that
it’s color value diminished when the clear coat was applied.
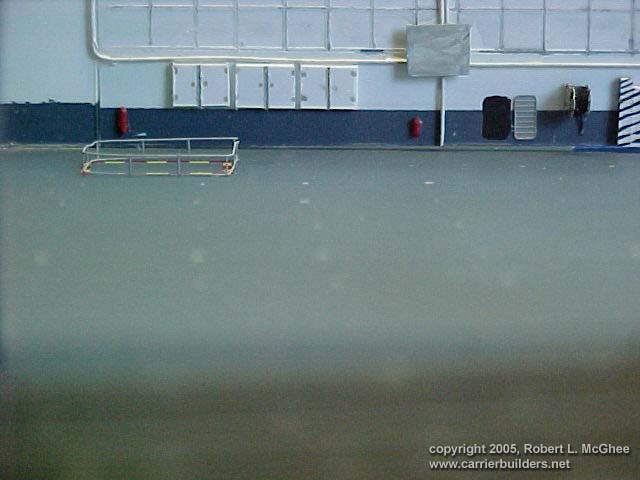
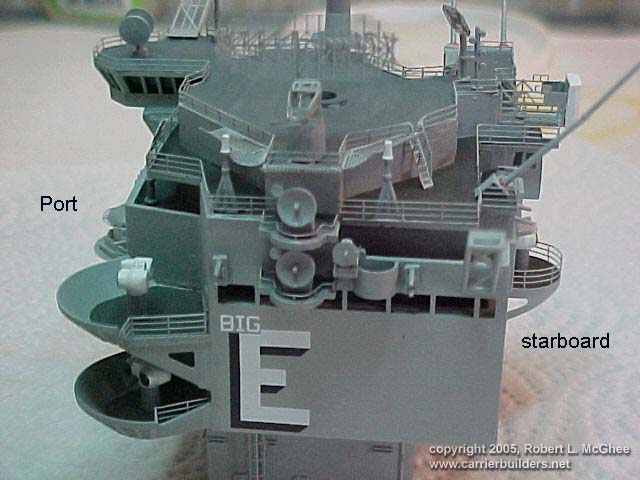
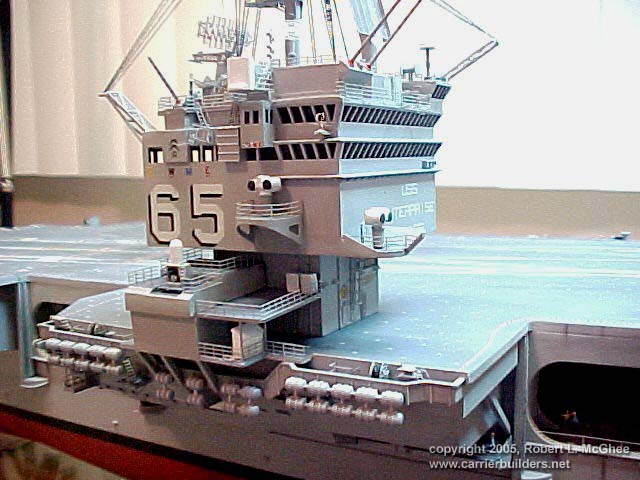
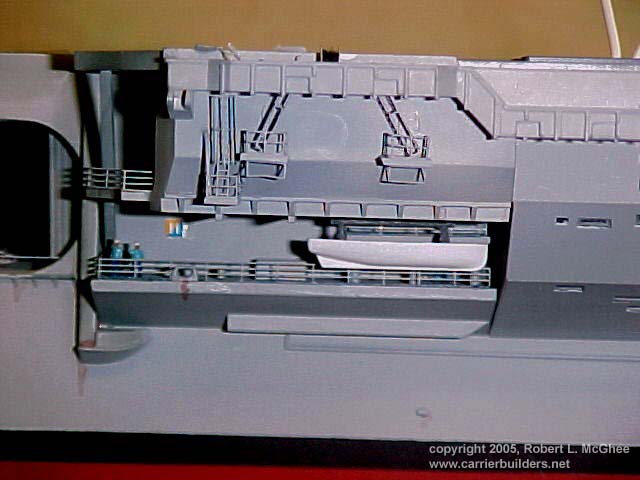
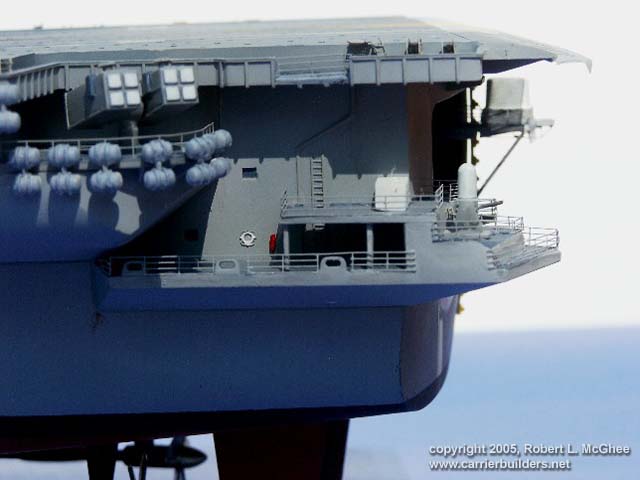
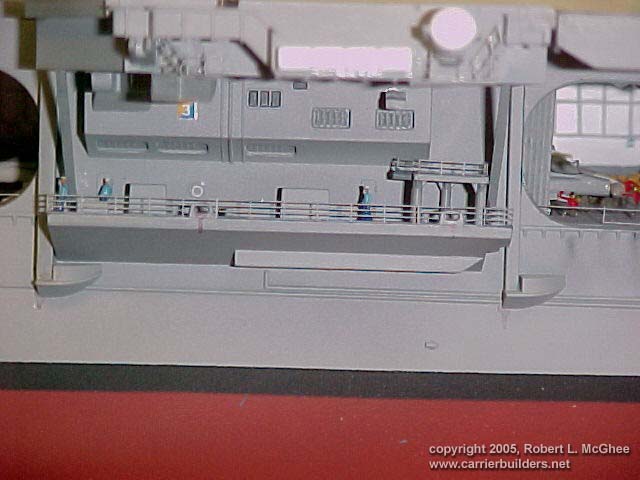
· The weapons platform on the starboard side of the island is modified
with sheet styrene, to appear as in the late 80’s fit of the ship and
then attached. The aft, port weapons sponson is also modified for the
era.
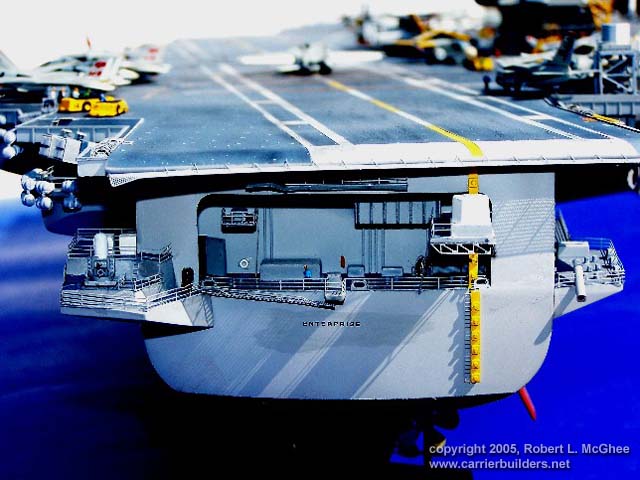
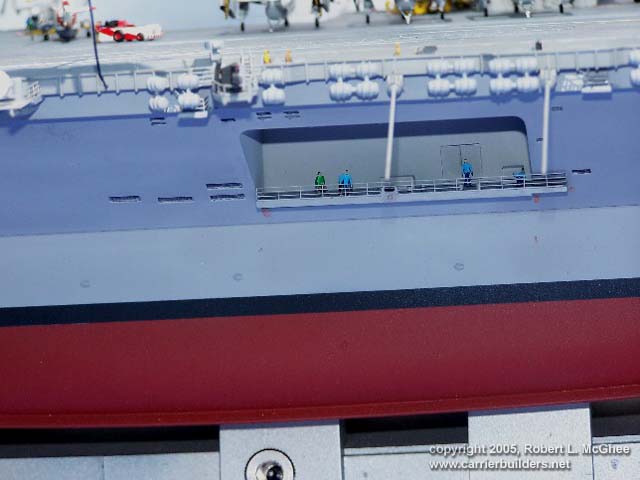
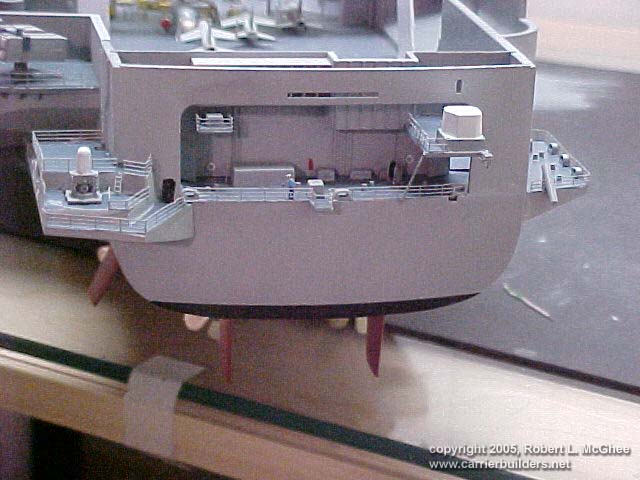
· On the fantail, a doorway
is opened for access to what would be the engine repair area of the ship
and resin figures are added.
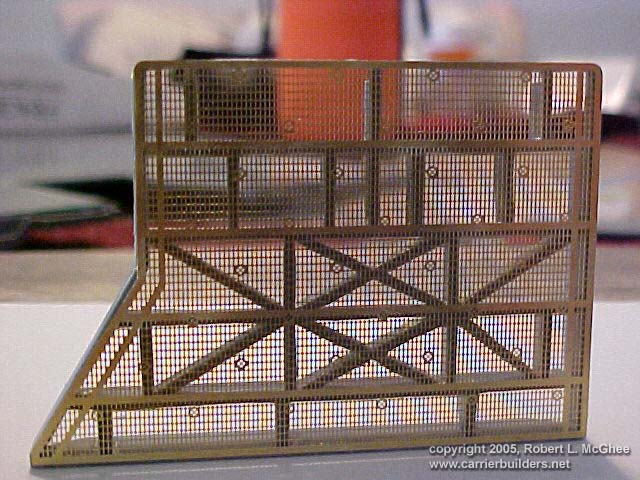
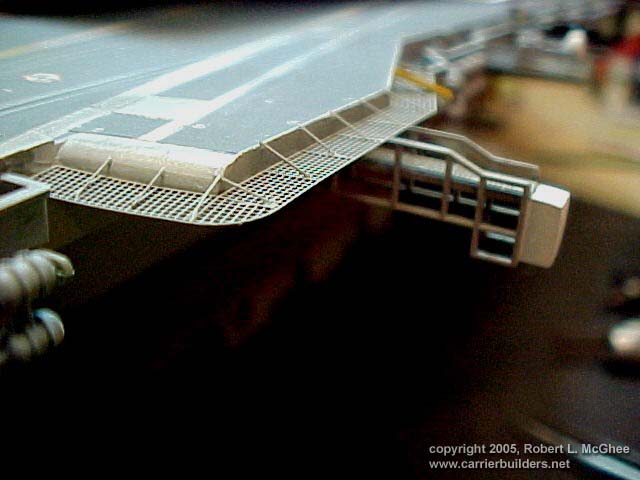
· All of the kits plastic ladders are scrapped and PE ladders, stairs
and platforms are added just below the bottom of the flight deck.
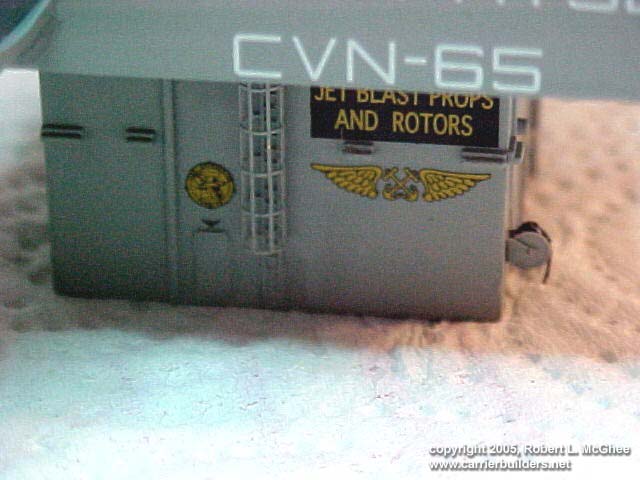
· The framework from the kits elevators is cut from each elevator. I
found this was easier after sanding down the top portion of the elevator
to thin the plastic.
· Photo etch elevators are then attached to the frames which are painted
and decals applied.
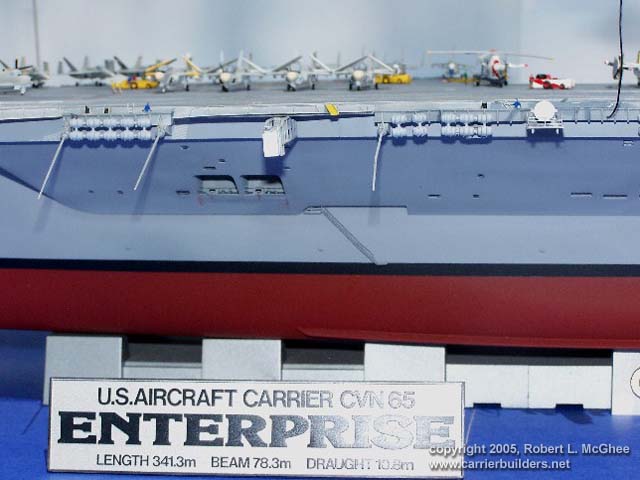
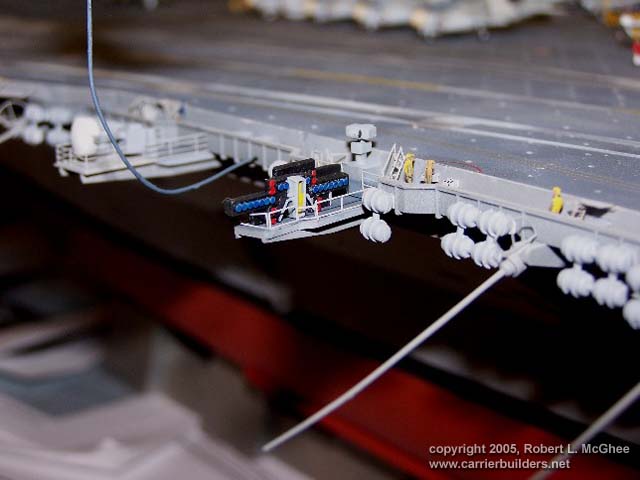
· PE reels replace the kits fire hose reels and each is hand wound with
black thread, pulled through bee’s wax to remove fuzzy’s and simulate
the hose.
· Scratch built ROBC launchers are added.
· About this time in the build, the new Nimitz model and its associated
PE were becoming popular. I ordered the Nimitz PE set for a few of its
additional features. The LSO platform from this set was used, along with
its safety nets.
· The Fresnel lens system was modified from photos in Kinzey’s book and
attached.
· And finally, the flight deck safety nets was installed. I used
individual rails from extra deck railing to simulate supports on the
netting.
Throughout most of the
build, I used my Sony, Mavika digital camera to take the pictures. This
camera did a fair job but I wanted more clarity for posting purposes. I
purchased a Kodak, Z7590 digital camera and its 5-mega pixel capability
did the trick for me.
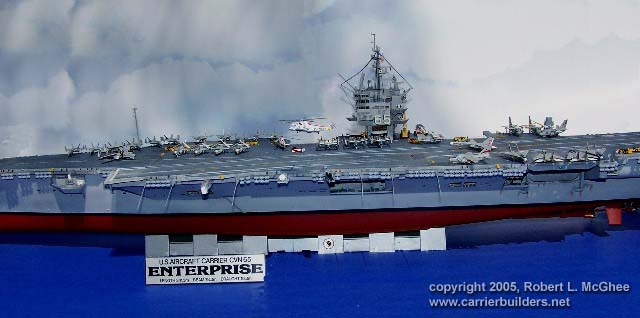
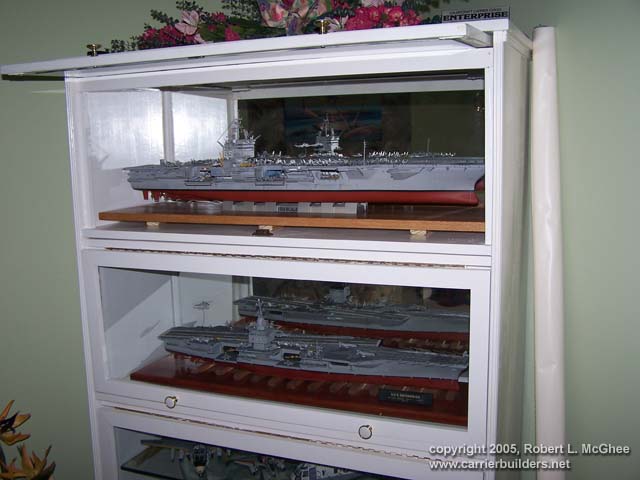
Early on a sunny day in early June, I took the model out to my patio.
Using blue poster board for the base and poster board with a cloud
pattern for the background, I took the final pictures of the completed
model. I think they turned out well considering this was my first use of
the new camera.
|
Helpful tips and
things learned |
· Large hands are not a
bonus when working in 1/350 scale.
· You can spend hours working on small details, only to find they don’t
show up in photographs.
· Tweezers are our friends and the more the better.
· Unless you are Superman, some type of vision magnifier is a must. I
like the headset type.
· PE and small plastic parts can fly and will disappear if not carefully
removed from their sprue.
· Small parts, superglue and fingers do not always play well together.
Keep a supply of glue solvent handy.
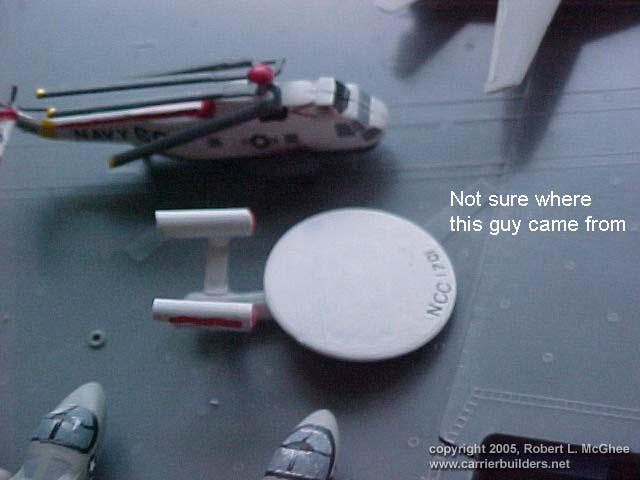
· The Internet has no end and for every CVN-65 web site, there are 3
NCC-1701 web sites.
· Clean your airbrush well and frequently. A couple of different
airbrushes are useful but you still have to clean them.
· Lengthy time spans spent bent over your work, over periods of weeks,
can result in a trip to the chiropractor.
· A “SHARP” X-acto knife is a must. Refer back to “parts can fly”.
· A well-lit work area saves your eyes.
· Dremel makes a wonderful tool.
· The kitchen, laundry room, wife’s shopping bags and any retail outlet
store is NOT off limits when scratch building.
· Don’t try to steal the wife’s kitchen strainers to use for safety
netting.
· No matter how well you clean the top of your paint jar, the lid is
going to get stuck.
· The rubber, jar lid opener is a wonderful invention.
· If you don’t feel like working on your project, don’t. It will still
be there when you do.
· Clamps of all types are very useful, including various sized
clothespins.
· When you are concentrating and totally focused on attaching the
smallest part, the phone or doorbell will ring and you will jump.
· And last but not least, hurricanes not only blow, they SUCK!
Photos © 2005 by Robert McGhee
September 20, 2005
www.carrierbuilders.net |