|
I first built this model for Revell for
the toy fair just before it was released and I liked it so much I
acquired a couple of copies one Revell and one Monogram, not much
difference except the promodeller instruction sheet is much better with
pics of the real thing.
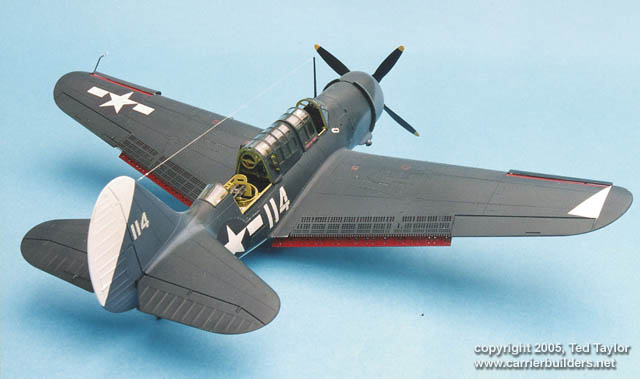
The kit comes with the usual plastic bits and pieces plus a very clear
canopy frame and on top of all this you get an etched brass fret with
perforated dive brake/ flap set, wiring harness for the engine and parts
for the rear gun mount. All the parts fit together pretty well and I
never needed any filler.
There is a lot of pre painting to
be done before assembly takes place but time spent here will definitely
pay dividends, I made up the fuselage and added the tail planes, but the
wings are another story. The etched brass fret gives the impression that
you can just drop the flaps and open the dive brakes, but not so, unless
you perform some surgery you can only show them in the closed position.

I decided to drop the flaps to show a little extra detail, to do this I
first drilled out all the tiny holes on the plastic parts of the flaps
using several sized drills then I cut the flap section of the lower wing
away from the main part, I assembled the remainder of the wings and
fitted them both to the fuselage and the brass upper flaps were added
with C/A glue. Each of the lower brass parts were lined up with the
plastic parts I had cut away and glued together then put aside until the
painting and decalling were finished.
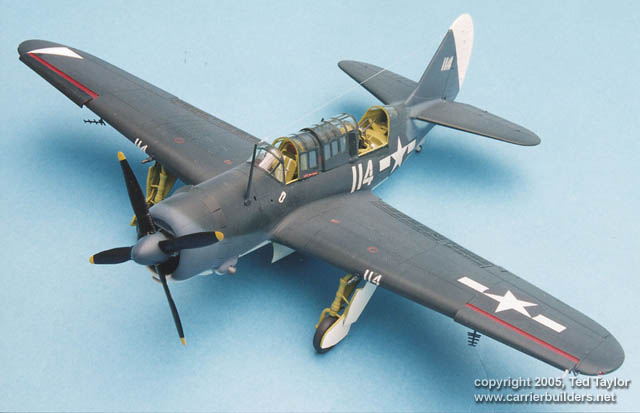
The fixed portions of the canopies I cemented in
position but the movable parts were only tacked on with white glue to provide
masking for the interior, I masked all the clear panels with Sellotape (scotch
tape) just adding a small piece to each window and outlining the frame with a
cocktail stick then trimming with a new scalpel blade. The wheel bays were
covered with the doors using a blob of Blue Tack and the door pressed into
position on top of it.
I sprayed the white areas first including the fin and wing tip areas; these last
two were masked to match the size of the decals then the Intermediate Blue was
sprayed freehand followed by the Sea Blue, all the colours were from the Humbrol
"authentic" range. I dusted on a couple of coats of Johnsons Klear (Future)
after leaving the paint overnight to harden, a further coat was then applied and
lightly sanded with worn out 1200 grade wet and dry paper before the decals were
added.
A whole day was taken to get the decals on and then I coated the whole lot with
another coat of Klear and then a final coat of 3 parts Klear mixed with 1 part
Tamiya flat base to give a nice sheen finish, all the masking was removed and
any touching up done with a fine brush.
I enjoyed this model I hope you will too

Photos and text © 2005 by
Ted Taylor
August 24, 2005
www.carrierbuilders.net |