|

Under the MDAP (Mutual Defence Assistance Program) the Royal Navy
received , from 1951 onwards, a total of fifty Douglas Skyraiders AD-4W.
The Royal Navy changed their designation into AEW. Mk1. (Air Early
Warning mark one.) Tasking was mainly providing over the horizon radar
coverage to protect the British fleet from attack. By doing so they
became the first dedicated frontline AEW system. The AN-APS 20 radar was
placed in the dome and weighed about one ton. If working properly, it
had a range of more than 100 nautical miles. Although , they provided
sterling service, they actually saw only combat service during the Suez
Crisis in 1956. Normally a "flight" of four Skyraiders were assigned to
one carrier.
Crew: Pilot, in the BackOffice radio/radar assistant and the LT.
Observer.
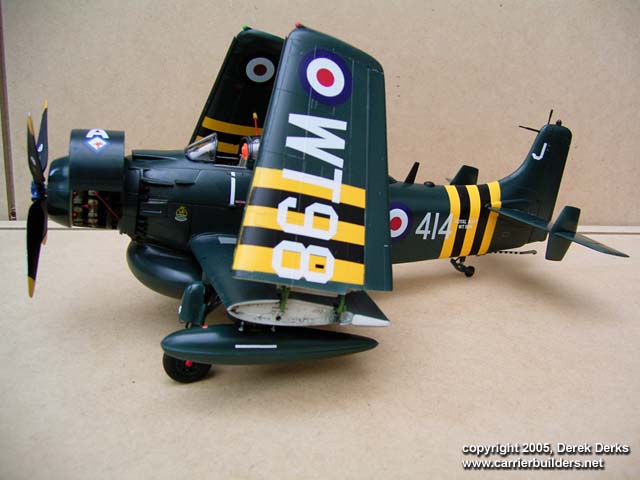
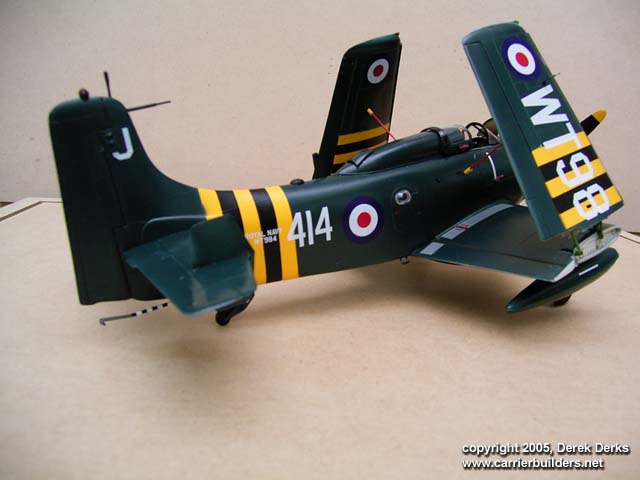
The Esci model is very basic. I chose the
option to build the Royal Navy version in the Suez Crisis paint scheme.
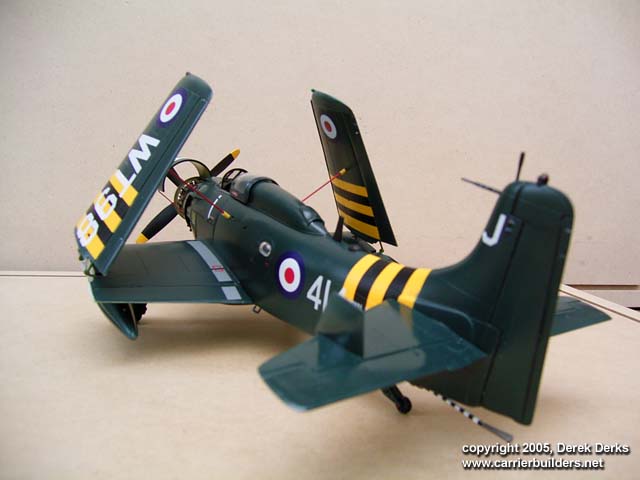
Furthermore ; I decided on folded wings and the port (left) side of the
Wright Cyclone motor clearly visible. I started with separating the
wings on the folding line with a dental instrument (probe). This task is
taking a long time, but the outcome is promising. By using a diamond saw
, you will lose too much plastic detail. With Evergreen plastics, I
filled the four ends of the separated wings. The Waldron punch and die
set provided the nuts and bolts. This job done , I focused on the
cockpit. Mainly adding 3D vision with the help of Waldron switches and
clear plastic covers for the clock instruments.
The sides went together quite well. The AN-APS dome was a real problem.
There was no alignment of the two parts, so I placed a strut broad-wise,
just to make a sturdy contact with the main frame. Glued in place and
hardened out , I welded a rod from Evergreen with micro weld into place.
This made the whole connection extremely smooth and sealed all the gaps
at the same time. The same finishing touch was given to the bulge on the
upper deck. All parts were sprayed separately in silver (Revell 90).
This gave me the chance to see any mishaps in alignment. Continued with
Xtra colour number 121 (Gloss Sea Blue).
With the help of Tamiya Tape (6mm), I sprayed on the yellow and black
Suez recognition stripes. Decals in the box are good enough to be used.
They took set and sol from Microscale
The simple engine in the box was updated with wire and Evergreen bits
and pieces.. Exhaust pipes were connected to the cylinder system. I
added the “firewall and connected the engine to the firewall. The Wright
Cyclone in place I turned my attention to the “open hood”..
The plating surrounding the engine was divided on the centerline. The
starboard side was glued in place and the port side was opened with a
thin metal hinge. Finally, I added the landing gear, although without
the wheels.
|
HOW TO SEAL PAINT AND DECALS |
I like to seal my models with a mixture (
30-70 %)of Glitsa parquet satin varnish and methylated spirit. This
mixture can easily be handled by the airbrush. Due to the nature of the
parquet lacquer, it gets the hardness of glass. It can stand sunlight
for years without discolouring decals or paint.
Any questions regarding this form of sealing, let me know. I like to
share my little bit of model knowledge with other dedicated modellers.
Information:
Kit is still available from the ERTL company Skyraider AD-4W number
408622.
Just punch Skyraider on the search page.
Photos are made with a simple Ricoh Caplio G4 wide (digital)
Photos and text © 2005 by
Derek Derks
June 12, 2005
www.carrierbuilders.net |