|
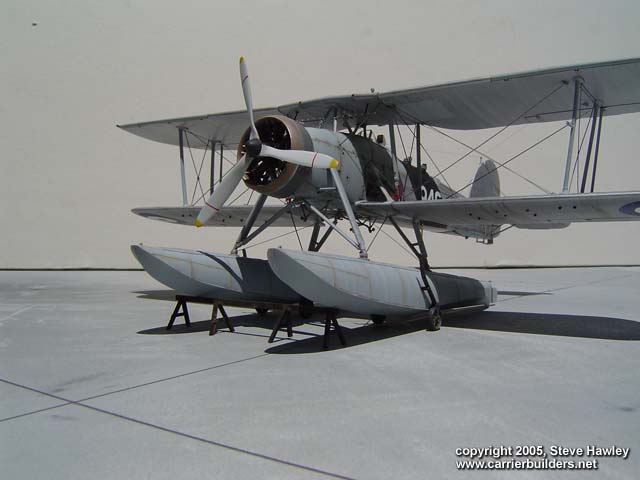
Tamiya's Fairey Swordfish is without
question one of the top five plastic kits available. Few kits are as
accurate and fall together as well as this model. The only complaint
I've heard is the price and the fact that the Tamiya Photo Etch is not
included in the kit. As we all know, these gripes are overblown
considering the quality of this beautiful Tamiya offering. There are
many Tamiya Swordfish reviews available on-line and in magazines so I'll
try to focus on the details that are often missed in those reviews.
-
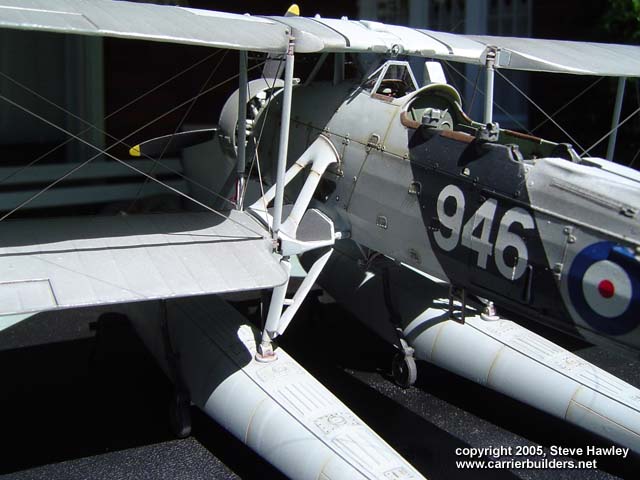
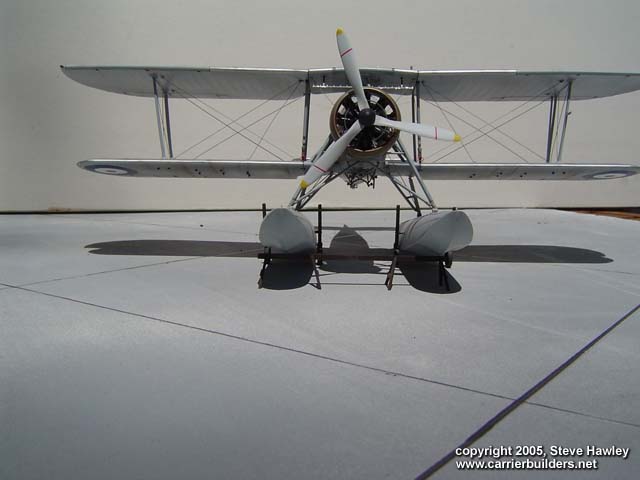
First and most important...Please,
please don't mount the upper wings before the lower wings! If you do
you will have a very sad looking Swordfish since the wings will
angle down (anhedral), looking very much like a tired bird rather
than the actual plane. Always install the lower wings first with the
slightest dehedral. Check your references but I'm sure you'll agree,
the Swordfish didn't have any anhedral. But still, time and time
again those who model this plane fall into that trap. Just check the
internet reviews and I think you'll see what I mean.
-
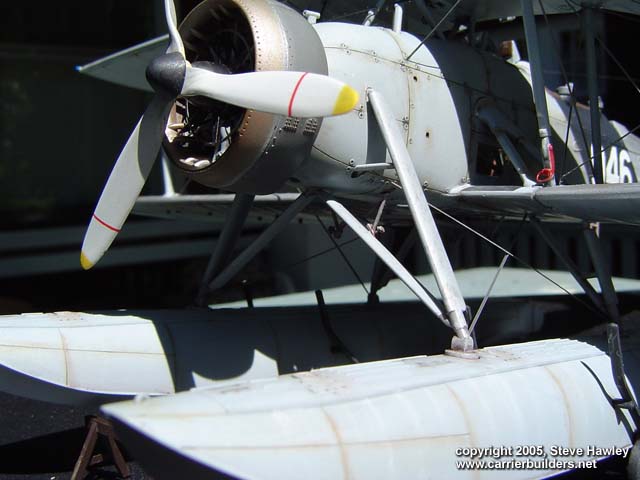
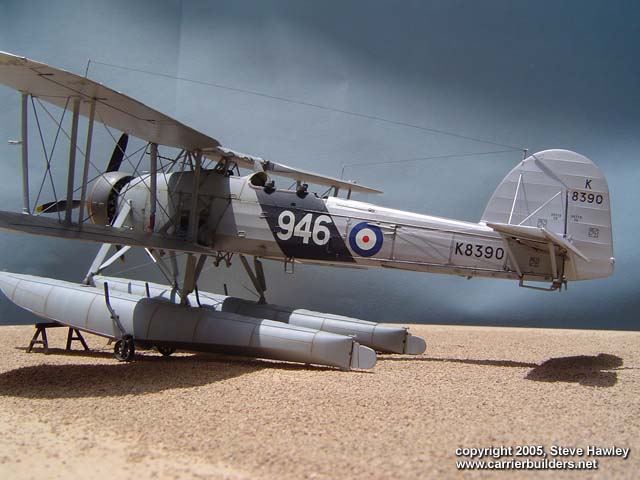
On a lesser note, most WWII Swordfish
had the exhaust pipe pointed slightly up. A very minor error for
Tamiya and easily corrected.
-
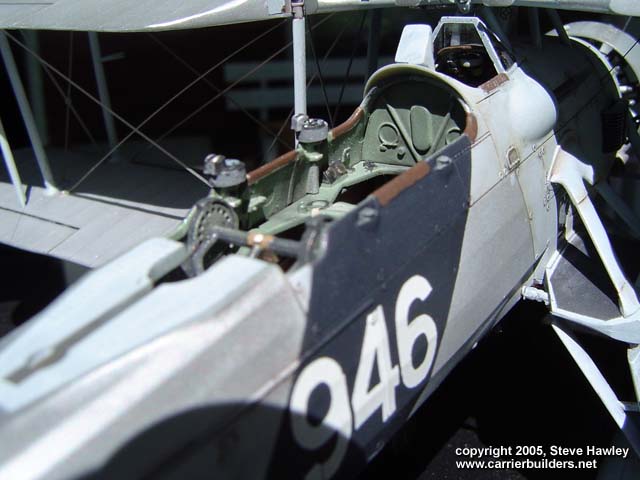
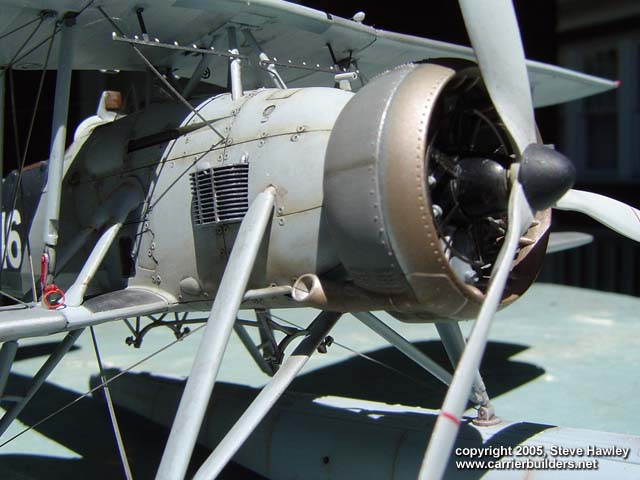
Another common error often seen on
the net is in the cockpit area. The "table" surrounding the
navigator has a seam line that should be eliminated. Just a little
more attention to detail will take care of this problem.
-
I'm sorry to be a bit vague here but
I seem to recall that that the rudder needed to have some work.
Check your model but I seem to remember the ribs of the rudder not
lining up with the ribs of the tail. I hope that is somewhat
helpful. All I had to add to this beautiful Tamiya Swordfish:
Reposition Elevator down Add fishing line to represent elevator and
rudder control lines Add panty hose for accurate antenna wires. AND
THAT'S IT!!!! And that's why I'am a big fan of this kit. Yes it IS
expensive but how expensive is an inaccurate kit? Hope you find this
review helpful.
-
One more tip to save you some grief.
As you're opening the holes in the wings for the Photo Etch, please
make the hole larger than you think is necessary. I thought I
had slot 'B' large enough for tap 'A' but I bent one of the rigging
wires trying to force it in. So do yourself a favor and get the
slots big enough so the wires will just fall in.
Photos and text © 2005 by
Steve Hawley
May 27, 2005
www.carrierbuilders.net |