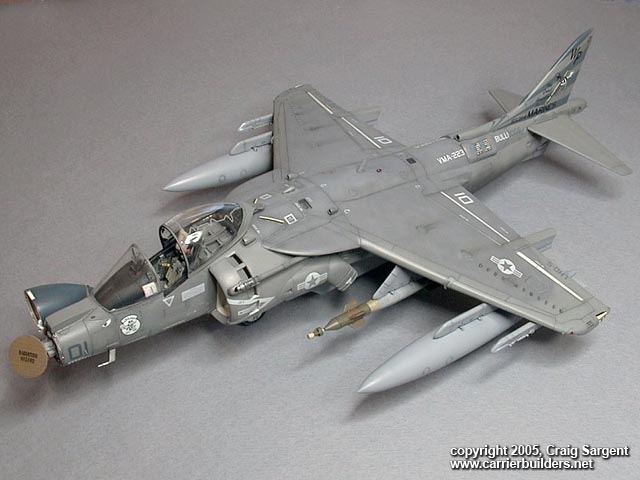
I’ve always liked the beefier look of the
American late model Harriers compared to the more anaemic look of their
British counterparts. Unfortunately, until very recently with the
release of the new Hasegawa kits (and they still have some faults),
there wasn’t a readily available kit of the radar nose version of this
ubiquitous jump-jet.
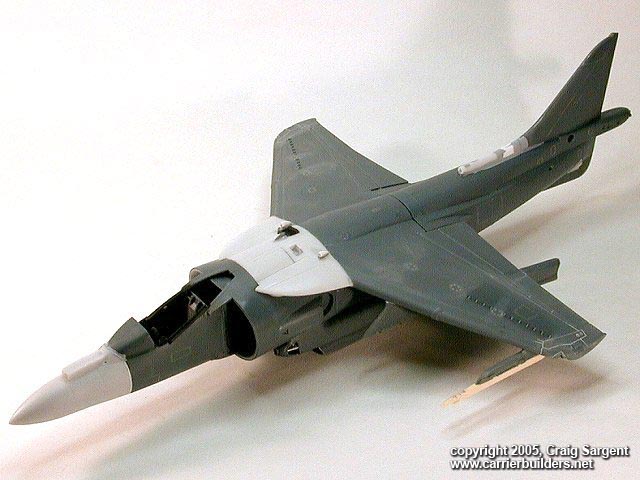
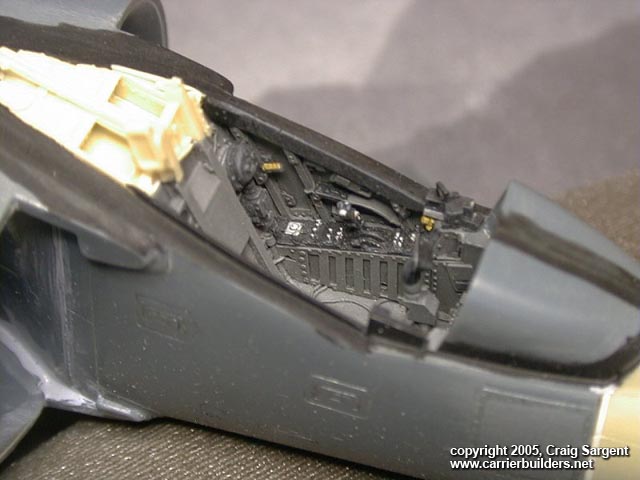
The kit was finally pulled from the cupboard to finish in February 2005. The main reasons were fourfold: first was the approaching Scale Model Expo in Wellington (suffice to say I didn’t finish in time); secondly was the arrival of a TAV-8B conversion kit for one of my Hasegawa AV-8B kits (this meant a lot of the AMRAAM Line resin parts could be replaced with easier to work with, and better detailed, spare Hasegawa parts); thirdly, the arrival of the Aires F/A-18 radar set (which was almost identical to the one used in the Harrier); and finally, the arrival of a decal sheet from a friend in the US (thanks once again to Emil "Elmo" Varosi for the decals) depicting the scheme I had been wanting to do for some time. These four things worked together to get me sufficiently motivated to finish this kit off. First in the order of things was to fair in the intakes properly with Milliput and paint them white, then paint and add the engine face, so the wings could finally be fitted. Intake doors were scratchbuilt from plasticard. Also before the wings were fitted, I added the front half of an Aires Harrier main wheel well to mount the main gear to. The wings took some serious sanding and filling all around to hide the seams, including 30 thou shims between the lower wing and fuselage.
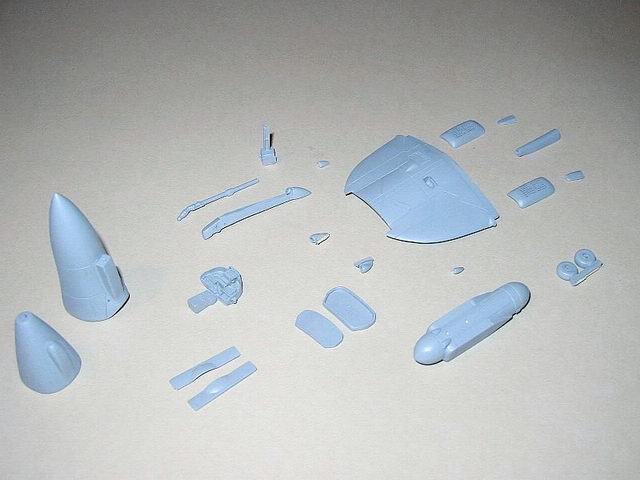
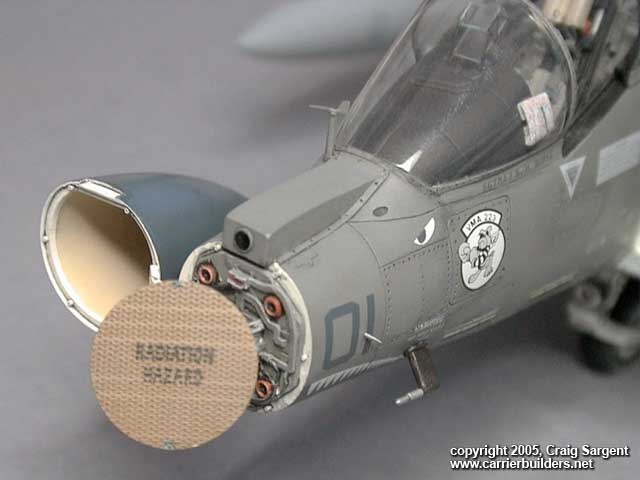
The radome was sawn off at the panel line and cleaned up to use as a master to plunge mold a new radome. This had interior detail added to it, along with the hinge from the Aires Hornet radar set. The Aires radar was modified to represent the Harrier version. A scratchbuilt bulkhead was glued to the front of the Hasegawa nose and then the Aires radar was attached to the front of the fuselage, and final detailing done to it. The IR lens was drilled out and a Reheat instrument bezel attached as a surround, and the Monogram pitot tubes glued to the nose (note that if you build the Monogram kit, they would have you attach the pitots at different heights on the nose - just look at made up models from the front to see what I mean).
The Monogram underwing pylons were all
removed and replaced with items from the Hasegawa kit (these are not
carried often on the trainers – the one pylon that is used on the
two-seater will come from the pylons removed from the Monogram kit).
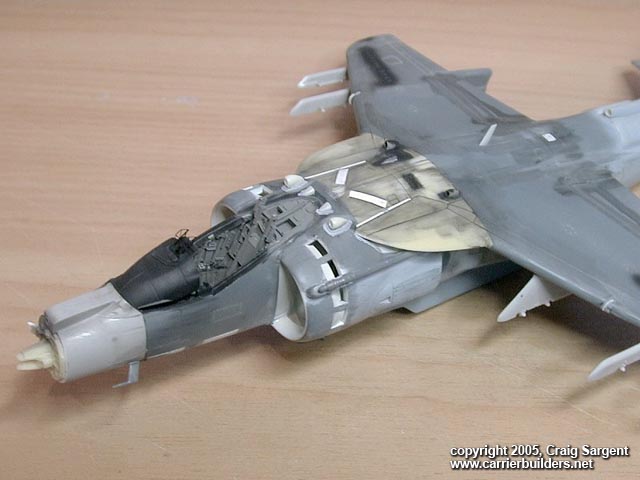
Scratchbuilt items included the GPS and shark fin comms antennae on the
upper fuselage spine, the leading edge wing fences, formation light
strips and engine bay hinges. Panel lines were rescribed and rivets
added to duplicate the ones on the Hasegawa kit. Some of these were not
quite right (especially on the AMRAAM Line upper fuselage/LERX part,
which had all panel lines filled in and rescribed) and referral to good
images and plans was used to try and get the panel lines correct on the
Monogram kit.
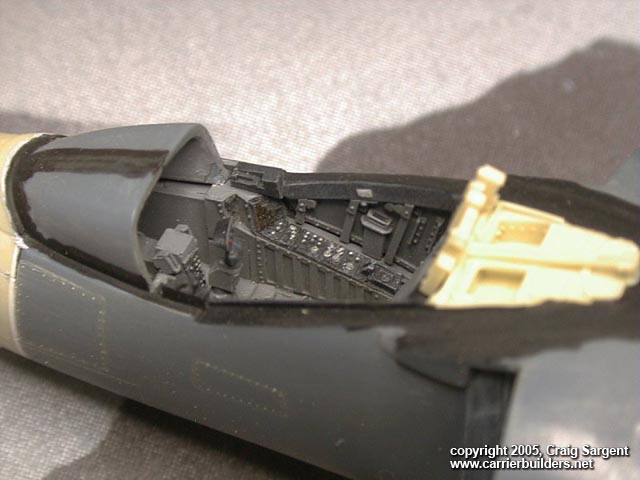
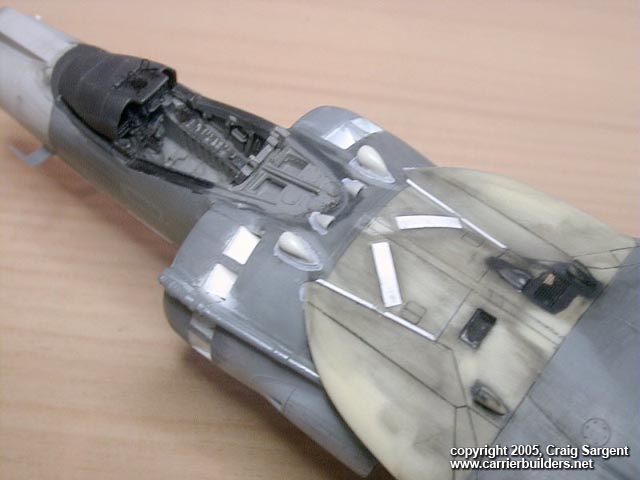
Final step in the assembly process before priming was to add the Hasegawa windscreen (the Monogram transparencies had crazed with age). Unfortunately, the Hasegawa kit moulds part of the windscreen on the fuselage, which Monogram have chosen to mould as part of the windscreen. The bottom pieces therefore had to be cut off the Monogram windscreen, added to the Hasegawa windscreen and the whole lot faired in to the fuselage. The cockpit, windscreen and intakes were masked, before whole model was then primed with Mr Surfacer 1200 to check for flaws.
Click here to see Part II of this article... Photos and text © 2005 by Craig Sargent May 25, 2005 |