|

After the
attack against Pearl Harbor, the US Navy decided about designing a high
performance carrierborne aircraft. It was the Tigercat. More than one
year after the first flight of the base model, the new version that was
capable for night operations rolled out from the hangar. It entered the
service in Ocober, 1944 at VMF(N-531). Until this the Japanese
opposition lost it’s strength, so Tigercats continued the service
primarily as escort fighters. When US dropped the first atomic bomb,
they were anchored near Guam. After that they flew to Iwo Jima, and were
deployed to China in operation „Show the Flag” in October. Then these
aircraft were doing recce missions. Tigercats were used in the early
stages of the Korean war too.
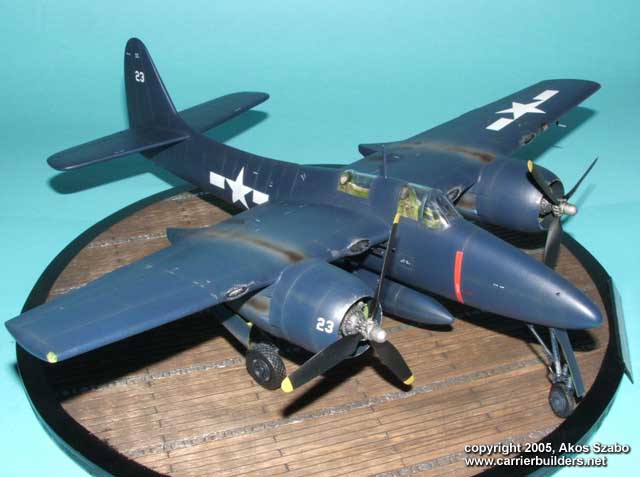
This version
is operated two crews instead of one as the fighter version. The cal .50
guns were taken out to accomodate the AN/APS-6 radar designed for night
operations, so this version was equipped with 4 of 20mm guns only. The
underwing stores (2x500kg) and the pylons of the 8 unguided missiles are
remained intact, and operable. In the case of some planes downgraded to
day fighters every movable and not spare parts were removed from the
rear cabin, they planned an 80 gallons fuel tank to fit it, and the
plexy parts were replaced witgh metal covers. Nose guns were built back.
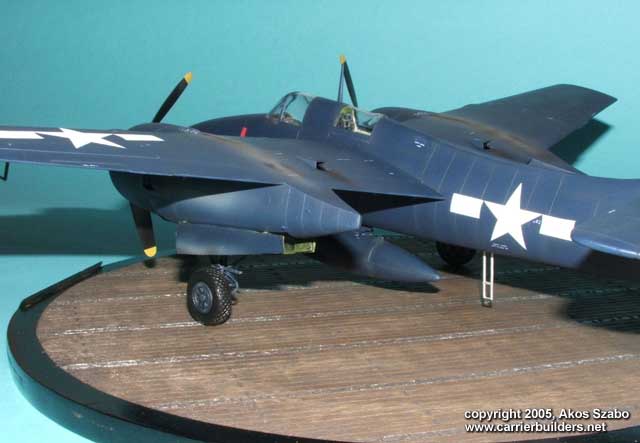
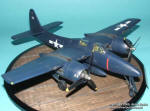
This model was built based on a photo taken in the Pacific Ocean
theater, in the carrier operations evaluation period.
This model is the AMT one from 1995, it’s good quality, accurate and has
nice details. The engraved panel lines are nice, and are in the good
positions. Each of the sprues can be found in separate bags. It’s a nice
touch that the oil barrel that was used in the real life to avoid the
plane sit back, is included in the kit. The cockpit detailing is fine,
something like the new and best revell kits. Separate sidepanels are
included, and the instrument dials has recognizable calibration. The
wheel wells features oil bottles, braces, wires in hogy detail levels.
I’ve never seen this detailed laning gear strut, although I’m over the
build of several Tamiya kits. The only feature I dislike is the little
bit soft plastic. The tires are really made of rubber, and has good
textures. The only problem with the rubber tires that it bites into the
connecting plastic parts. I did not belive it for a long time, but as
this model was on a rest for several years in my stash, the tires really
hurted the plastic! It can be avoided by painting the connecting
plastic’s surface before attaching.
- Seat belts
made of colored paper strips and buckles made of wire
- Throttle, handles from stretched sprue
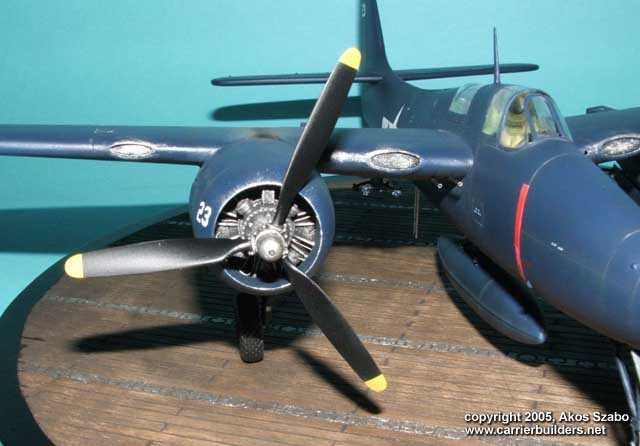
- Ingition wires in the engines made of copper wire
- Gun barrels made of syringe
- Lights on the wingtips
|

Click on the image to enlarge! |
Construction
was fast and straightforward, I had to fill and sand only at connections
of the wheel wells to wings and the wings to fuselage areas. I used 2
component filler to do this. As I have some real parts of WWII US
aircrafts from the wheel wells and cockpit I used these as a reference
to mix the correct colors to paint. I gently painted the surface with
thinned Rotring ink, and then I removed the excess. Then I drybrushed
with lighter colors over it.
Sometimes
painting a simple dark colored aircraft is a harder task than camo
colors. There are several models out there with nicely airbrushed dark
colors, but with the details smoothed in. In this case panel line wash
with black won’t help either. On the top of this, this aircraft is a
relatively new in the timeframe I wanted to present, so I had to handle
weathering very carefuly, and I used a different method than it’s usual
to do this.
The external painting is Model Master. First at all I airbrushed the
main coat, then I airbrushed around the panel lines with a lighter tone
of the base coat, with taking care to keep the subtle difference between
the colors.
When I built my older models I always had a problem with the decals and
decal solutions, somehow these never gave a satisfying result to me, so
I did not used any decals in this case. I scanned the decals to adhesive
paper, I cut them aroung and I used these for masking. The small text
were handrushed with a very thin brush, and these are lloking great even
from checking them closely. Then I sealed the paints with a mix of Model
Master gloss and semi-gloss clear coats. I didn’t wanted to build a
bright gloss aircraft, they never appeared gloss on the archive photos.
Several months of sea service they appear more flat.
|

Click on the image to enlarge! |
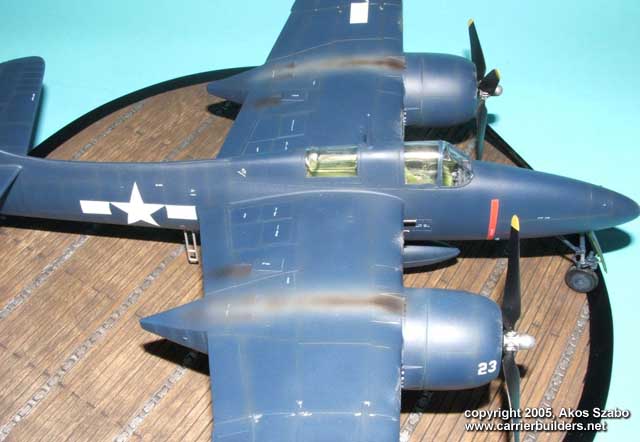
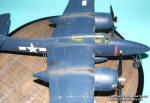
The only thing left to do was the weathering. Interestingly the exhaust gases
made this blue colors more like a sand color after a few actions. It’s specially
appeared at the tigercats, as they didn’t drived the exhaust gases to a common
rail, the exhaust pipes simply ended beind the engine to achive more power.
Because of this I slightly fogged a lighter coat behind the exhaust areas, and I
sprayed the dark onto these areas. Some smoke color were applied to the guns as
well. I simulated paint chipping with applying humbrol aluminium to the weared
areas.
The diorama base was scratchbuilt using a screwdriver and a home made punch
tool.
The model was completed in two weeks approximately 20 hours. It was the easiest
build since I’ve started modeling 20 years ago. This kit is highly recommended
although it’s not that easy to put your hand on it.

Photos and text © 2005 by
Akos Szabo
May 20, 2005
www.carrierbuilders.net
|