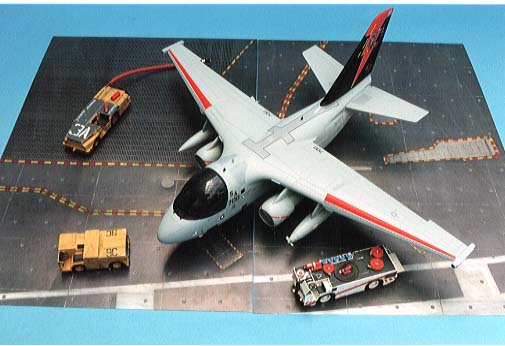
The ESCI kit has been a favourite of mine for
many years now, firstly it is easy to put together, secondly it is easy to paint
and thirdly the cockpit and canopy can be fitted last of all, making life so
much easier.
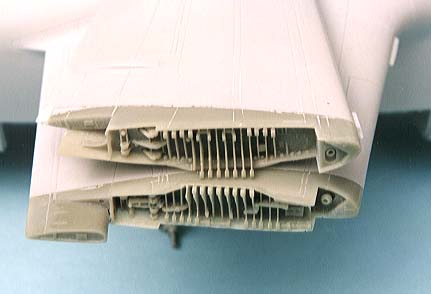
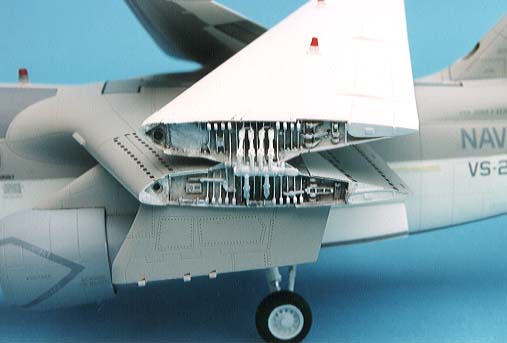
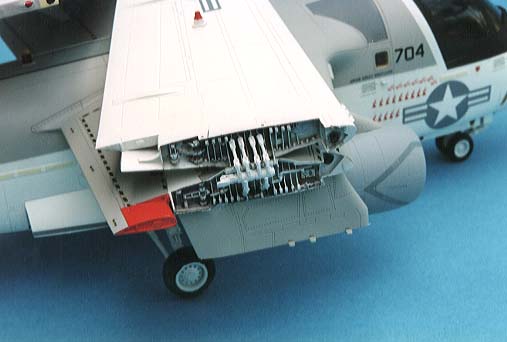
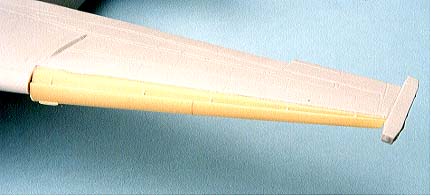
The main gear bulkheads were positioned and cemented and in this case the undercarriage legs were added. The kit legs are a bit delicate so I used the white metal set from Aeroclub “SET V170”These are much stronger and will not bend, if I were making an all over grey machine the legs would not be mounted yet, the bays would be sprayed white and the doors temporarily put in position with a blob of Blu Tac to mask off the bay while the grey is sprayed on. The tailplanes and sonobouy panel can be added to the main fuselage and the joins cleaned up now but the wings need attention before they can be constructed. Paragon’s instruction sheet give exact dimensions again here and I cut just short of the mark and sanded back carefully to my line, instead of trying to make complicated bits to fit the wing fold itself you just cut straight across the wing in two places and you get resin “end caps” to butt join to the two wing sections, simply cut off the pour blocks from each part and stick them on the ends don’t try to make the pour block fit the wing cavity it’s much too fiddly and time consuming.
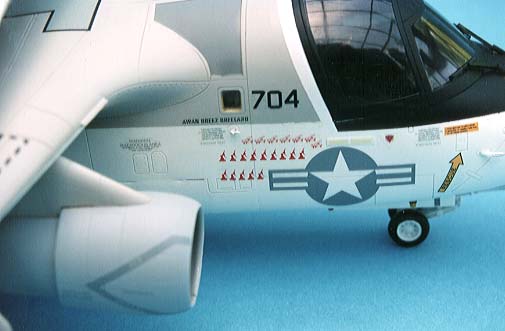
The cockpit can now be treated add what ever
suits your requirements ready for painting, add all the little antenna after
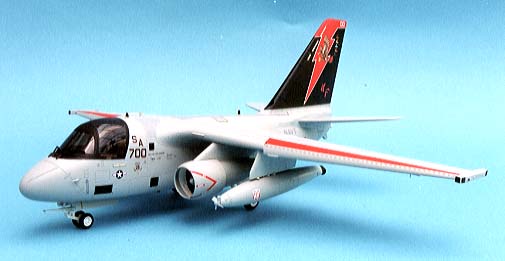
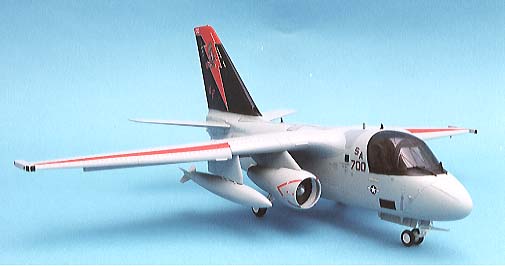
cleaning up the fuselage joins and let us spray. I have used Humbrol Hu 130 for
the white areas sprayed on freehand; this was left overnight while I painted the
cockpit.
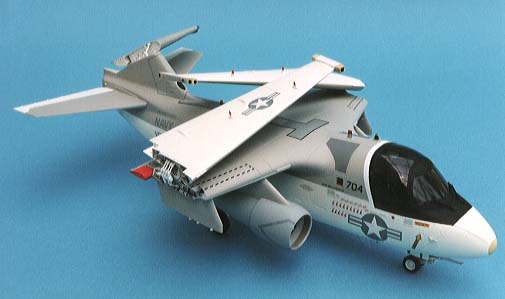
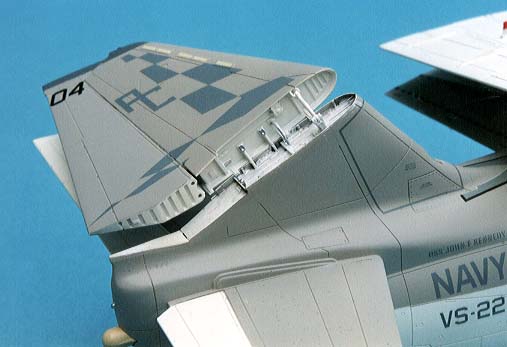
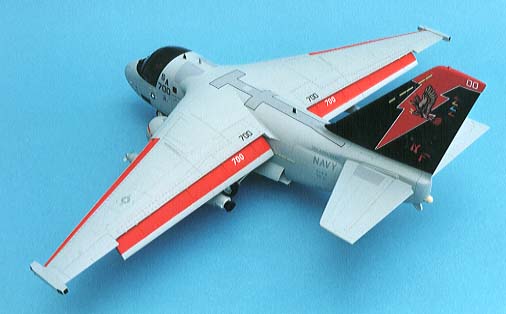
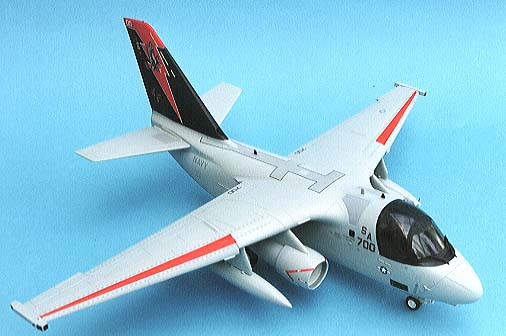
Adding the outer wing sections needs care; I interlocked the hinges and supported the tips with a pillar of Blutac at the correct angle appx 10 degrees then superglued the hinges and added the remaining tiny linkages. The tail fin I treated differently, a tiny hole was drilled in both halves and a piece of florists wire was inserted between the two and the fin bent over to right angles then superglued in position still supported by the wire. Lastly the cockpit and canopy were added, the engines built up and mounted along with the pylons and instrument probes then the wheels and gear doors were added to finish the job.
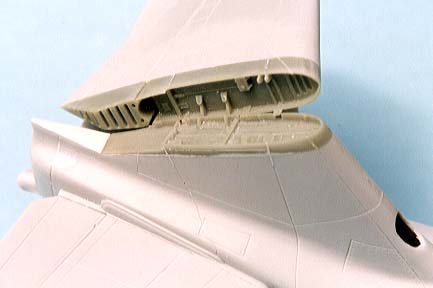
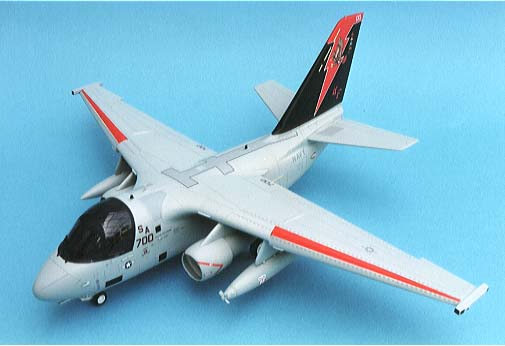
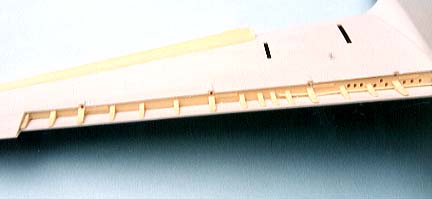
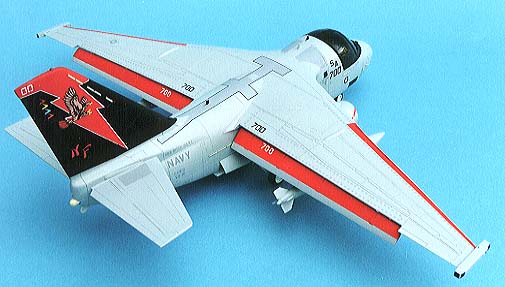
Paragon also does a slats and flaps set for the Viking and I
have used these along with the new decal sheet from CAM decals for VS-21. This
time the job is fairly straightforward it is just a case of cutting the kit
flaps off and replacing them with new interior wing spars and hanging the flaps
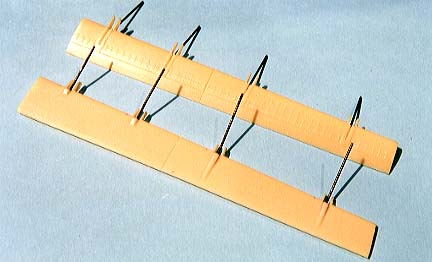
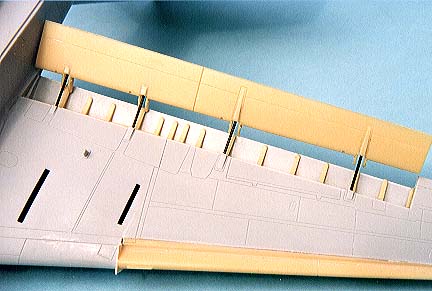
on, very simple. My method of mounting the flaps is to add four lengths of
florists wire to each flap where the screw jacks would be and drill matching
holes in the spar, then push the wires into the holes and bend the flap down to
the required angle, the holes must be a tight fit though you can then adjust to
suit.
Photos and text © 2005 by Ted Taylor May 3, 2005 |