|

In 1959, the first helicopter unit (Primo Gruppo Elicotteri) of the
Italian Navy, received the first 3 HSS-1 Seabat helicopters and some year after,
others 11 HSS-1N ASW version, with modified undercarriage, sonar and able to the
nocturnal fligh.
In the autumn of 1964, an hurricane pulled down on airport of Catania (Sicily),
base of the First Group, destroyed 6 of the 14 Seabat, the remaining helicopters
will come employ in various roles; the antisubmarine warfare, search and rescue
and the crews training.
Towards the end of the 70th, the survivors Seabat, considered obsolete, will be
assigned to training roles and to naval operations support until their
definitive retire from service in 1978.
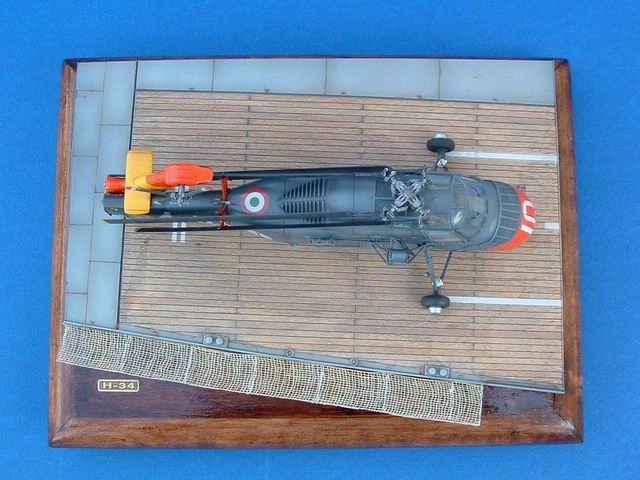
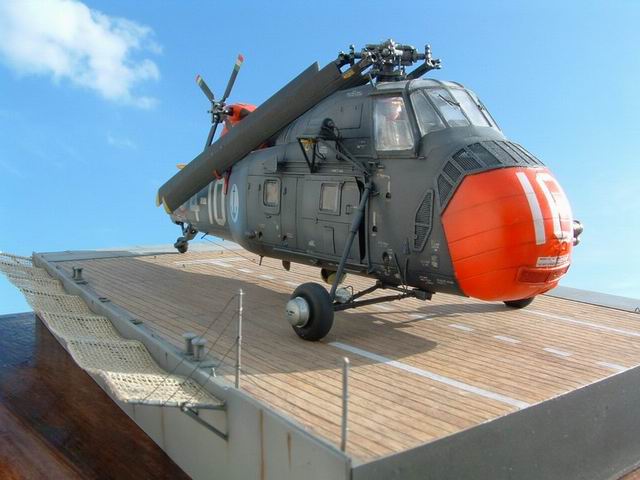
The helicopter that I have reproduced, was one of the last ones to being retired
from service, and is placed on the flight deck of the support ship “Bafile”
(former HSS Saint Gorge), used for the transport of the italians marines of the
San Marco Battalion during a landing operations on the beach of the Sardinia in
the summer of the 71.
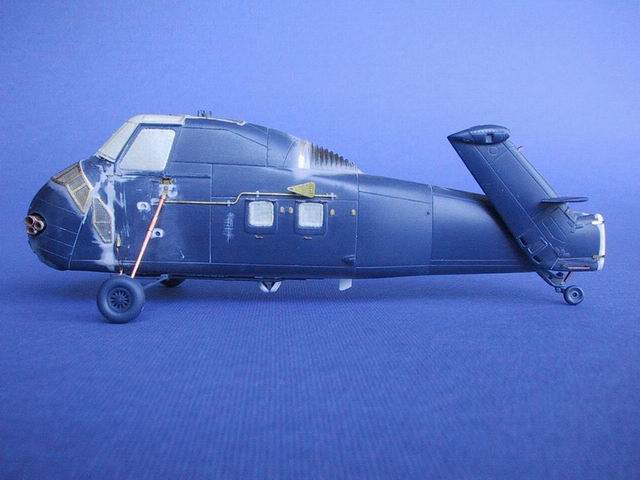
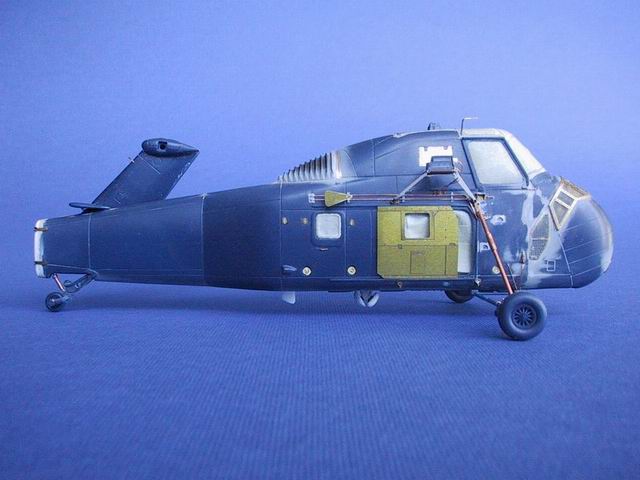
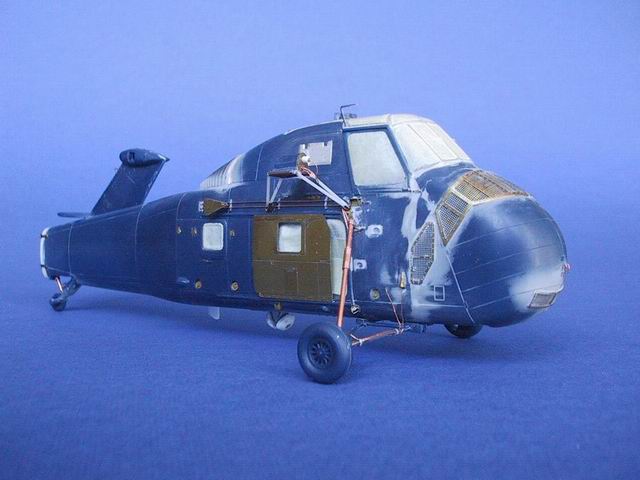
To built my HSS-1N Seabat I have used the Italeri kit in 72nd scale.
Moulded in deep blue plastic, the kit have quite good detail, finely
recessed panel lines and reproduce a good copy of the original one.
The box contains the pieces to realize the HSS-1 and the version with modified
landing gear legs undercarriage HSS-1N.
In adding to the kit, I have bought a beautiful etched metal set from Part
(S72-023) that it supplies the main intake and cooling air grills and a lot of
others external details. Finally, to realize the Italian Navy version, I have
used two decals sheets from Tauromodel (72-542 and 72-557 Italian helicopters).
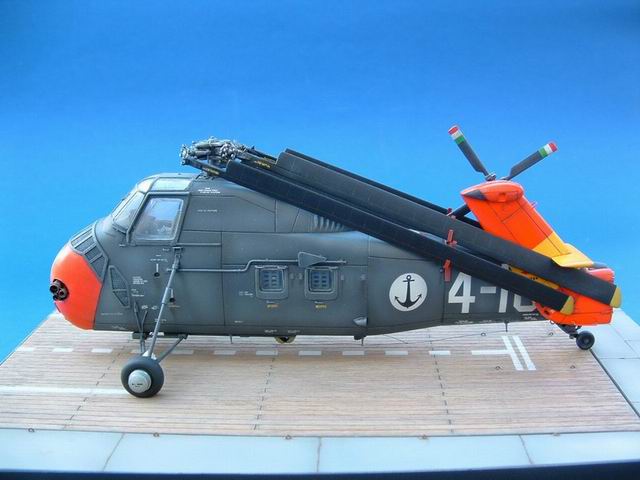
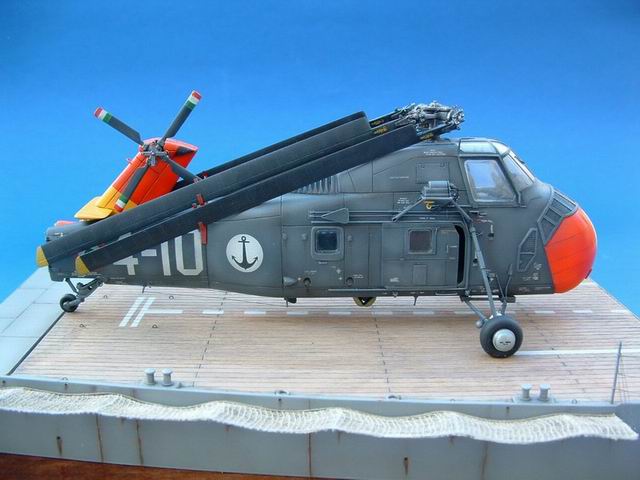
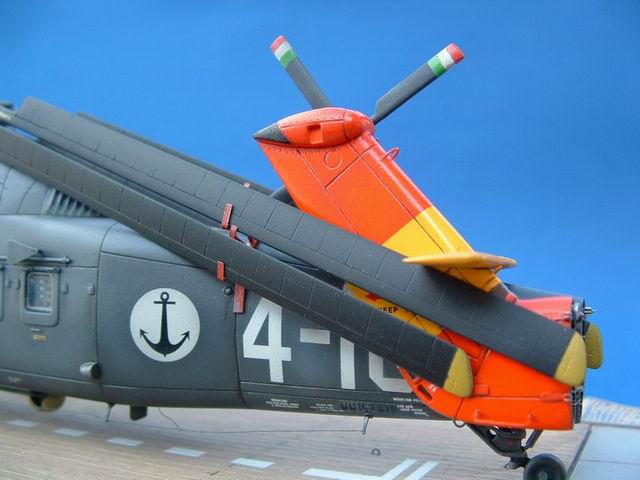
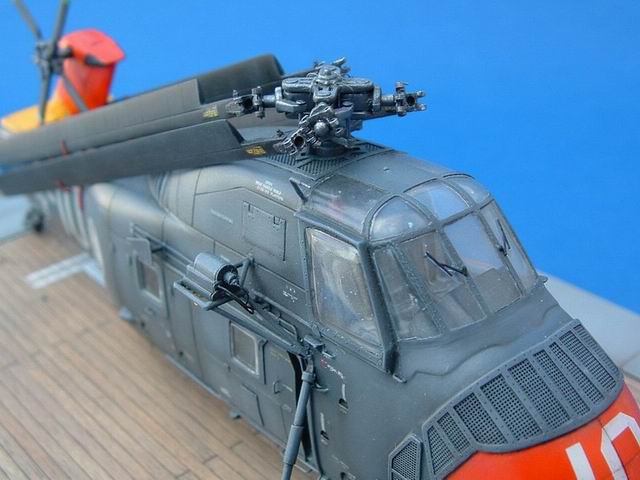
I have been always fascinated from the
carried helicopters showing the tail and the blades of the rotor folded,
therefore , the temptation has been too much strong and after to have
collected some books and photos about the Seabat, I have started to
work.
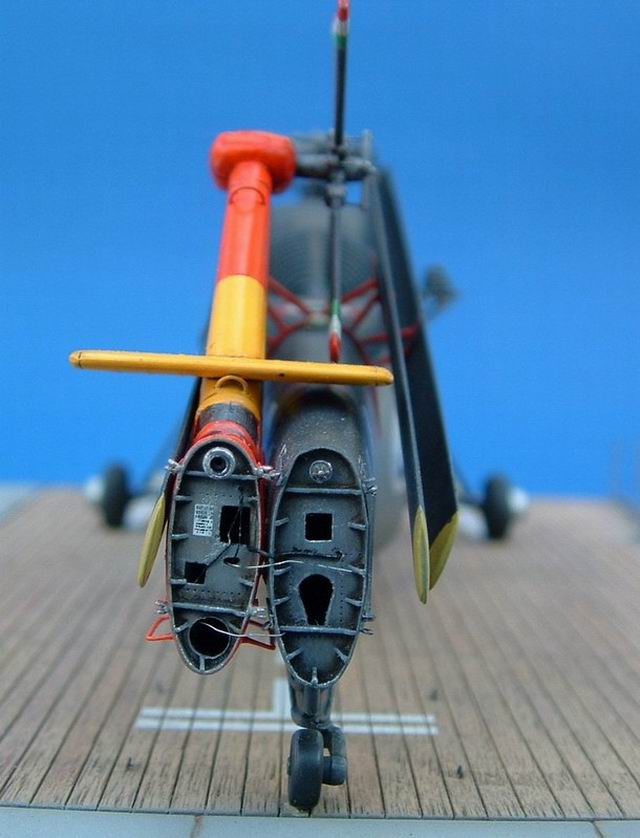
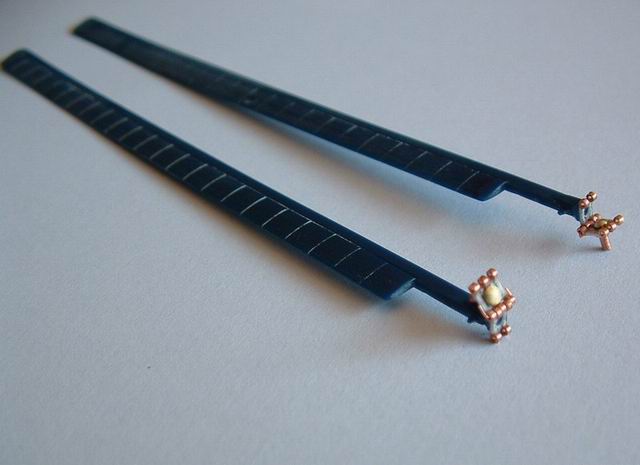
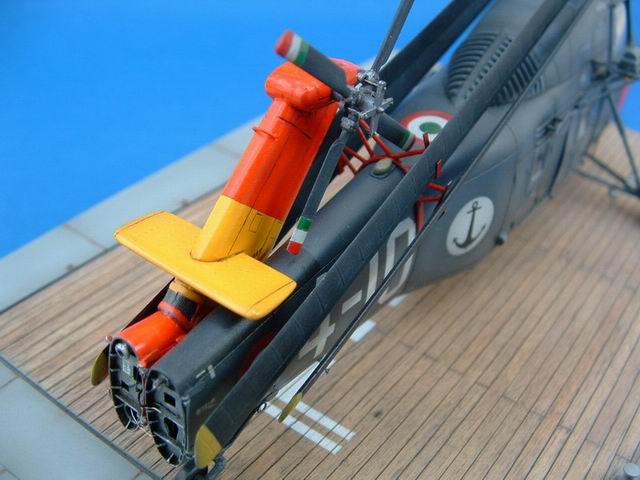
I have begun to separate the tail pylon, in order to fold the two parts,
I have realized the two bulkheads with the structural reinforcement and
have reconstructed the part of fuselage that exceeded outside with a
thin styrene strip, I have replaced the folding joint mechanism with the
new etched ones, finally I have added the handlholds for the tail
folding and some small tubes and electric cables.
Using some small parts of a clock, I have reproduced the joint gear of
the tail rotor.
|


Click on the images to
enalrge! |
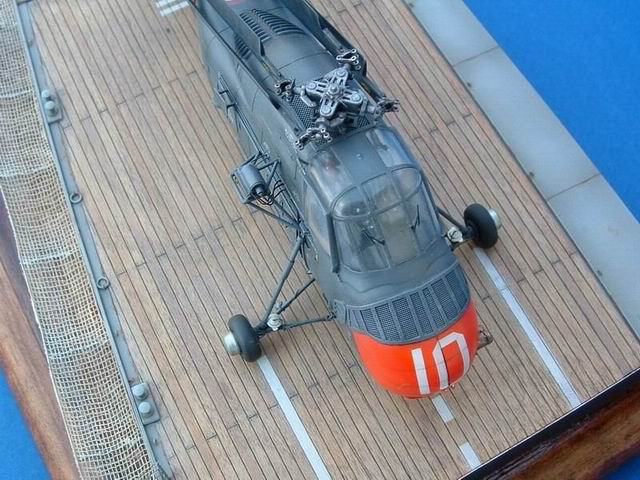
I have detailed the original cockpit adding some
instrument panels, push-buttons and switches.
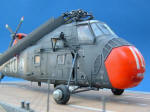
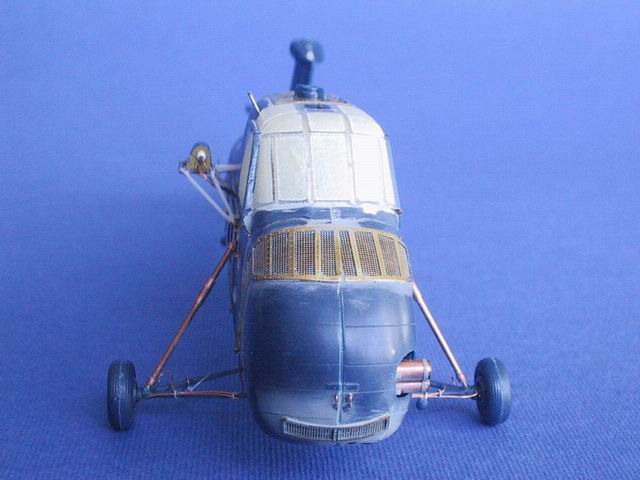
An other hard job has been the substitution of all the air intake grills with
the photoeched new one’s, especially for the big engine air inlet grill that I
have had to cut in more parts to compensate the remarkable curving of fuselage
nose.
Continuing to detail the outside of the fuselage and following the photos to my
disposition, I’have added some tubes, handholds, the fuel tank filler caps, the
aft-sliding cabin door and the doppler radar antenna.
I’have scratchbuilt the rescue hoist and its mounting frame, the triple pipe
exhaust system using different brass tubes.
The landing gear legs from the kit appeared too much thick, so I have replaced,
scratchbuilting them with brass tubes of various diameter.
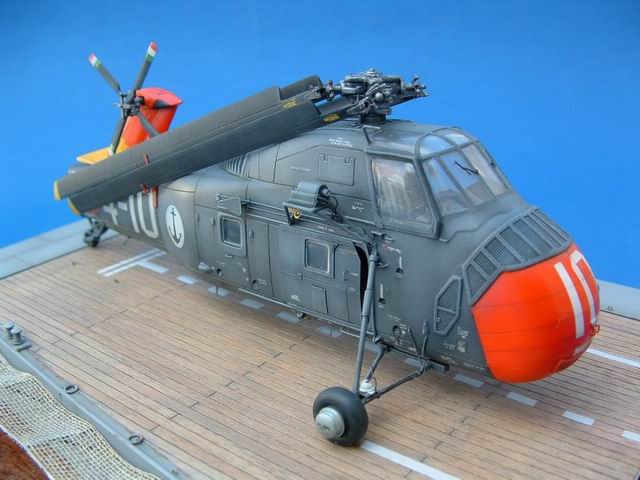
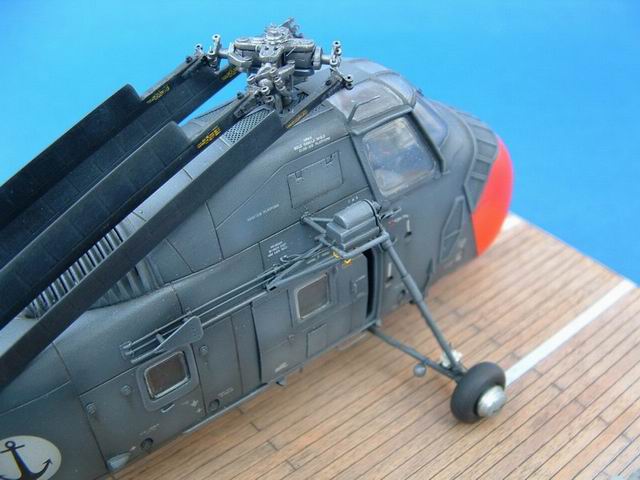
A large engagement has demanded the folding
mechanism of the blades of the main rotor, every blade was hinged on the both
side of its attachament fitting with the rotor’s sleeve and could be folded
along the fuselage only removing the connection hinge.
To realize the hinges and the blade’s attachament fitting I have used some small
pieces of brass tube glued on a plate of styrene sheet, after I have fixed it
both on the rotor’s and blade’s sleeve, the final result appears much realistic
and the system is free to rotate like that real one
|
Painting, weathering and Markings |
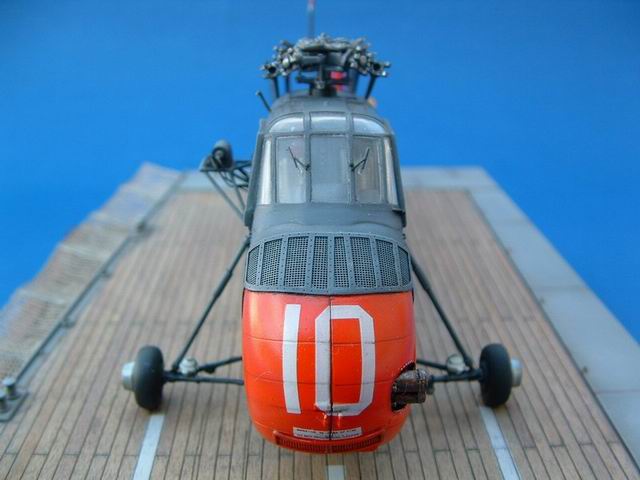
The helicopters of the Italian Navy at that time, were painted in a
standard ssheme; overall Dark Sea Gray with red-orange nose and the
red-orange and yellow tail pylon.
The Seabat that I wanted to reproduce (code 4-10), being near to the end
of its service life, appeared heavy weathered and unarmed with the
torpedo launcher pylons removed.
I have painted the fuselage using as color base the Gunze H-333 Extra
Dark Sea Gray, the nose with a base coat of Tamiya Gloss Red and with a
over sprayed coat of Testors Red Day Glo.
After to have sealed the model with a coat of Gunze gloss clear varnish,
I let it dry and I’ve filled all the panel lines with black sepia oil
color, the excess of color was wiped off with a very lightly damped
cloth.
The second step was to spray over different coats
of thinned Gunze H-333 Extra Dark Sea Gray, more lighter in the center of every
panel and darker on sides to reproduce the various shades.
The decals where then applied, using carefully the Gunze Mr. Mark Softer (the
Tauro decals are very good but also very thin).
Once the decals had set, the model was sealed with a coat of mixed Gunze Clear
and gloss clear varnish until catching up a semi-gloss finish.
The final touch has been a light drybrush with a mixture of grey and azure oil
paint to exalt the raised details.
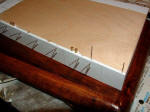
To represent realistically the model, I
have builted one small part of the flight deck of the support ship “Bafile”.
The base of the diorama is made of plywood, bulkheads were constructed
with styrene sheet and scribed to simulate welding marks. The deck is
made with a thinner, 1.5mm plywood sheet, again scribed to simulate the
planking and to complete the work, I have added some other small details
like cleats, hooks and eyelets, stolen from the box of the naval models
detail parts of my dad.
|
Click on the images to
enalrge! |
-
Gli Elicotteri
della Marina – Rivista marittima Roma 1981
-
H-34 Choctaw in action – Squadron
signal n.146
-
Westland Wessex – 4Plus Publication
The one of the best walkaround about the “Seabat”
on the web:
http://www.b-domke.de/AviationImages/Seabat.html
Photos and text © 2005 by
Sebastiano Tringali
May 2, 2005
www.carrierbuilders.net |