| F-4J Phantom by Charles Sickers | ||
|
|
Brand: | Hasegawa |
| Scale: | 1/48 | |
| Modeler: | Charles Sickers | |
| AddOns: | Aeromaster Decals | |
|
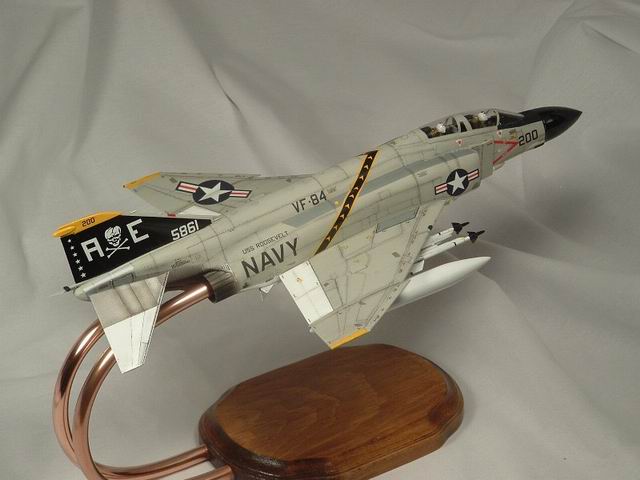
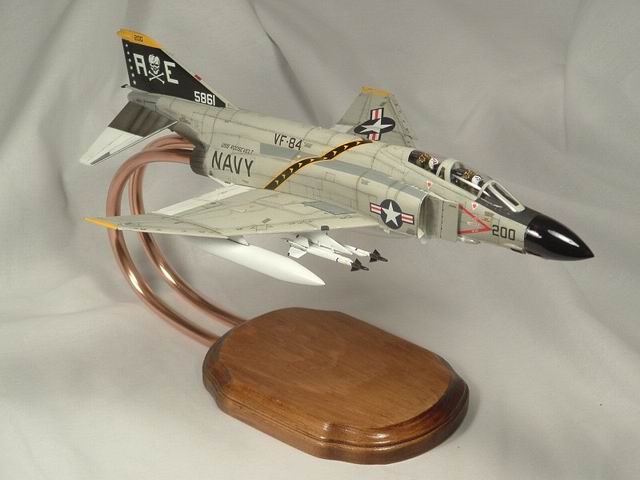
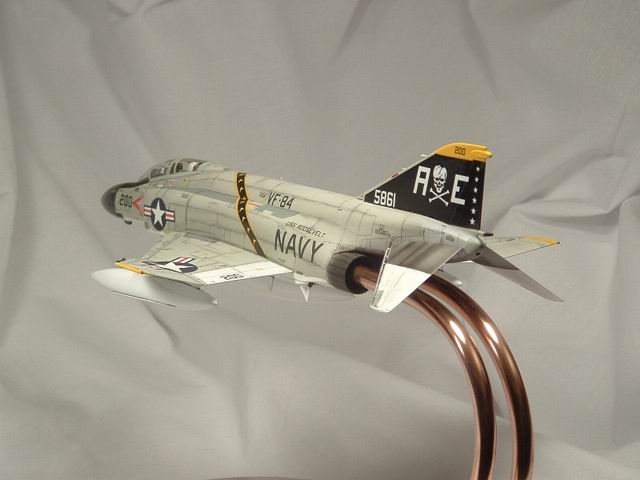
Here is my 1/48 Hasegawa F-4J phantom II, finished in 2004. Like most of my models, I built it with the gear up and I made my own stand to go with it. Construction of the phantom was pretty normal, though it took a while because I was working on it off and on, and I moved while it was in-progress. No aftermarket parts were used except for the decals.
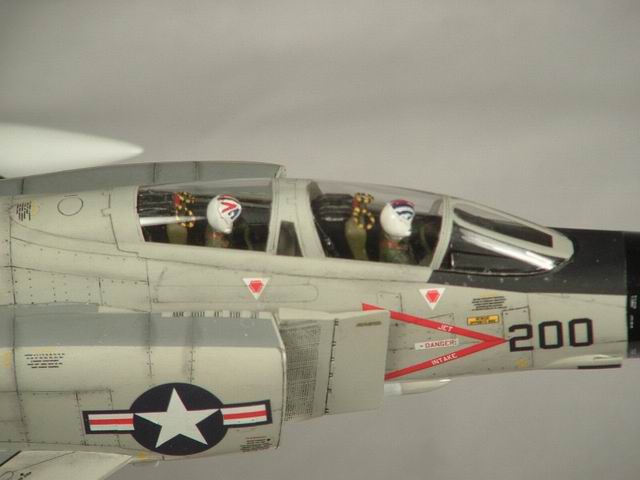
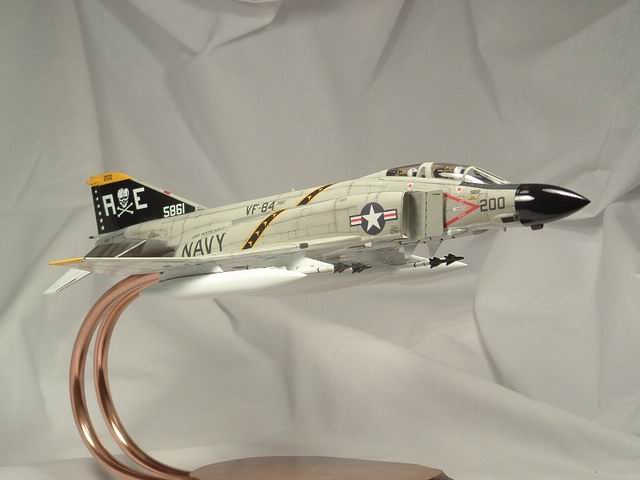
I used Tamiya white paint for the white underside and ModelMaster Flat gull gray for the top. Decals are from Aeromaster, and went on without a hitch. I also used 3/4 of a separate stencil sheet also from aeromaster. There are probably over 100 decals on this airplane (which took FOREVER), but I think it looks rather nice. After decaling, I did a sludge wash of flat black enamel and thinner over the clear coat of future. I used Cotton swabs to remove 99% of the wash, wiping in the direction of airflow. Dry pastel dust was used to darken the panel lines. For this, I mixed up white, a little yellow, and black to get the approximate shade of the gull gray paint, and then I added a little more black. The idea is to be just slightly darker than the surrounding paint. I went a little too far on this one, but it still looks okay. The biggest pain in the (neck) was the elevators. I had to repaint them 3 times to get them to look okay, and I still didn't get them very nice. It was just a matter of trying to get things done fast and not taking the time necessary to do things right. Think about how you're going to paint something before you paint it! Anyway, I eventually got the tail good and then stained the exposed metal on the elevators with Tamiya smoke.
The base of the stand is a pre-routed wooden plaque that has been stained and clear coated. These can be purchased at craft stores for about a dollar. The arms of the stand are household copper pipes bent by hand inthe desired shape. While building the fuselage, I glued in some dowel rod that was the inner diameter of the pipe, so that the pipe would slide over the dowel rod and hold the plane up. You usually have to put in internal supports for the dowel so that it will hold the weight of the airplane securely. The building of the stand was done completely by hand except for the drilling of the hole that went into the base, which was done with an electric hand drill.
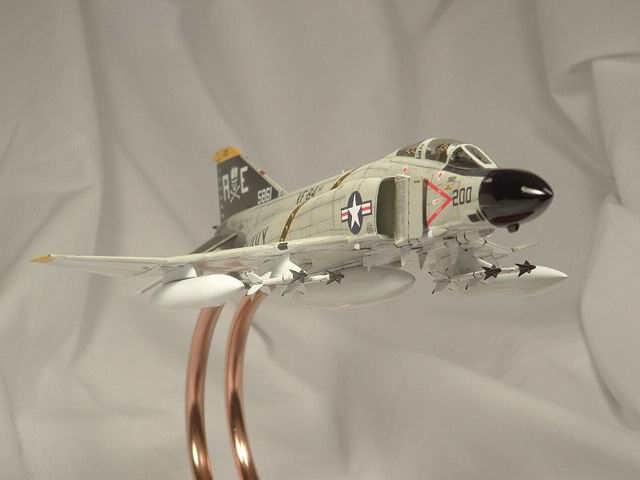
After weathering and dirtying the plane up, I sealed the plane in future, and flat coated the gray portions with future mixed with tamiya flat Base at a ratio of 3:1 (future to flat base). I would not recommend using this method, as it is very hard to get it right without screwing things up. For all my subsequent models I have used PollyScale Flat Coat, which is far more reliable and gives a good dead flat coat. I left the white parts, the tail, the fuselage stripe, and the nose cone glossy as is indicated in the instructions for the decals.
So there she is. She took a lot of work, as I tried several new techniques in the process. Enjoy! Charles "BlackCat" Sickels
Photos and text © 2005 by Charles Sickers April 07, 2005 www.carrierbuilders.net |