| PBY-5 by Steve Hawley | ||
|
|
Brand: | Revell |
| Scale: | 1/48 | |
| Modeler: | Steve Hawley | |
| AddOns: | - | |
|
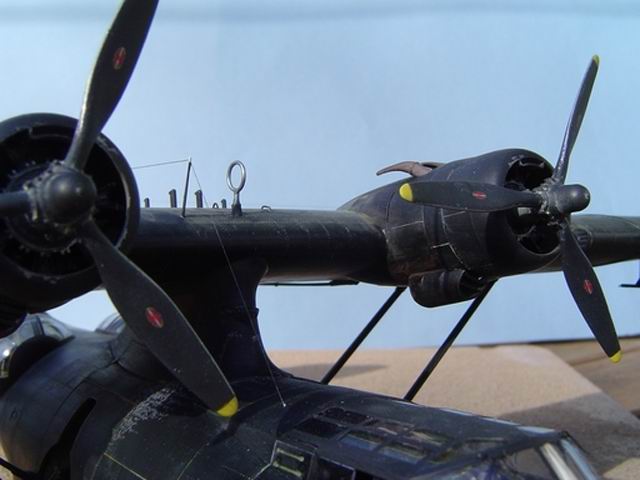
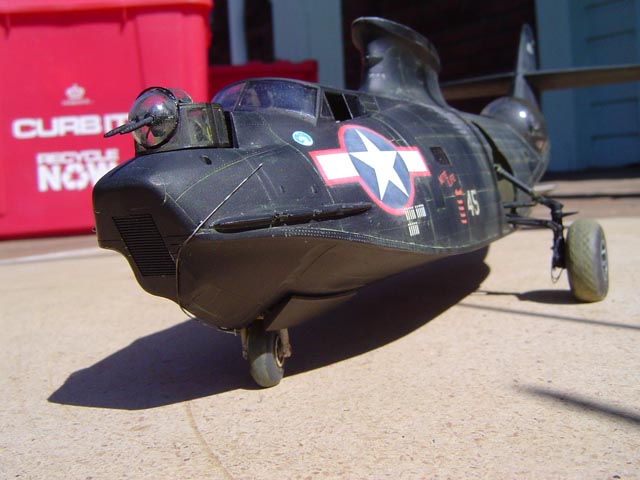
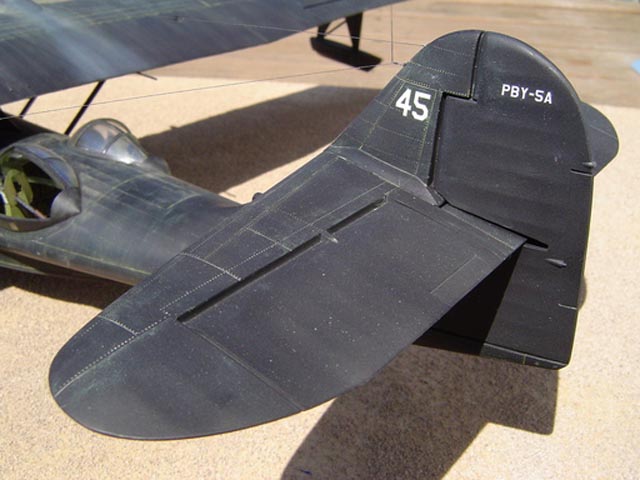
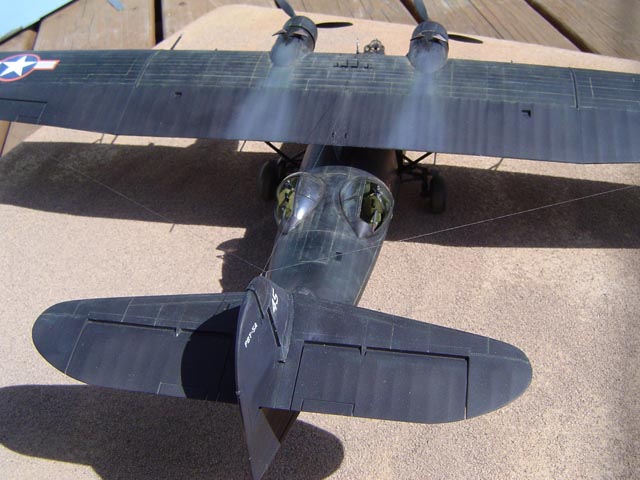
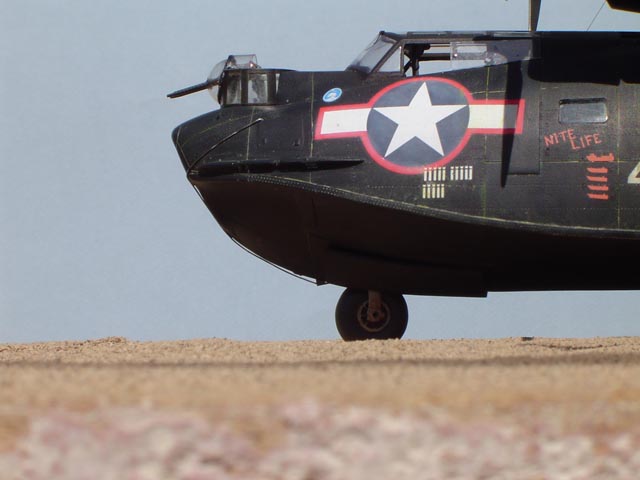
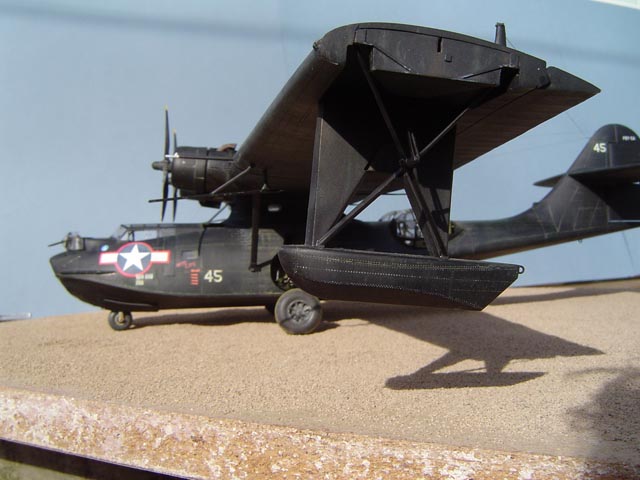
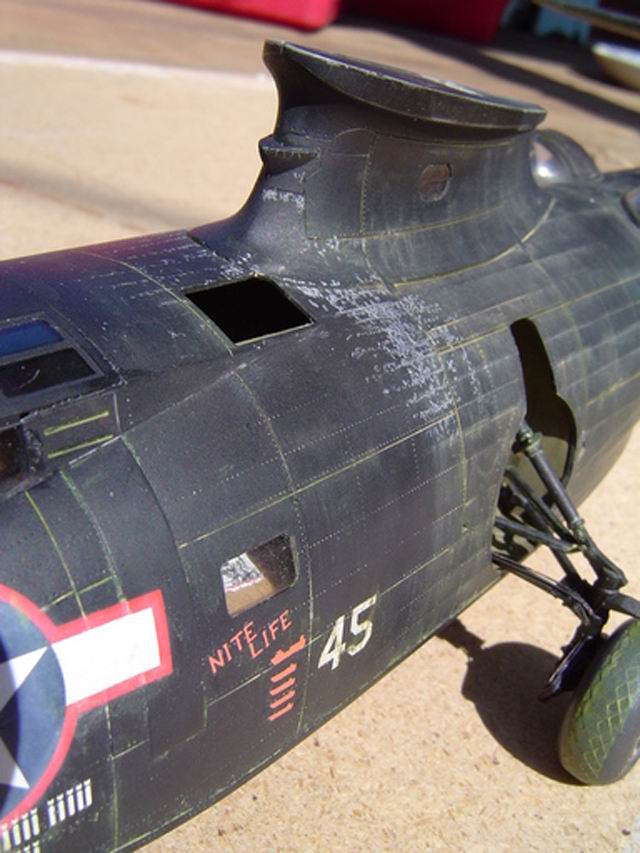
The Revell 1/48 PBY-5 and 5A has been around for quite a few years and there are several reviews available on-line and in hobby magazines. Though most reviewers have covered a few obvious errors I'll attempt to cover the more subtle inaccuracies. But before I ream this kit for its problems let me state that this kit is a true bargain. Overall the detail and accuracy is much above average. My job though is to list what I've found wrong and then its up to the individual buyer to decide if the errors are serious enough to correct. As you will see I made my choices as I'm sure you will make yours. But first I'll cover how I weathered my PBY. The weathering of this model couldn't be easier. Like any model you want to accurately weather you must examine every photo you can find of the real subject. Study each photo until you can explain every scratch and stain on the plane. These PBYs were exposed to the hot tropical sun, the clouds of coral dust and the hundreds of attacks from the shoes of crews and mechanics. Every panel on a PBY shows damage from at least one of these.
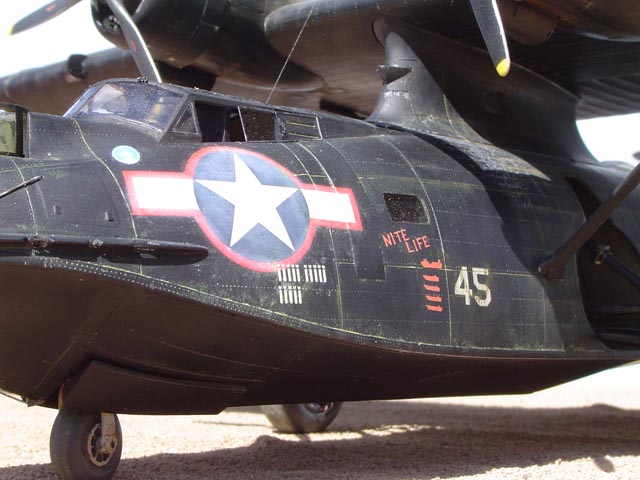
The entire model was painted with Model Master Aircraft Interior Black Enamel. To get good coverage I sprayed two or three coats. I found that the enamel holds up quite well to repeated weathering abuse. Except for the decal locations no clear coat is required or desired since it would inhibit the weathering process. I know I'm going against the standard practice but the results speak for themselves. Those areas where the decals are to be applied two coats of 'Future' were painted within the bounderies of the panel lines. Wait at least 24 Hrs before applying the decals to let the 'Future' cure. Once dry cover the decals with two light coats of 'Future' paying particular attention to the edges for a smooth transition from the edge to the surface of the model. Now comes the fun part...Bringing out the detail. Use a childs watercolor set for the wash. Since I was trying to duplicate the fading and dusting of a tropical PBY I used white and tan paint randomly. Start with a watery mix and build up layers. Alternate between the white and tan for variety. After the paint drys test an area for results. Take a piece of cotton cloth ( an old 'T' shirt works well), slightly dampened (I confess I use my tongue) and gently wipe downward on the fuselage and rearward on the flying surfaces. This will each panel with its own faded characteristics. Most modelers are into a more controlled method of fading panels with their preshading of all the panel lines and post shading the centers of the panels witha lighten color. The results can look convincing sometimes but often comes out looking like a quilt.
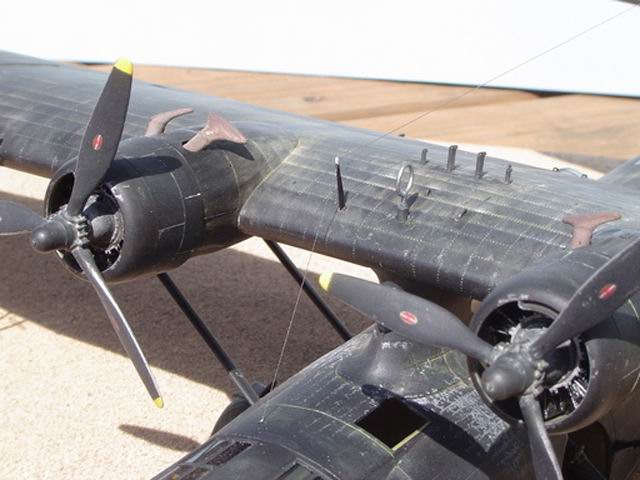
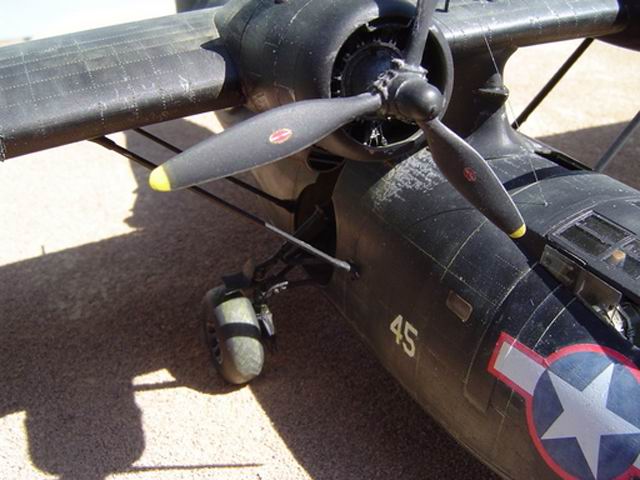
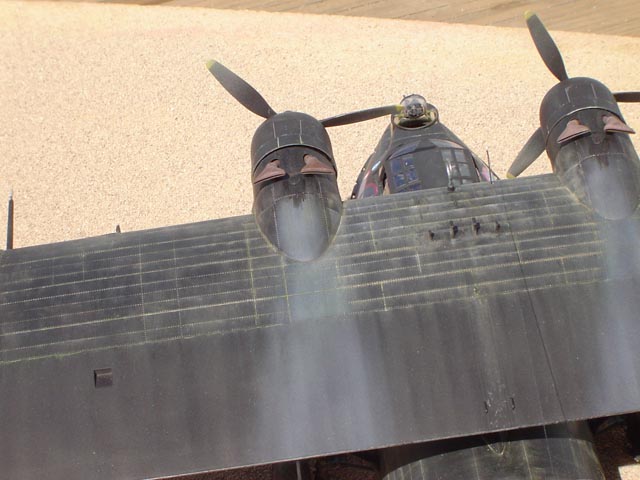
For the coral dust laiden areas I needed my pastel set. Scatch off a small amount of the pastel dust with an exacto knife. Starting at the bottom, apply a strip of Tamiya tape just above the rivet line. With a micro brush mash some pastel dust into the rivets and brush down. Blow off the excess and gently wipe downward the remaining powder. Move the tape up to the next rivet line and repeat the process. Its important to vary the lenght of each powdered rivet line to get a more random effect. Just like the watercolors, down on the fuselage and with the airflow on the wing/tail surfaces. Just a note about these particular planes. From the reference photos I have it would seem that the coral dustwould stick to the areas behind the prop line as well as where the crew/mechanics often walk. I'm sure a light mist of engine oil blown back by the props cause the coral dust to stick to the center fuselage and wings.
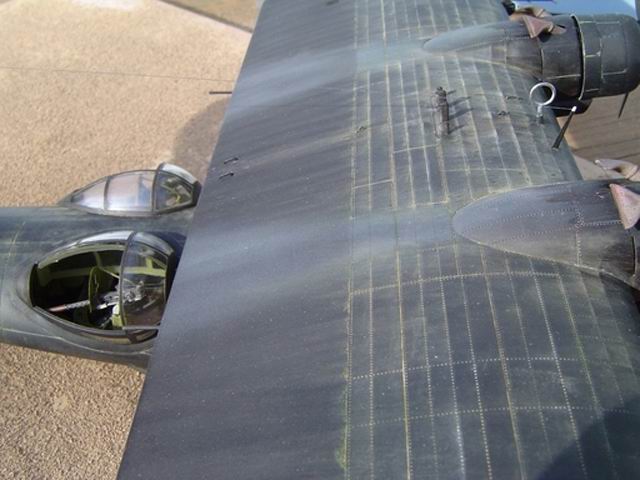
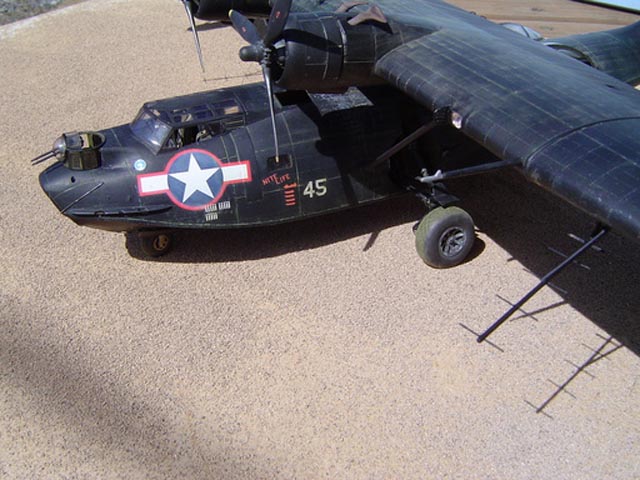
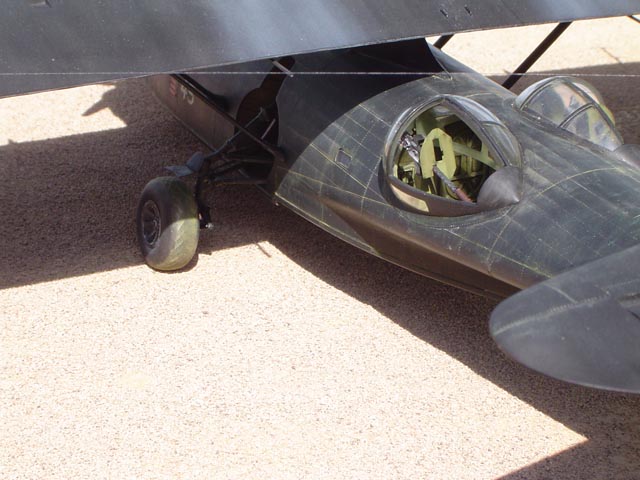
I used a Prismcolor silver pencil to duplicate paint chipping. This was convincing in some areas. But I was disappointed with the results in front of the wing pylon. A good trait of Prismcolr pencil is mistakes can be rubbed away with a damp cloth. I reviewed the photos again and noticed the scatched areas looked more white that silver. So I carefully added short scuff lines with an off-white pencil. Always keep in mind, when someone walks on an aircraft the weight isn't distributed evenly. The area above the stringers and ribs will scuff more.
I thout would be easier to use this list as a reference list rather than an article.
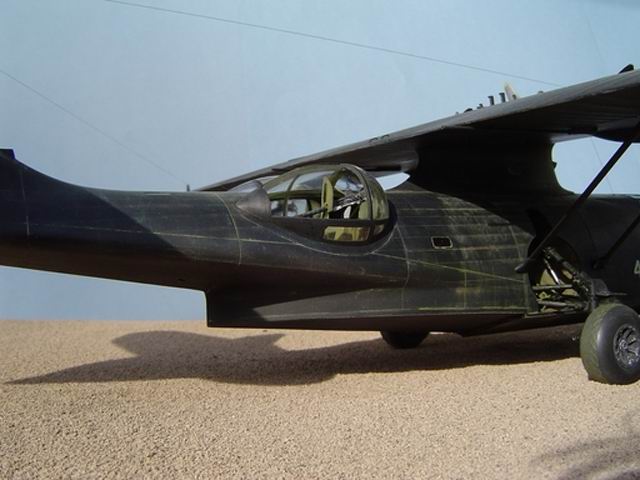
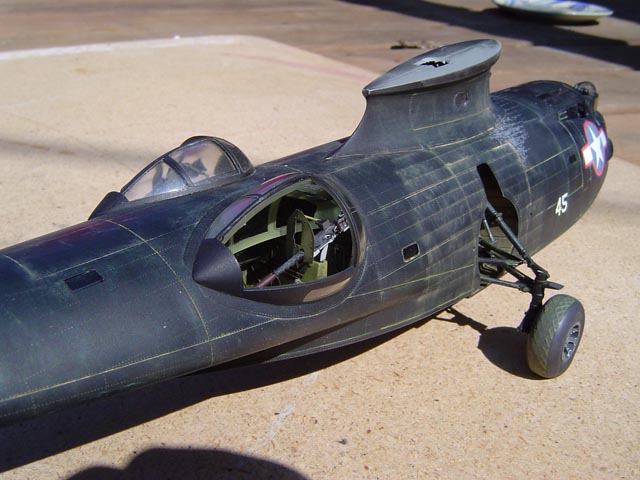
Just to make the plane more
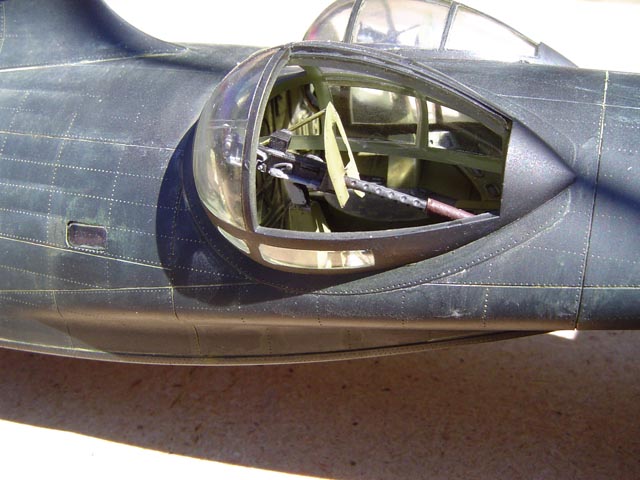
interesting I opened up the top hatch and canopy side vents. Also Added
Navigator tables and bulkheads. And finally I added some PE and styrene to the
waist guns.
Photos and text © 2005 by Steve Hawley March 29, 2005 www.carrierbuilders.net
|