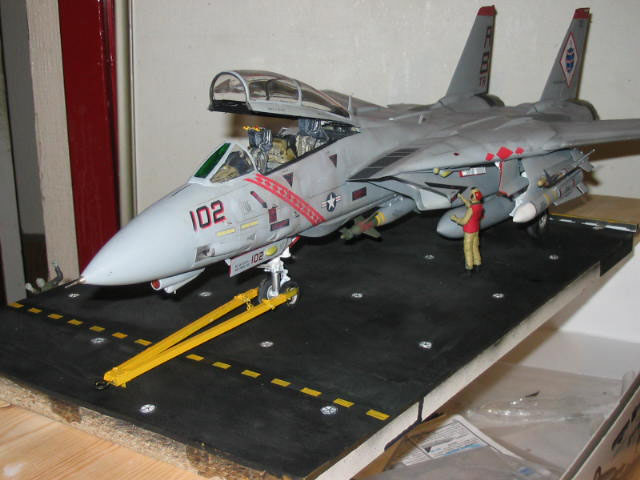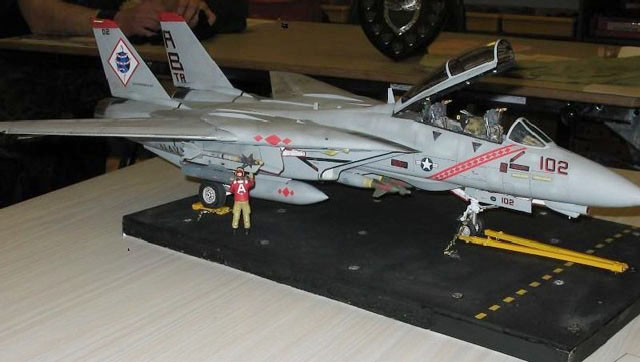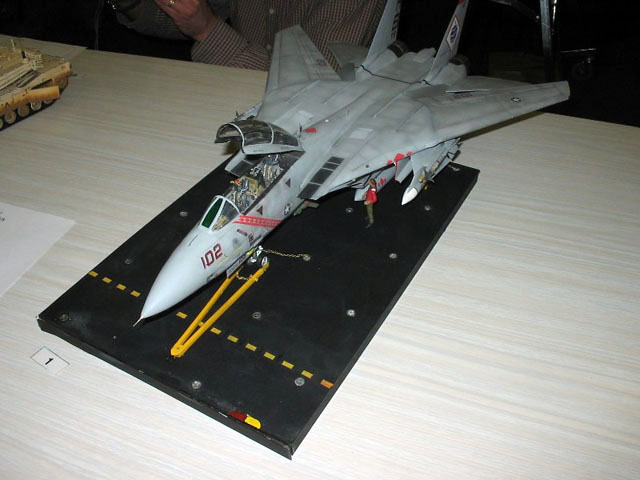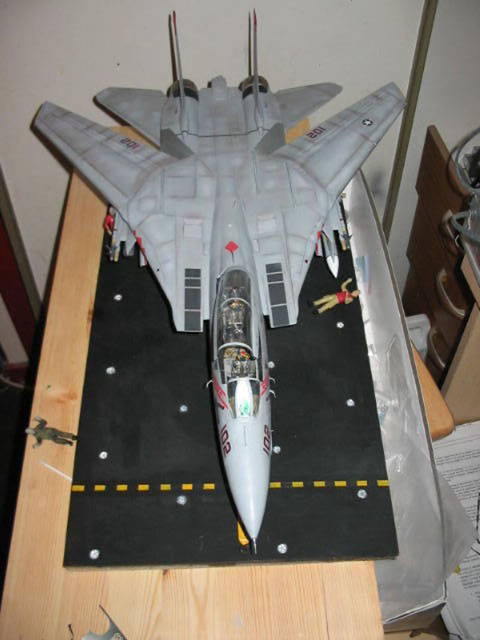
| F-14B Tomcat diorama by Colin Ritchie | ||
|
|
Brand: | Tamiya |
| Scale: | 1/32 | |
| Modeler: | Colin Ritchie | |
| AddOns: | Teknics conversion set, Eduard PE set, Black Box cockpit, Flightpath | |
|
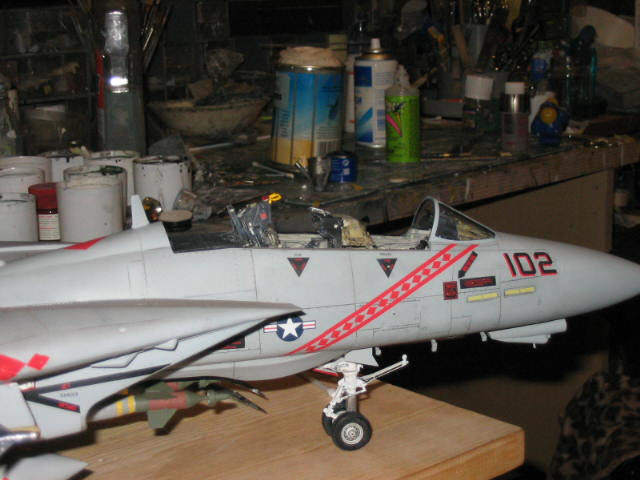
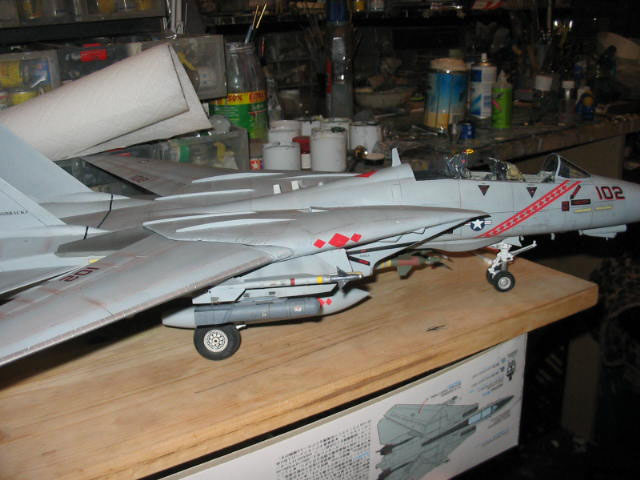
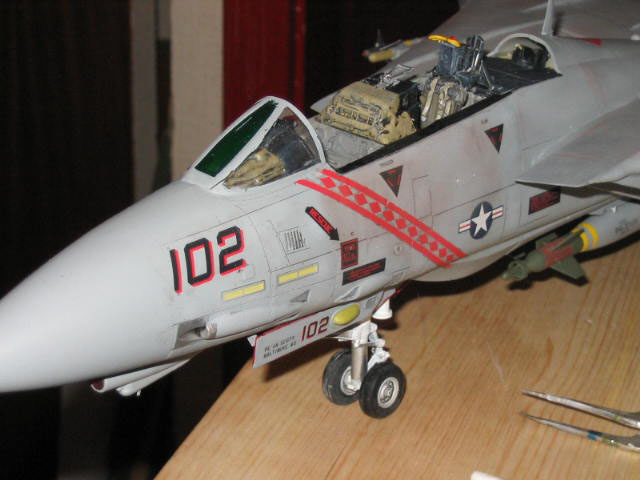
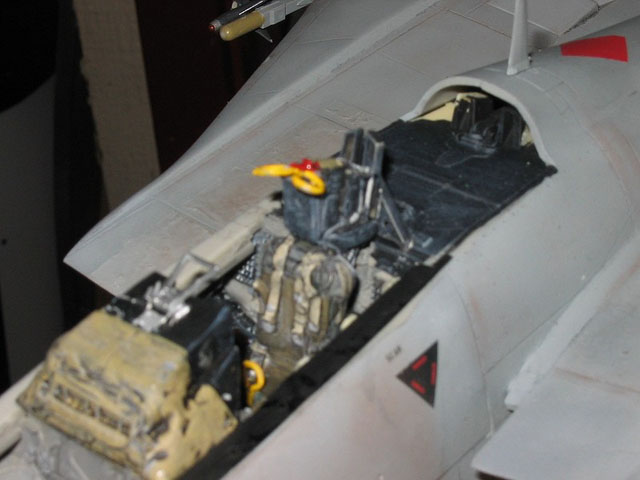
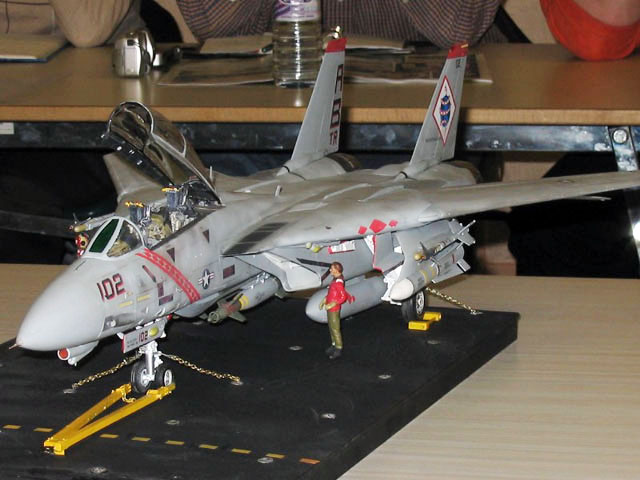
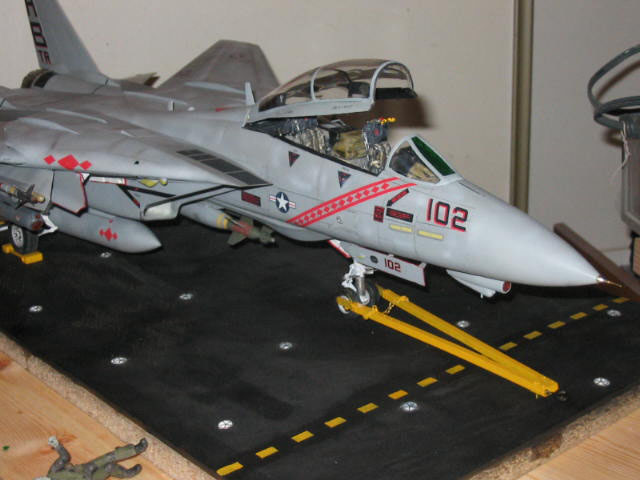
The
actual construction was relatively straightforward, with the BB cockpit
set fitting ,with only a small amount of additional work the normal beyond
cleaning up of the castings. The airframe conversion was also a fairly
simple addition, the hardest part being the courage to cut up such an
expensive kit! The re-engraving of the kit was a long and tedious process
that really had to be done. With that achieved , all that remained to do
was to paint the kit.
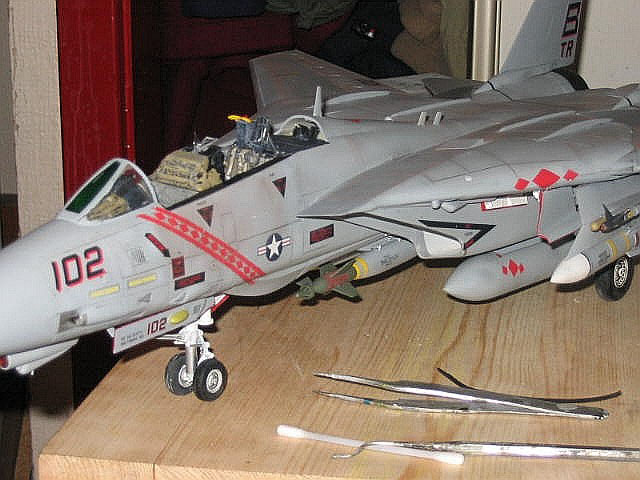
I
used, as I always do Xtracolour enamels, when dry the model was weathered
using selective panel pre and post shading and washes, and some work with
pastels.
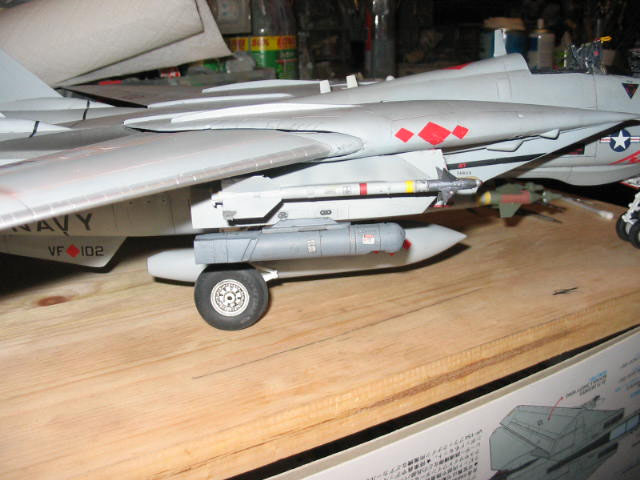
The
carrier deck section comes from Flightpath , and consists of a single
sheet of brass with holes etched in for the tie down anchor points I also
bought the carrier diorama set , which include PE tie downs , standard USN
tow bar, and a length of chain, and PE chain end pieces. Overall the set
is useful, however the choice of brass for the main deck panel proves
difficult in practice, as attaching the white metal Tie down bases,
without soldering , is difficult. In addition securing it to a base after
completion is awkward. Resin would have been a more sensible approach I
feel.
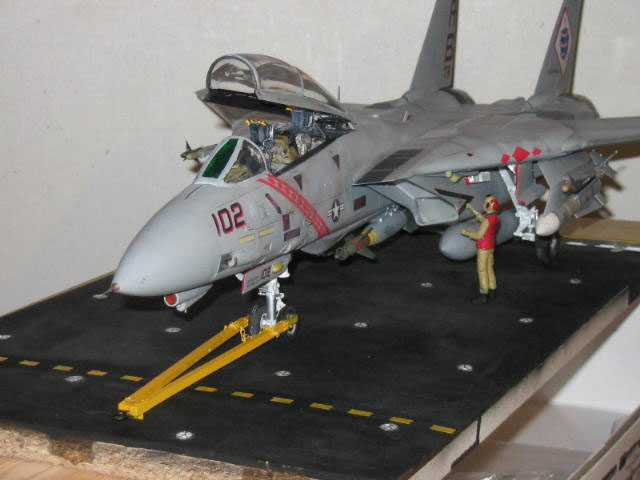
Overall all the model is pretty well as I imagined it , at the start of the project in November , but as with most things there are elements I feel could be improved, and indeed will be later this year!
Photos and text © 2005 by Colin RItchie Tuesday, March 15, 2005 |