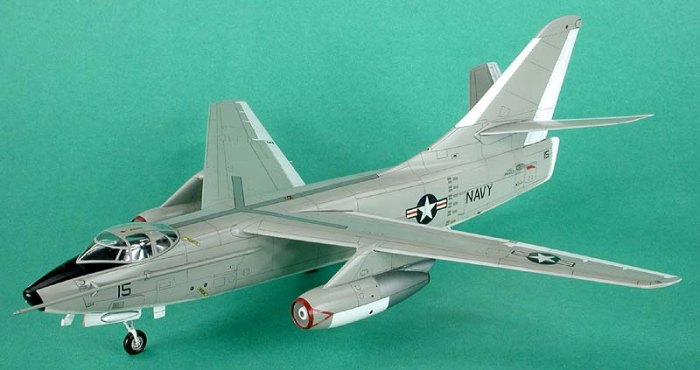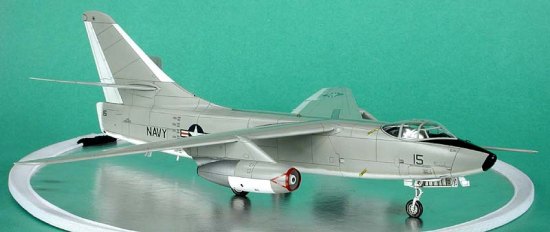
| KA-3B Skywarrior by Bob Laskodi | ||
|
|
Brand: | Hasegawa |
| Scale: | 1/72 | |
| Modeler: | Bob Laskodi | |
| AddOns: | - | |
|
The kit is typical Hasegawa; a high quality injected molded plastic with detailed recessed engraving that needs no further introduction. It is what we all have come to expect from Hasegawa, right down to the instructions and decals! If you would like to see what is in the box, then have a peek at this
preview.
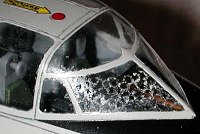
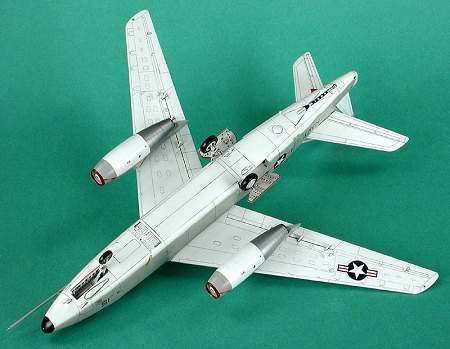
There is absolutely nothing to report here with the kit, as the Hasegawa kit builds with only a few minor problems. The cockpit detail is a bit sparse, with decals for the instrument and side panels, but you really can’t see a whole lot into the cockpit any ways! Honestly, this kit could almost be built with your “eyes wide shut”, and there are only two items worth mentioning. Firstly, it is impossible to build the engines as indicated in the instructions without leaving a seam down the center, since the fan blades will prevent you from sanding after joining the engine halves together. I used the Hasegawa Trytool Modeling Saw Scriber Set (TP-4) to cut off the leading portion of the engine nacelle, join the front halves together, fill, sand, and paint this section prior to attaching it back on to the engine. The Hasegawa set is a re-release of the old Trimaster set, and I strongly advise serious modelers to take the effort to acquire these as they are absolutely fantastic. Secondly, the engine pylon join to the wing leaves a few gaps. These were filled with Mr. Surfacer and sanded smooth. That’s the extent of the challenges in building this model!
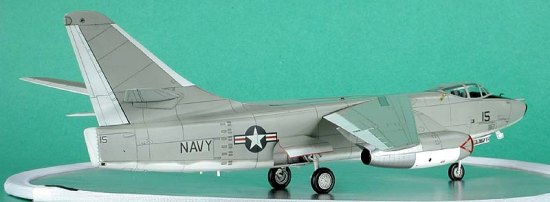
The model was painted entirely with Testor Model Master (enamel) in Flat White, and Light Gull Gray. First job up was painting the “hot” section of the engines with SNJ Aluminum, letting it dry overnight, and then masked with Tamiya Masking Tape. After airbrushing the entire model Flat White, I stuffed wet tissue paper into the wheel wells, masked off the white control surfaces with Tamiya Masking Tape and airbrushed the wings and fuselage with Light Gull Gray. A light topcoat of Floquil Railroad (enamel) Crystal-Cote was airbrushed to prepare the flat surface for decaling.
In order to prevent breakage, I left off the landing gear, gear doors, refueling probe, and antennas until after painting/decaling. These all went on with no problems. After a final “leveling coat” of Future (great for hiding those superglue splooges!), I airbrushed Testor Dullcote for the final finish. Remove the canopy masks and you are done with a great model build.
This is a great model of a historically significant aircraft and Hasegawa is to be commended for their great quality, engineering, and ease of build. This kit can be built with beautiful results by a beginning modeler.
www.carrierbuilders.cjb.net
|
||||||||||||||||