AircraftProfilePrints.com - Museum Quality Custom Airctaft Profile Prints
I've always been a fan of Grumman aircraft. Maybe it's pride, being that both Grumman and I come from Long Island. Or maybe it's the outstanding combat record Grumman designed aircraft put up. I mean no other company got the nickname "Ironworks", and was able to live up to it. When I heard Trumpeter was coming out with a 1:32 "Avenger", I was really stoked. Then I read reviews of other Trumpeter big scale kits and that tempered my enthusiasum. Trumpeter seems to be hit or miss with their kits. I had built the F4F "Wildcat", and I am currently involved in a brawl with a 'Razorback' P-47 of theirs. It seems to me, Trumpeter is guilty of over engineering on a grand scale. Not that that's ALL bad, but it can, and does, often lead to problems with fit and finish in building their model kits. The question was, would this TBF-1C I bought be one of those? Well plastic geeks, it is not. It is probably one of the best builds I have had the pleasure to work on in a long time. It even rivaled the Accurate Miniatures TBF I had built several of some years back. I Still felt the kit was a little bit over engineered, but just the same it went together beautifully. I have to admit, there were several times I opened the box, saw all the sprues crammed with parts and then backed off the project. There are a lot of parts! Once started however, the build moves along pretty well, with out a lot of hair pulling and cursing. For all the parts in the box, the best thing is, they fit.
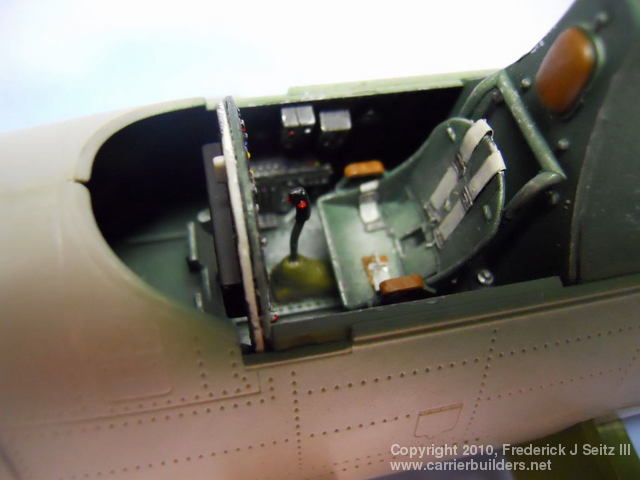
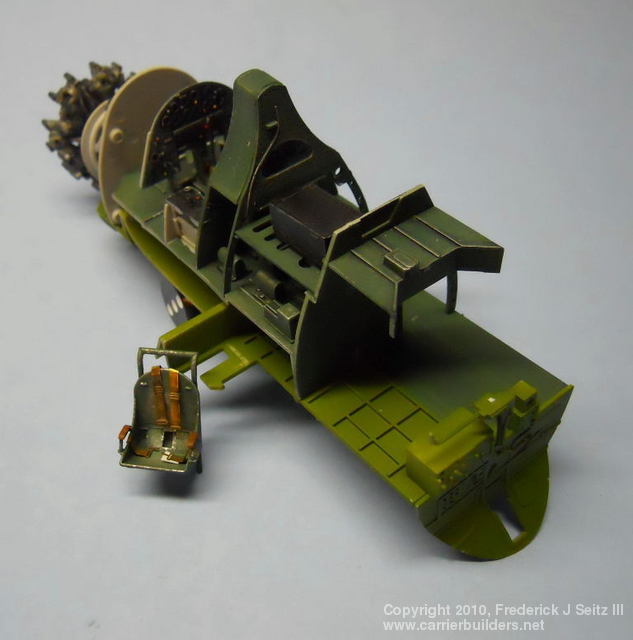
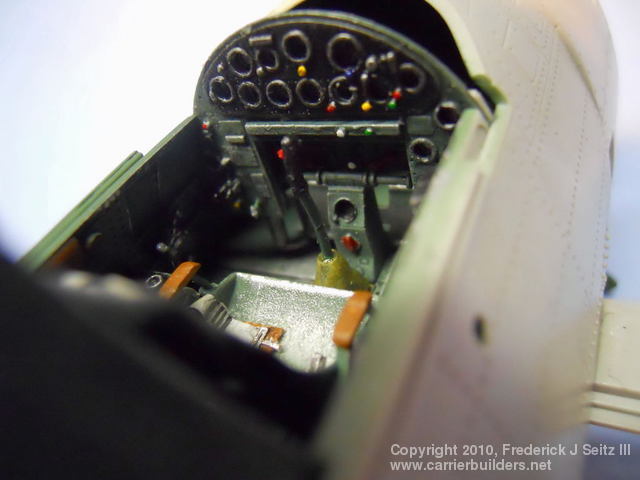
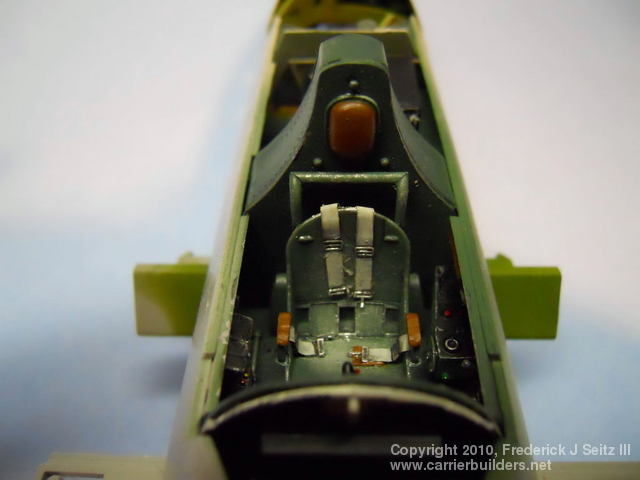
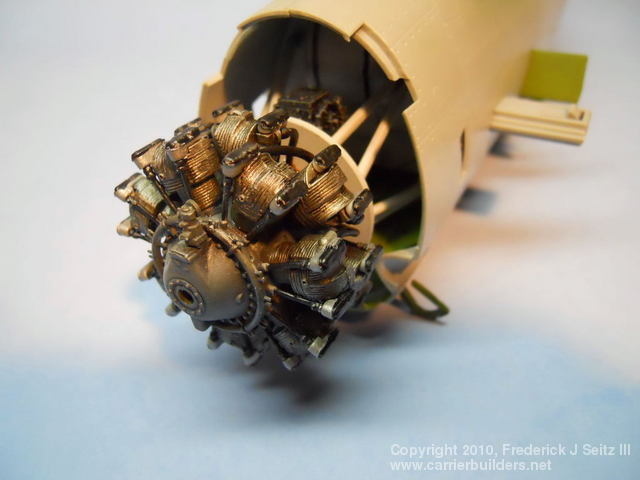
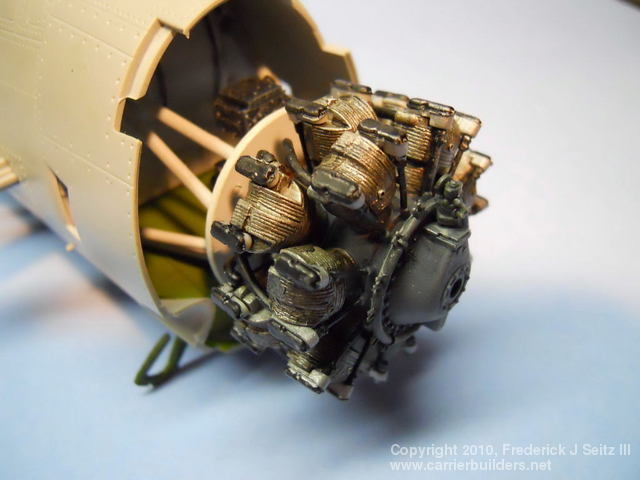
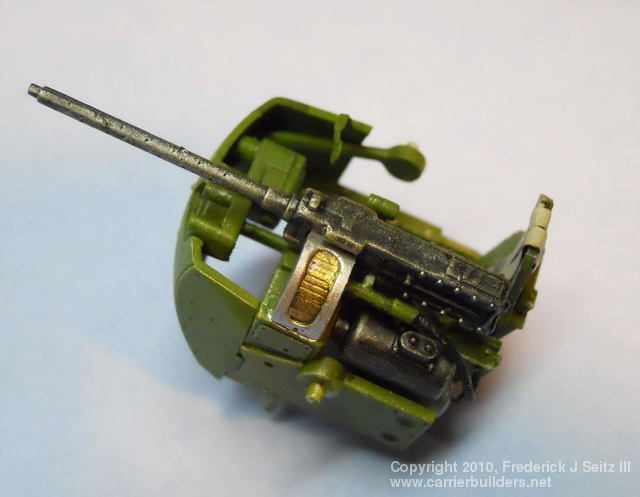
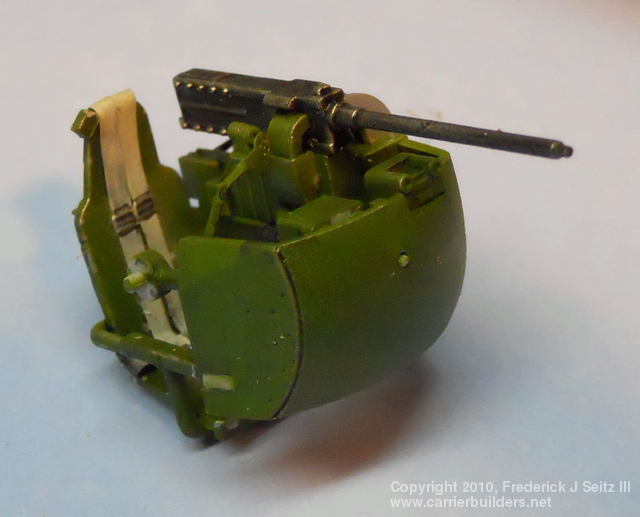
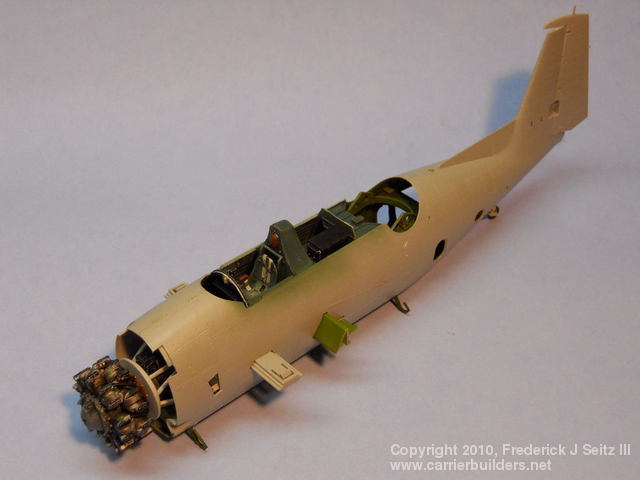
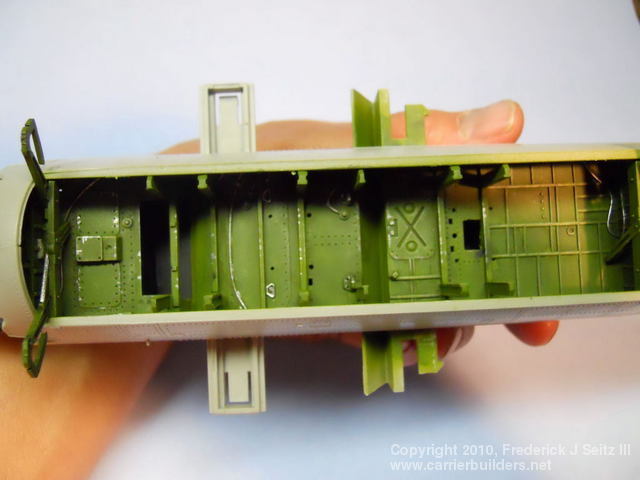
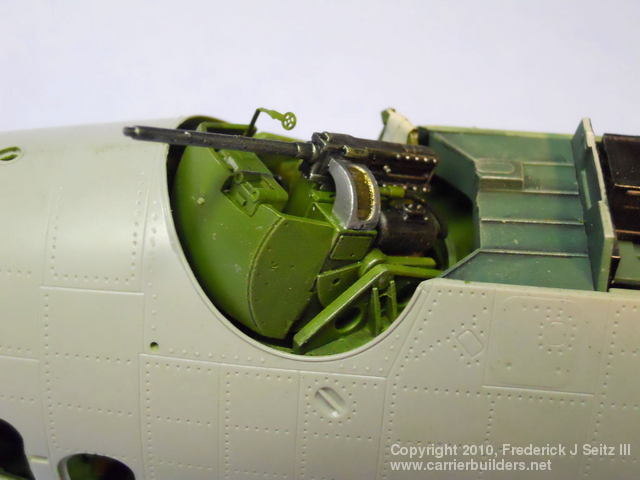
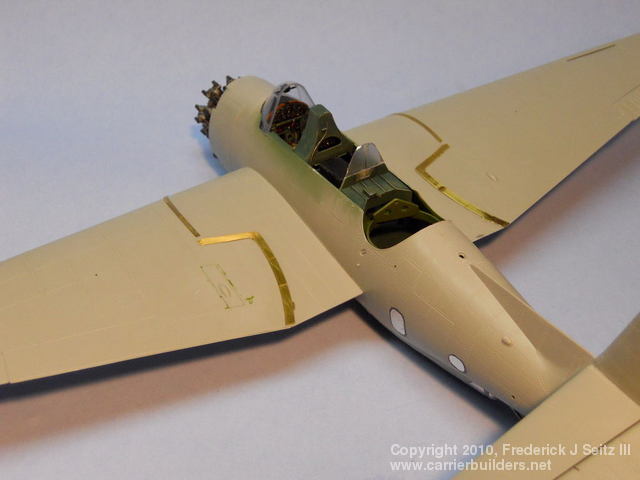
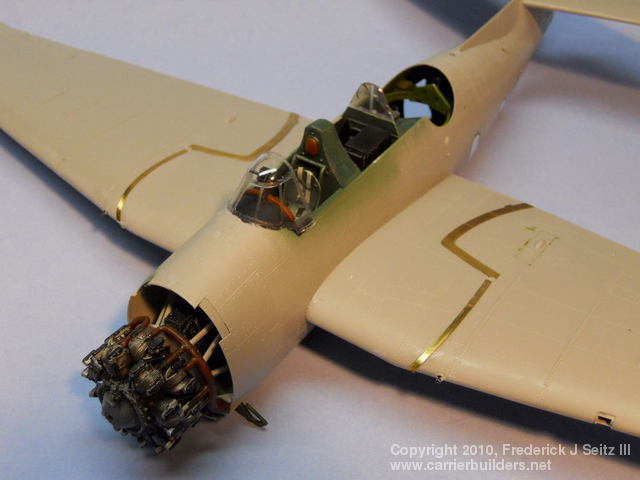
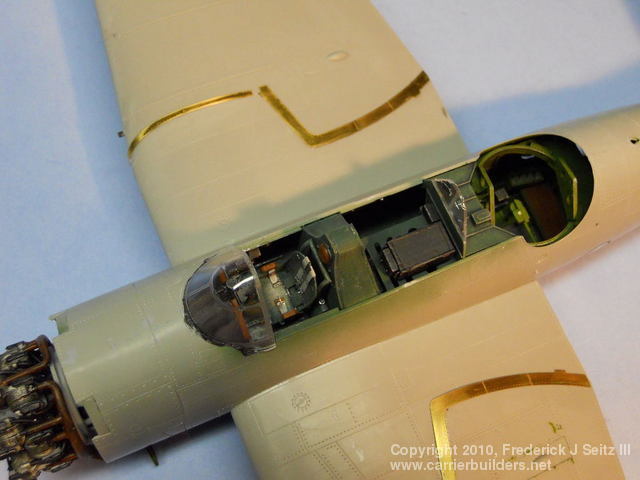
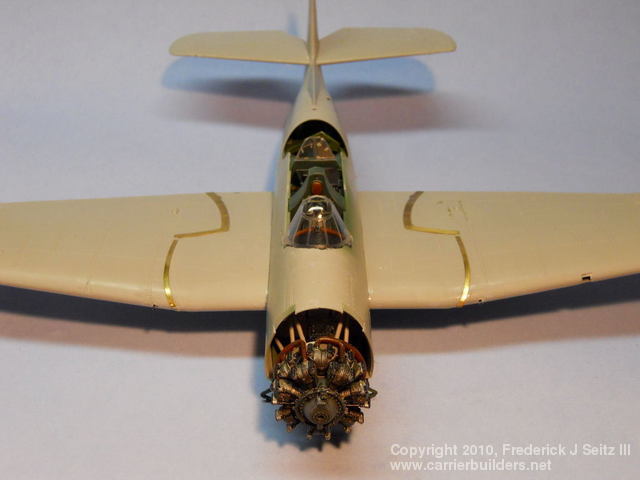
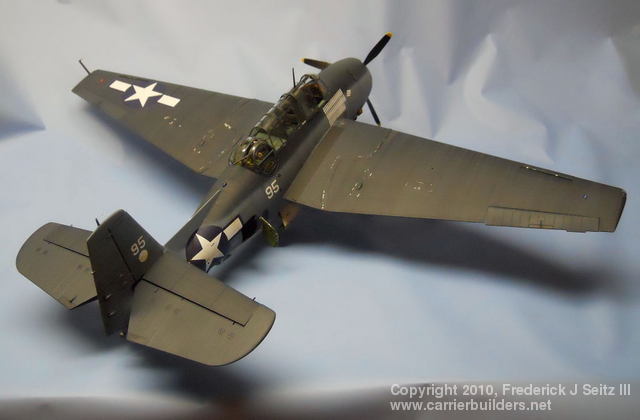
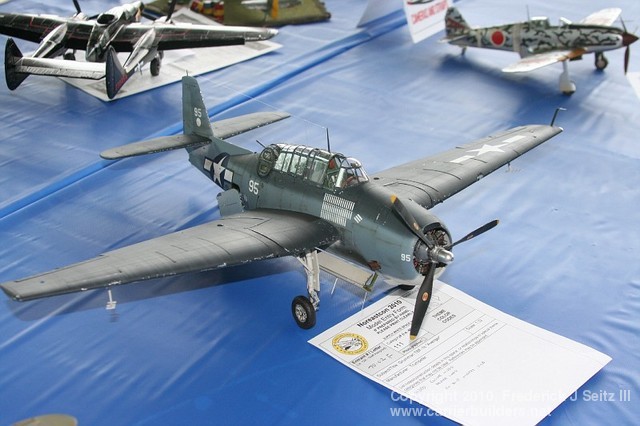
I decided to get busy with the closing the fuselage. To do that, i would need to work on the cockpit, flight deck, rear turret, bomb bay and engine assembly. A lot of those parts came off the sprues putting all that together, and suddenly the kit was not so tough. I know there are aftermarket sets out there to spruce up the model and I thought about getting one for this build. Thankfully, I read Tom Cleever's review on Modeling Madness, and decided to follow his lead, coming to the same conclussions he did. While an aftermarket set may look good, what comes in the box is more than adequate to do the job and the level of detail, would not be enhanced that much by any aftermarket set. What you see in the pictures, is what's in the box.
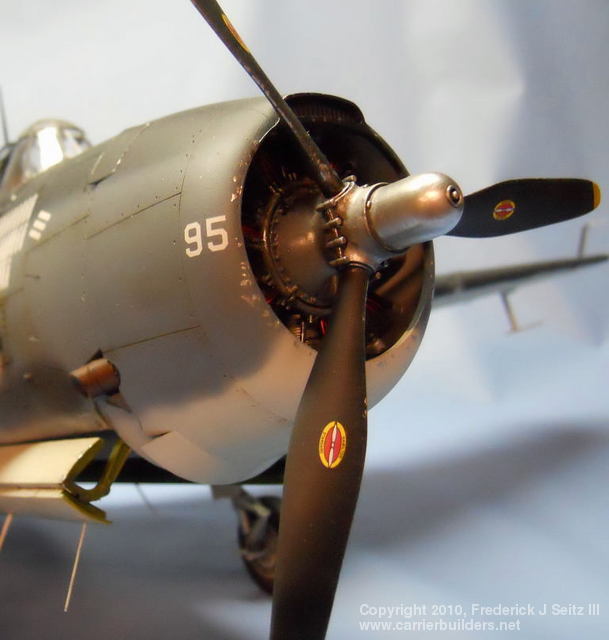
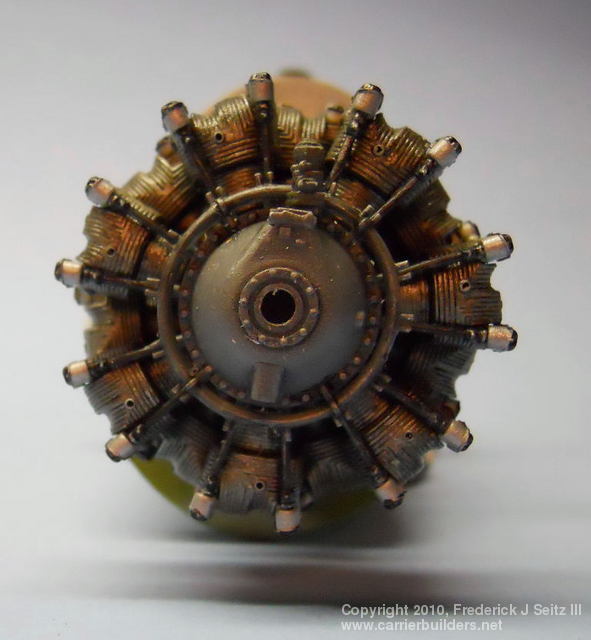
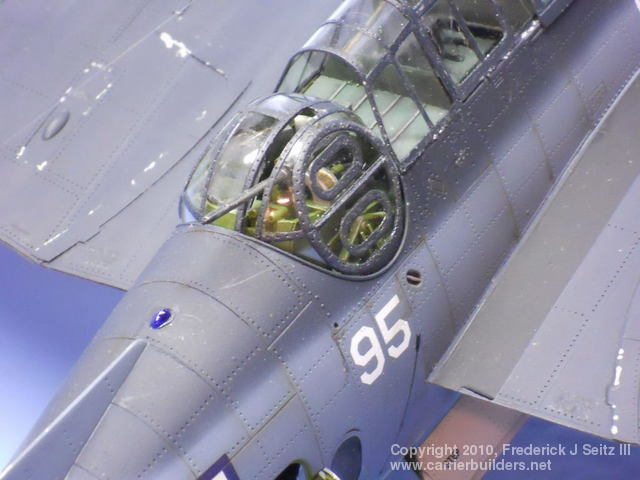
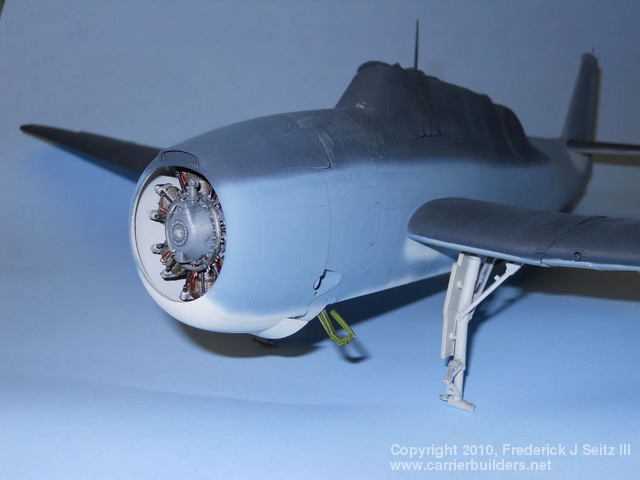
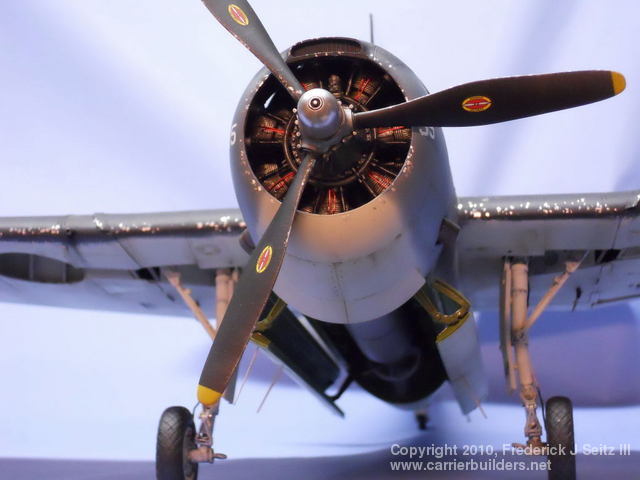
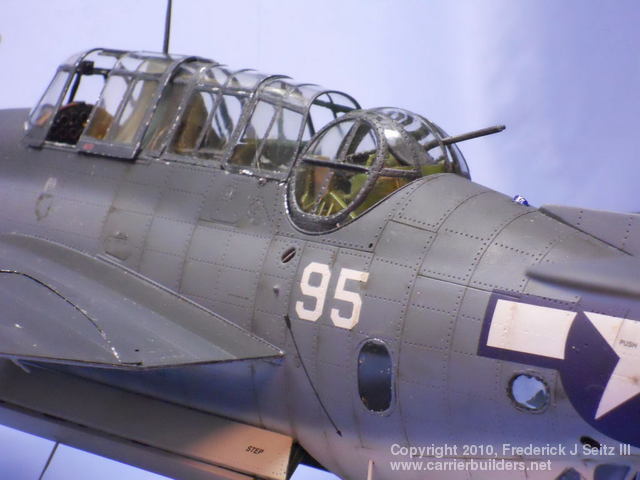
The engine and turret are two very highly detailed sub assemblies. Both are small models within the model itself. The engine was beautiful. The only thing I needed to add were ignition wires and it looks ready to crank over. The mounting braces were a bit tricky to install, especially if you cut them all off the sprue, and then have to figure out which goes where. The turret has a one piece clear dome. Lots of fun to mask, but it helps out a lot with getting the turret together. Another beautiful part of the kit. I left it so it can rotate and elevate, which came in very handy at painting time. Some advice here, have the turret done, complete with the glass framing PAINTED and installed BEFORE closing up the fuselage.
After getting all the major sub assemblies done, I finished with the rest of the interior parts like radios, seats, stinger gun, installing side windows and the tail wheel, wing attachment points and braces, I joined the fuselage halves. Again, everything lined up and very little putty or fillers were needed to close gaps. I then attached the tail planes and lined them up with the verticle tail, and let that all dry very well
The Trumpeter 'Avenger' can be built with the wings in the folded position, or deployed, which is how I chose to go about it. I used all the folding interior wing parts as they were supposed to be used, even if they would not be seen. This was for wing strength. I also built the wing as complete upper and lower halves, joining the inner and outer together at the seam, and reinforcing that seam with plastruct card. When the inner and outer pieces had dried, I installed the PE parts, which in addition adding more strength, covered up a rough looking seam. And to think I wasn't going to use them as I hate PE so much. Now I know why they are there. Some work is required to bend these around the wing's leading edge but it's not hard. Just do it BEFORE gluing these pieces on. After I was satisfied all was well with the wings, on they went, alighnment was checked with the tail, and we were ready to mask all the clear parts and hit the paint booth.
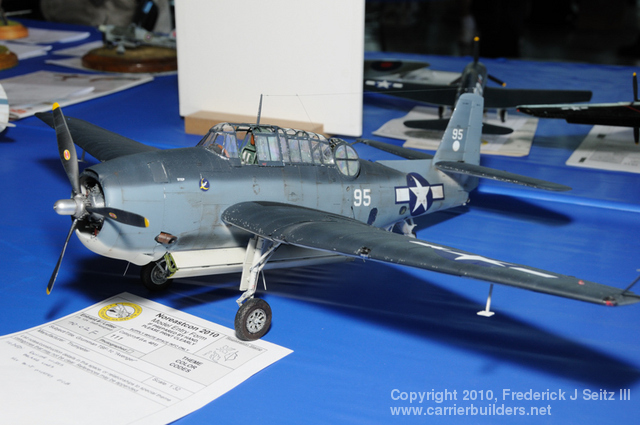
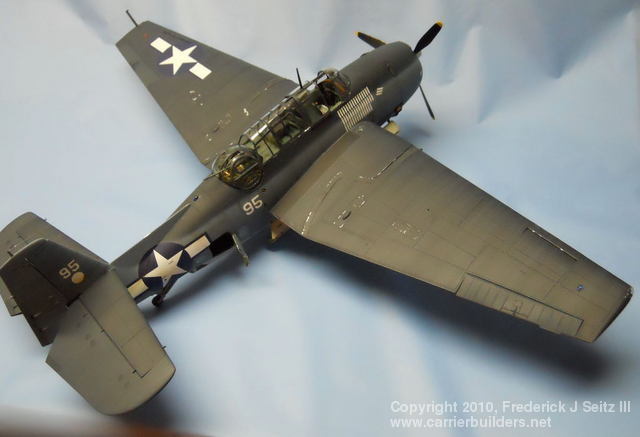
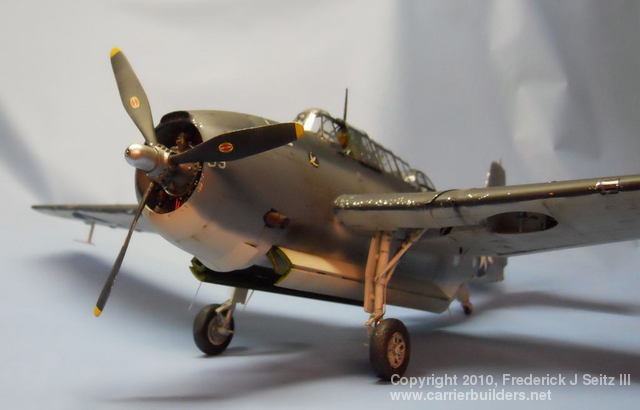
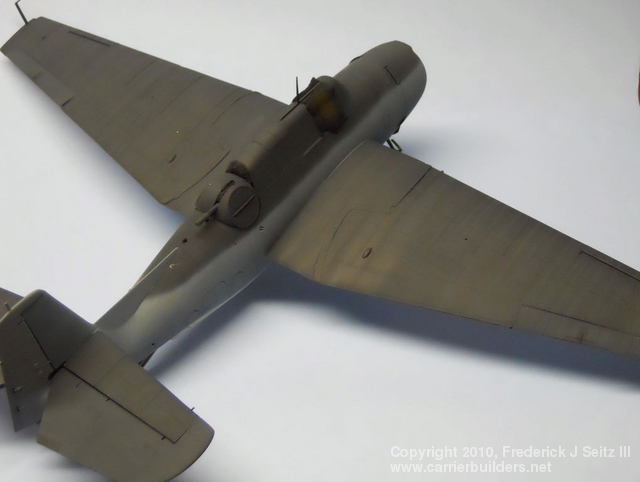
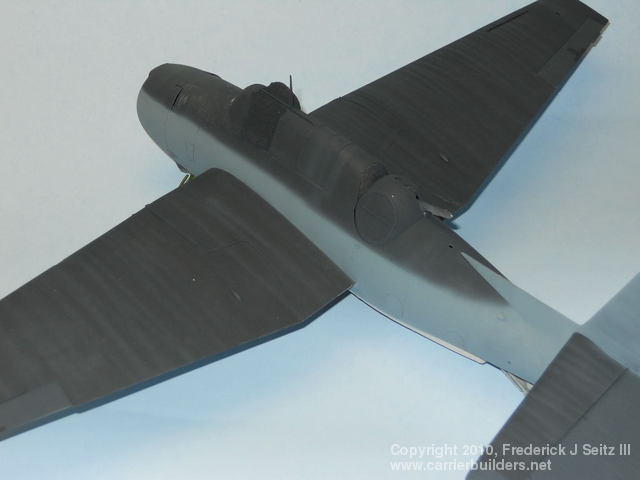
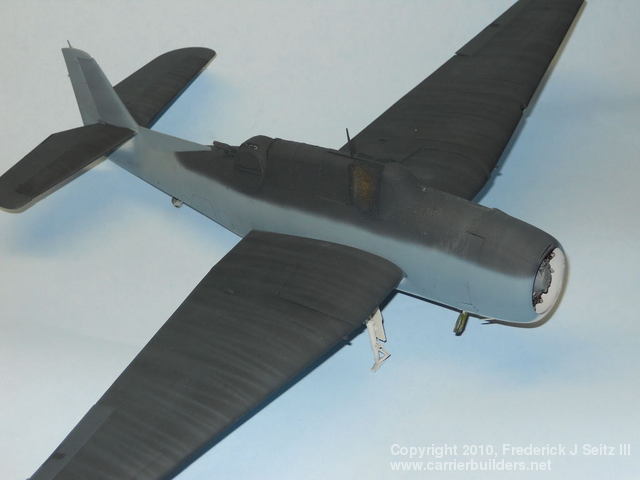
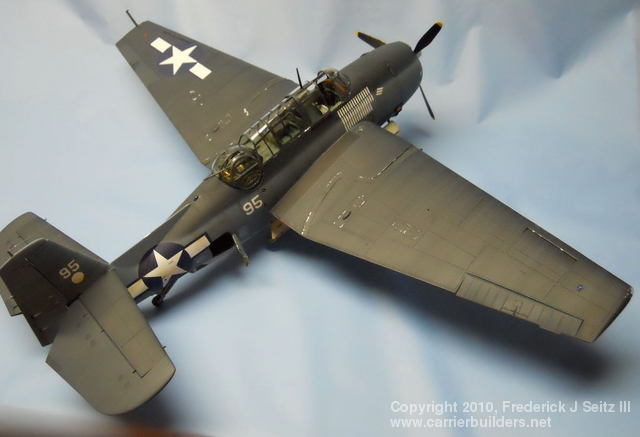
I painted my model in the mid war navy scheme of Dark Sea Blue, (FS# 35042), over Intrmediate Blue, (FS# 35164), over Insignia White. I chose however to use Camouflage Gray, (FS# 36622) instead of white because I was modeling a veteran aircraft of many missions. Camo gray already had a little bit of 'dirty' in it and I was planning on weathering the aircraft. I used a 'duel diffusion' system for the actual painting of the top and side colors. First I painte those areas flat black. After the was dried, I painted the Intermediate Blue on the tail and sides in closely packed bands. In a way, painting a bunch of stripes close together where some of the black undercoat will bleed through. I painted these in the direction of the airflow on the tail, and in the direction of water running off the aircraft on the sides. I then repeated this with a lightened version of the base color, only with less tightly packed bands. Then it was repeated a third time with still more lightened paint and even less packing of the paint bands. This whole procedure was repeated again using the Dark Sea Blue on the wings, tail planes and upper fuselage. In the pictures, you can see the streaky faded appearence of the paint. After it gets it's gloss and flat clear coats, and it's thinned oil washes, much of that will be tempered down and it will have a much more subdued effect. I like the idea of encorporating much of the weathering into the actual painting itself. I tink it tends to look much more realistic.
After she was painted, I applied the gloss coats, afterwhich came the decals. I used the kits decals which I wasn't crazy about. I thought their performance was, to use a phrase, "Eh". After they were good and dry, I washed the model, applied a second light gloss coat, and then the final flat coats. When they were dry, I removed the masking on the windows, installed the canopy, I then weathered the model using the thinned oils I had mentioned earlier and pastel chalks. Final assembly involved the installation of landing gear and resin wheels I found by Master Casters, which are a terrific product. Then came antennas, bomb bay doors, crew door, aerial and wire and touch ups. Not all in that order either.

Photos and text © 2010 by Frederick J Seitz III May 8, 2010 |