AircraftProfilePrints.com - Museum Quality Custom Airctaft Profile Prints
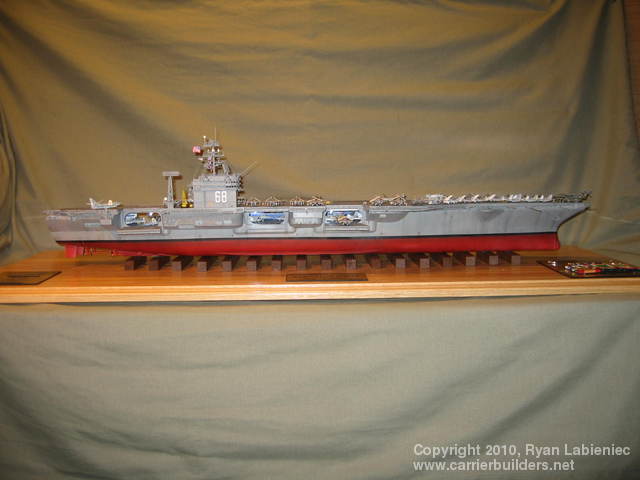
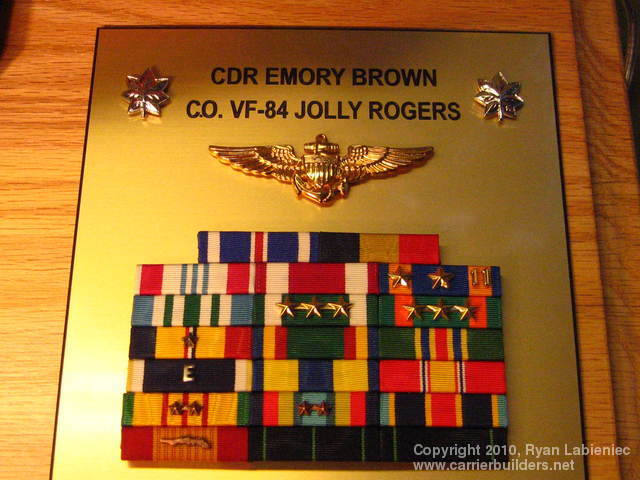
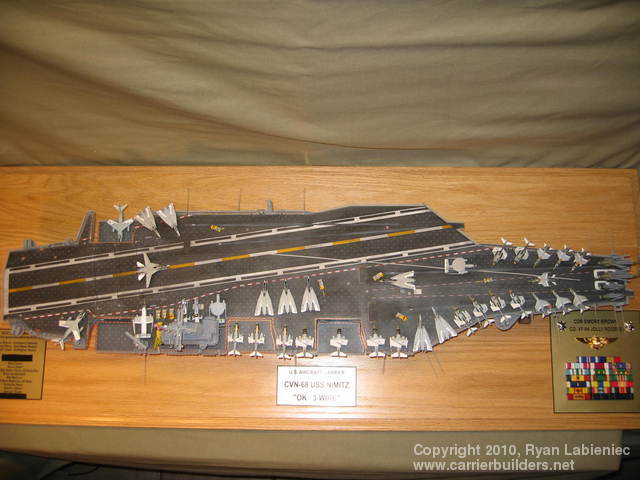
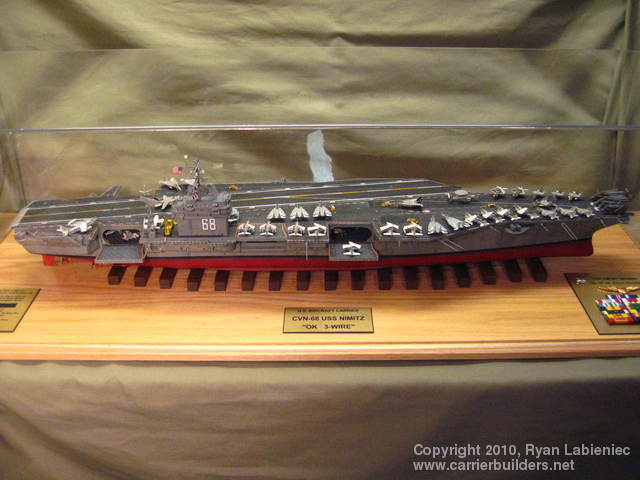
I got the idea to try to build the USS Nimitz for CDR Brown when I learned of his medical issues, and their resulting financial impact. When I spoke to him, it just broke my heart hearing what he was having to deal with, and yet how positive he still was, asking me about what models I was working on, and how my job and life were going. He never has a “poor me attitude”, he is always concerned with how I am and how my family is, he is just an all around genuine nice guy. I have built numerous smaller models for him over the years on commission, and we had often spoke of eventually doing a 1/350 model of the Nimitz as she appeared when he served aboard her as C.O. of VF-84 Jolly Rogers. This obviously would be a very large and labor intensive project, and I decided I would like to surprise him with it (free of charge of course) to lift his spirits in his trying times. I know that this ship was one of his ultimate goals to have built and would mean a lot to him. I remember how much it meant to my mother when someone would bring over a dinner for the family so she did not have to worry about it when she went through her cancer treatments, or just drop off some flowers, anything to lift her spirits. I could never have afforded to do this for him out of my own pocket, so I sought donations to make this come to life. The response to my idea was great, and in relatively short time, this went from an idea, to my workbench being covered in boxes of planes, decals, photo etch and of course, the ship itself.
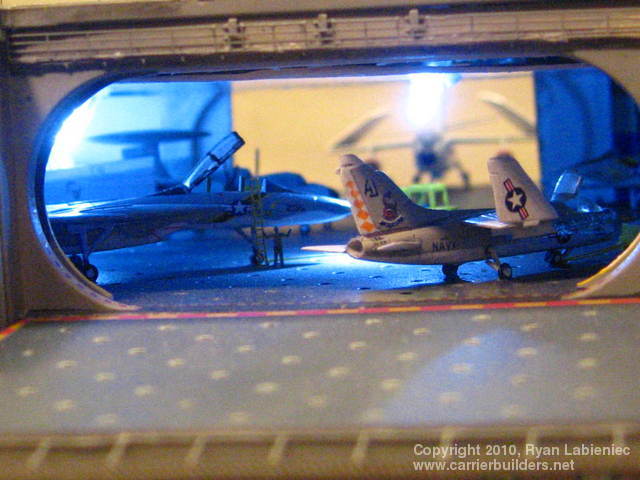
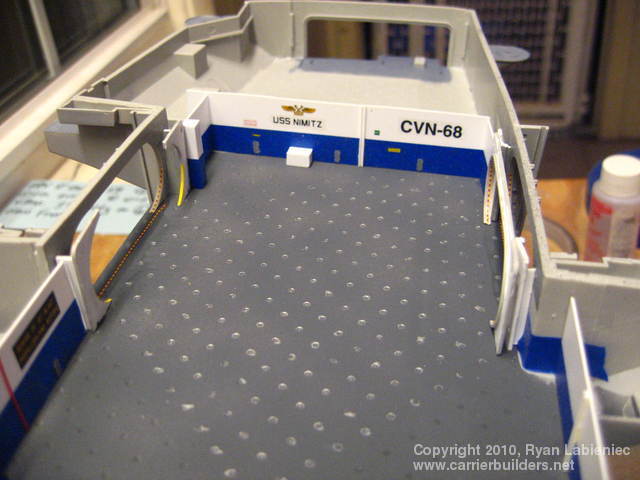
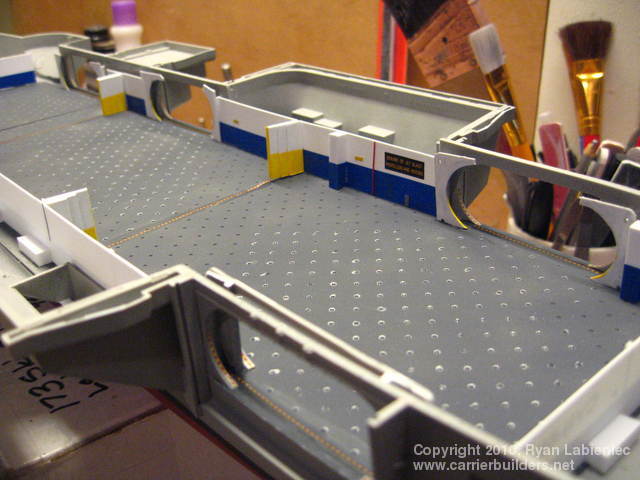
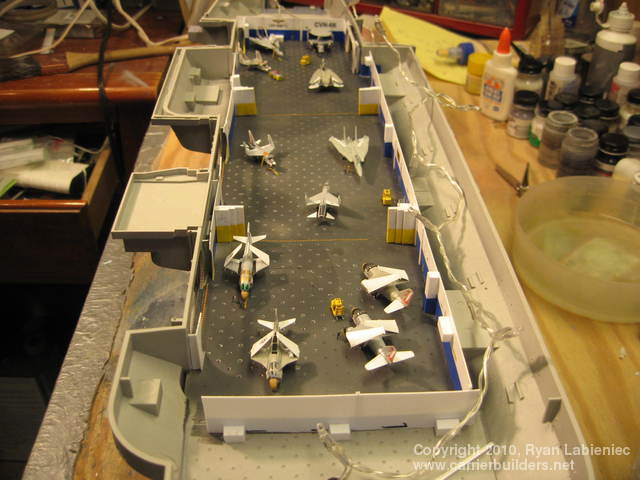
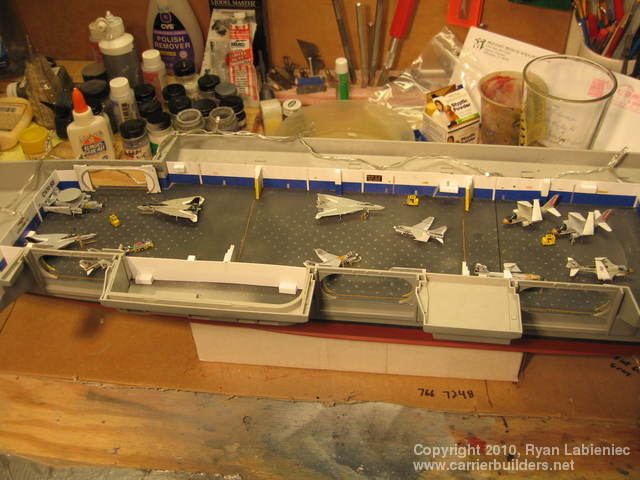
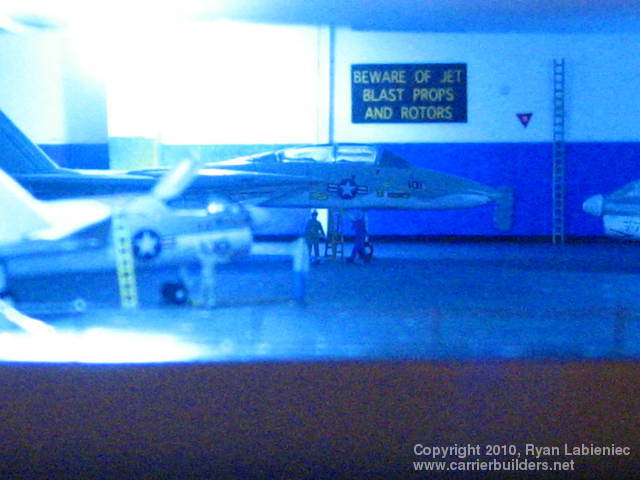
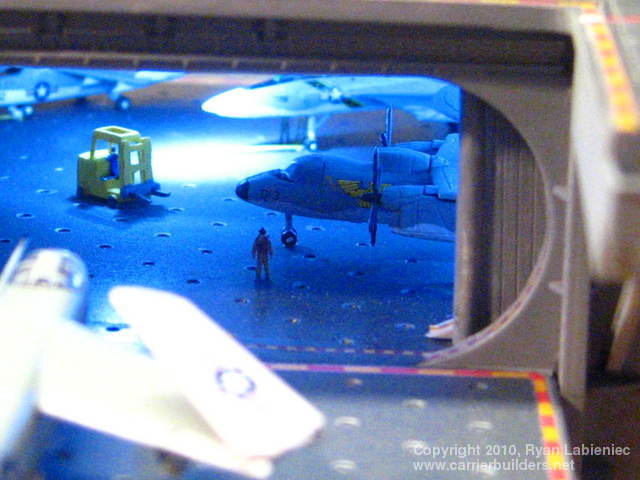
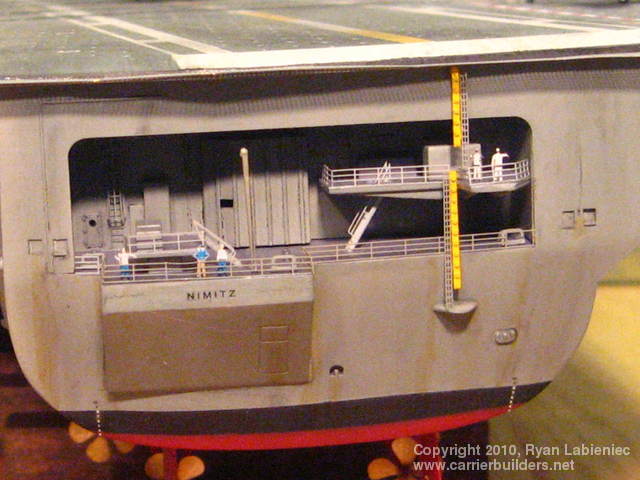
The hangar bay was completely scratchbuilt with various styrene sheet and strips. I did not have detailed pics or plans of the real hangar deck, so I just used some pics from the internet to make an acceptable likeness. Once the ship is all finished, not a lot of the hangar deck is really visible anyways, so I decided I did not need to go crazy with accuracy. My biggest regret with this build is that the idea to light the hangar deck came as an afterthought when I came across battery powered LED lights in a store. Since I did not have this in my initial plan, I had to sort of piece the ceiling together and just stick the lights in there without destroying the hangar details I had already built. It looks OK, but it would be a lot better if I had it in my plan from the beginning.
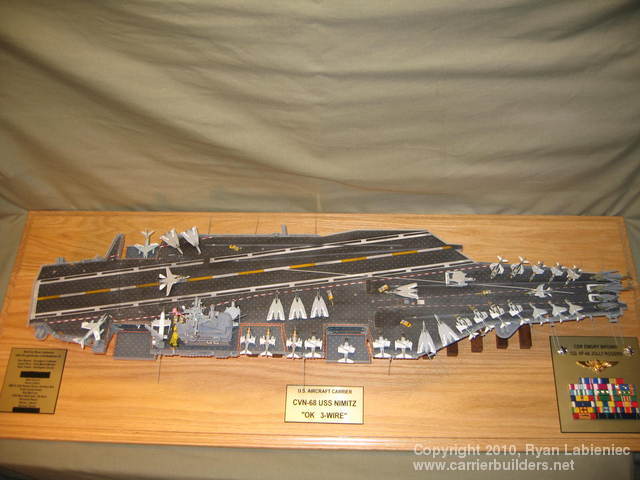
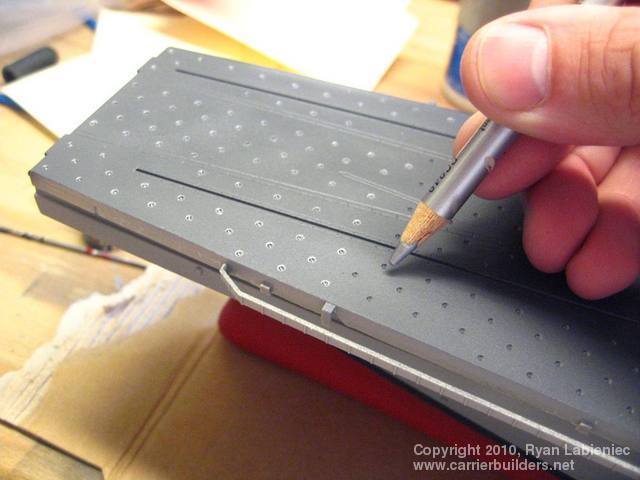
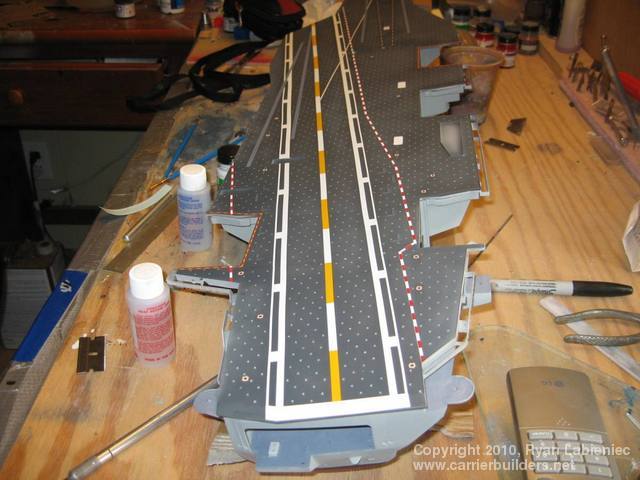
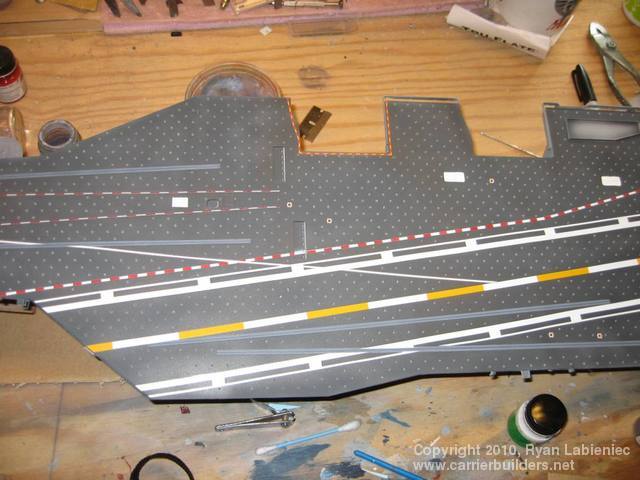
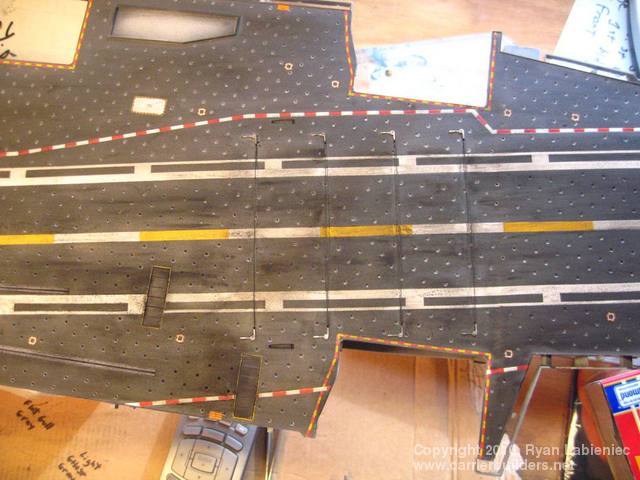
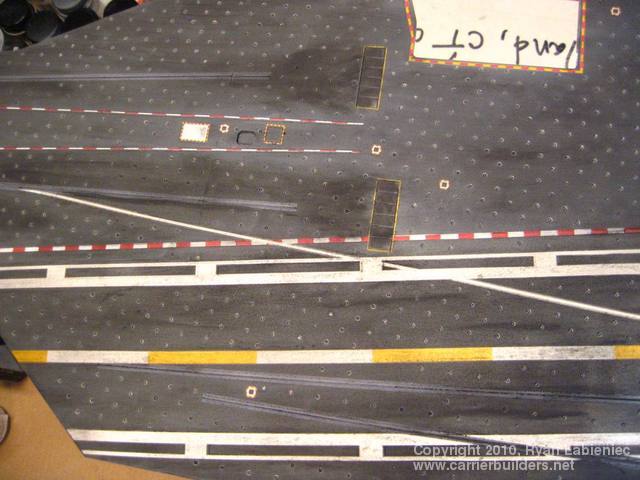
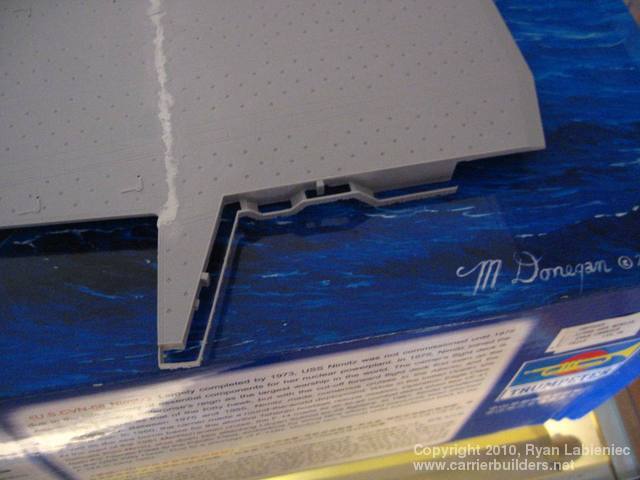
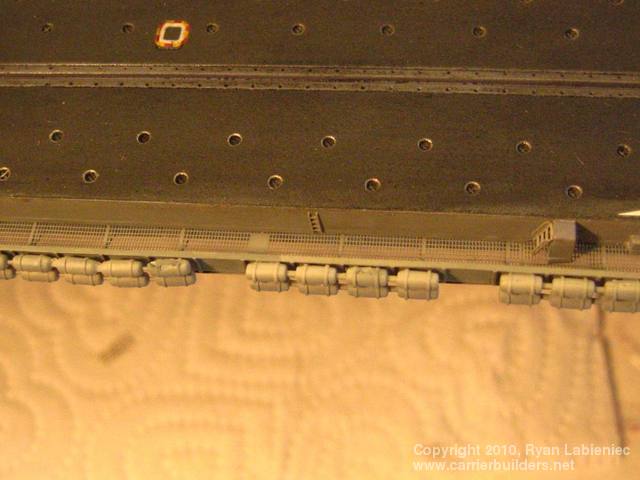
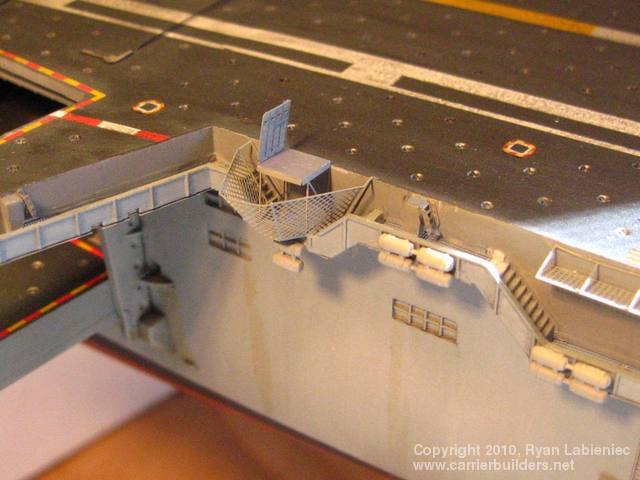
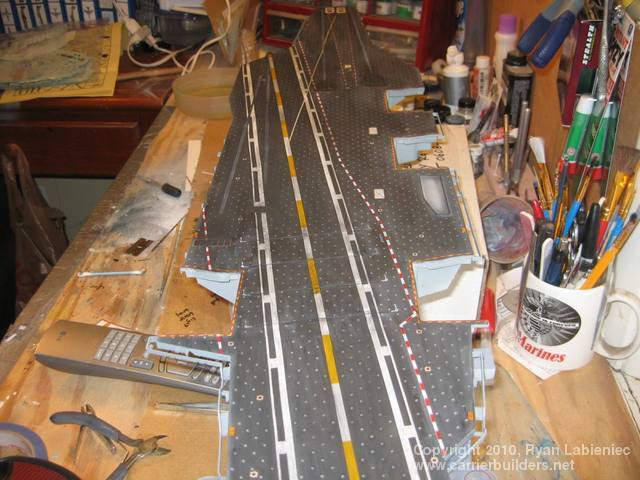
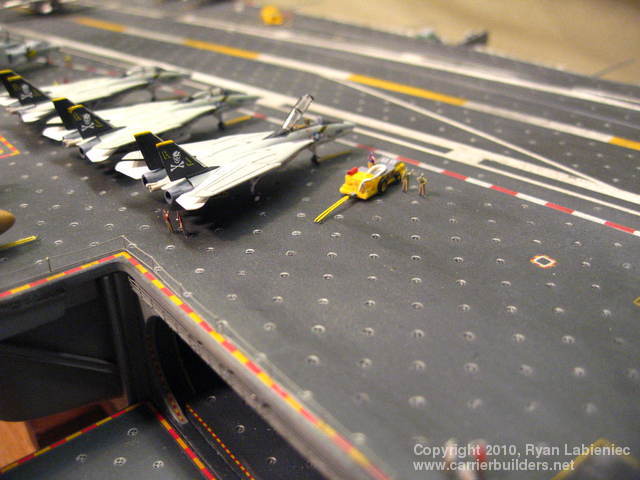
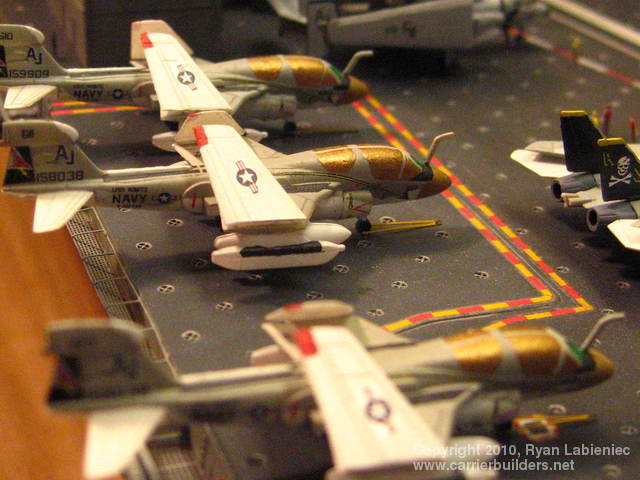
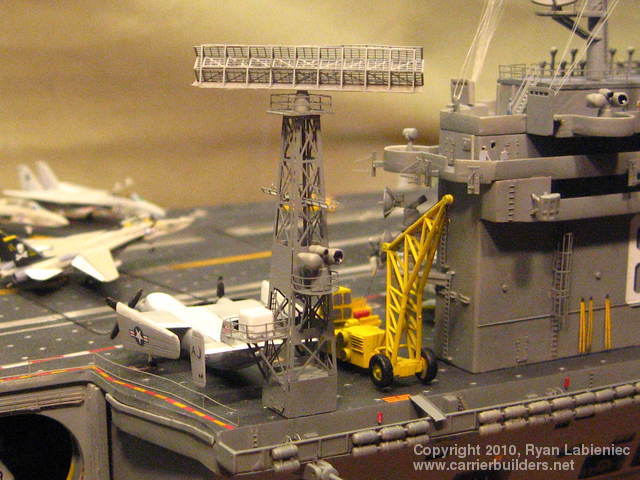
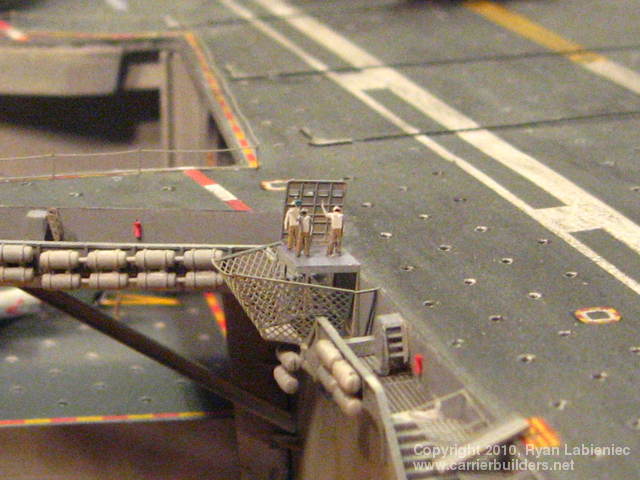
The flight deck has seams that are pretty easily managed with putty and sanding. The decals included with the kit for the major deck markings are easy to use and look good, saving a lot of time masking and painting them. The tie downs are overscale, and some people opt to fill them in and redo them, but I think once they are weathered they don’t stand out that bad and I decided I could live with them. I found that tracing around each tie down area with a silver colored pencil goes fast and looks more realistic than bright white paint, and is much easier. The area marked for the aft radar mast is wrong on the kit and needs to be sanded off. The Mast butts up against the deck edge, a detail I missed on my first build. I did the deck decals before the flight deck was detailed with the catwalks and life raft canisters, and unfortunately this led to some of the decals for the ordinance Jettison ramp being in the wrong place, since the canisters got in the way of the actual ramp when I installed them in the final stages of the build. I decided to leave it instead of risking marring the flight deck since the decals had already had a coat of Future over them and a coat of clear flat over that and they were sealed pretty tight. Artist’s oil paints and pastel chalks weathered the deck to my satisfaction. All of the small deck detail markings are from GMM’s nuclear carrier decal set.
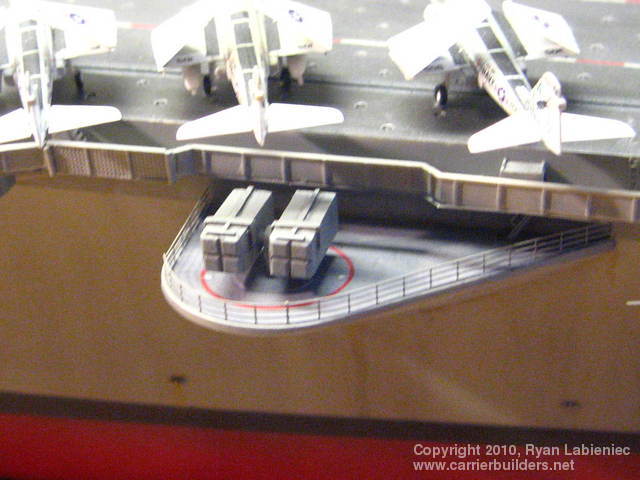
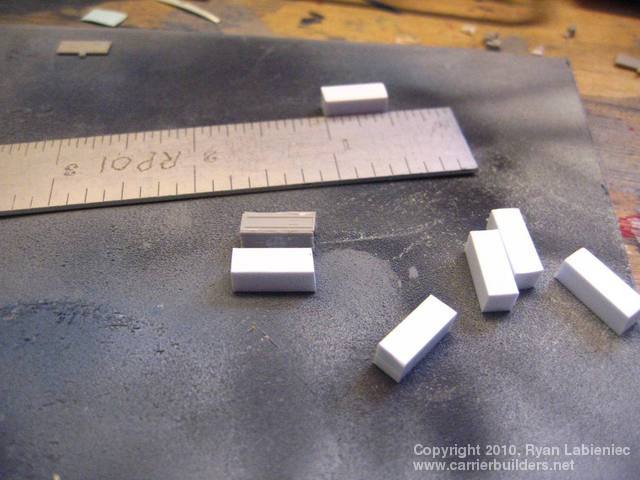
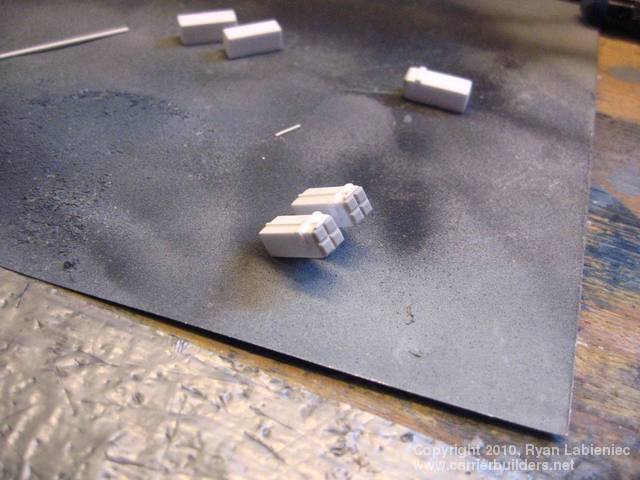
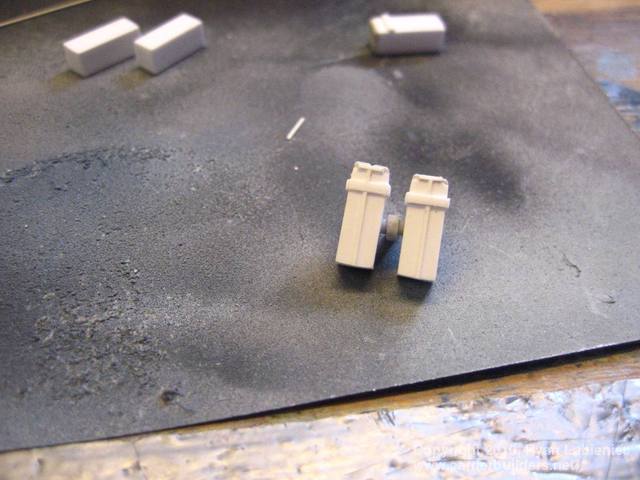
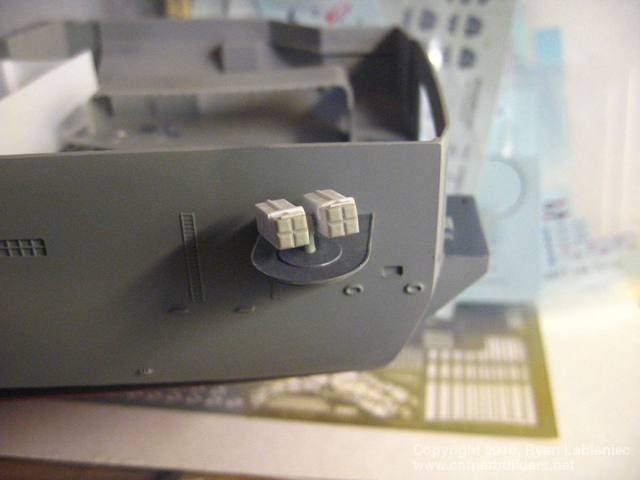
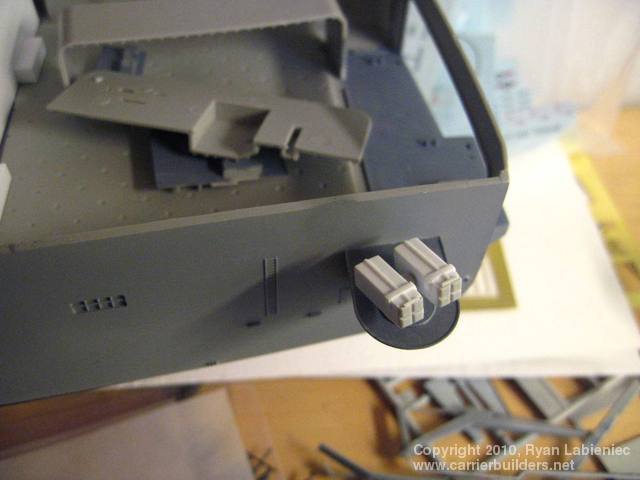
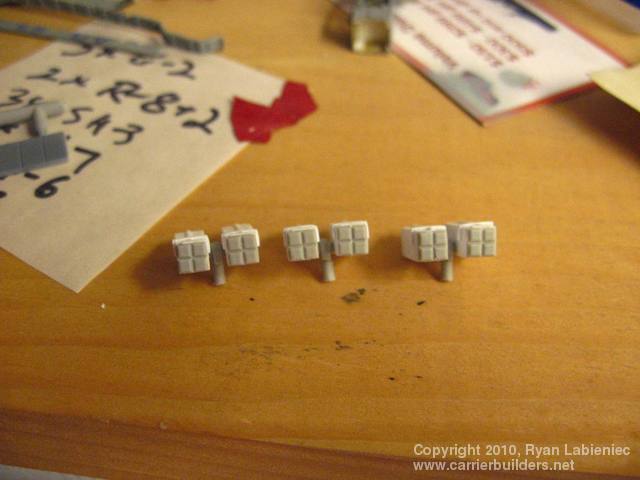
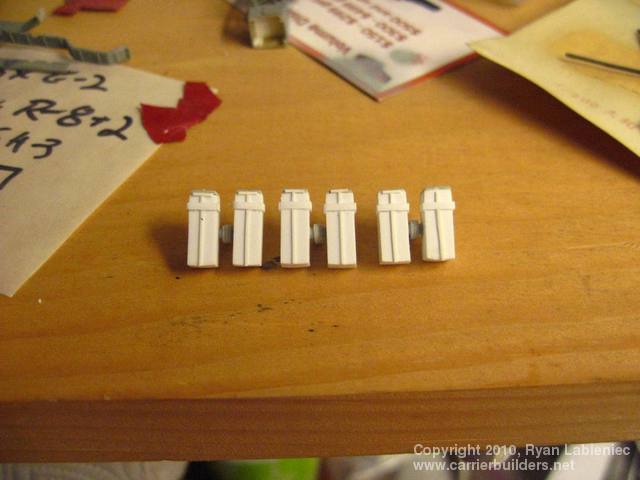
These are my biggest gripe with the Trumpeter Kit, the launchers are completely wrong! I scratchbuilt more accurate launchers using styrene strips and square stock, and I think they look 100% better.
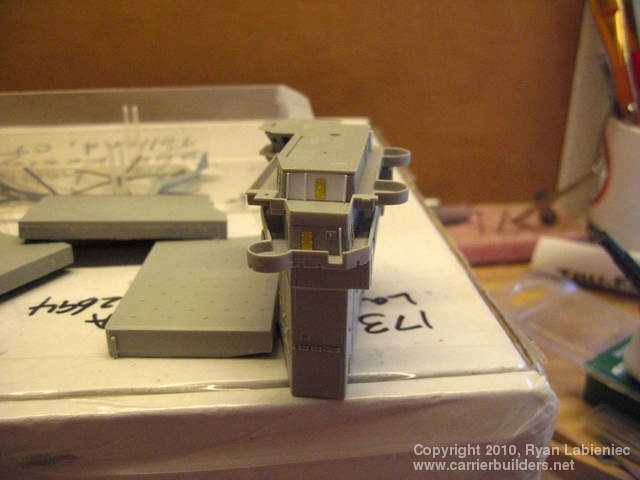
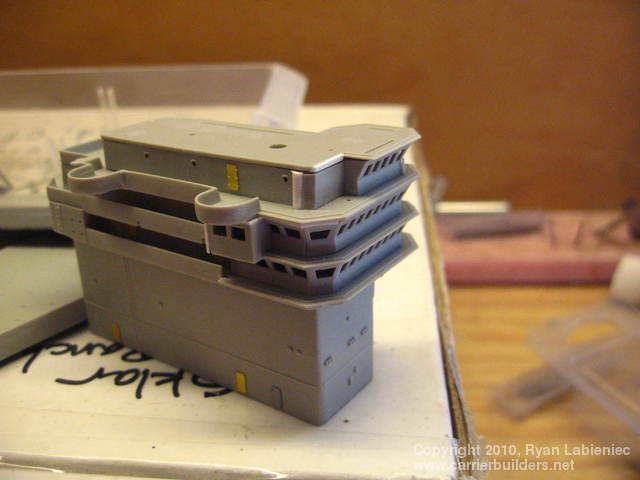
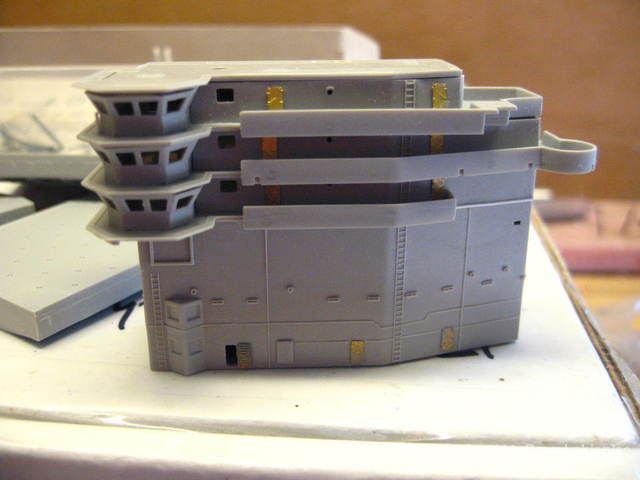
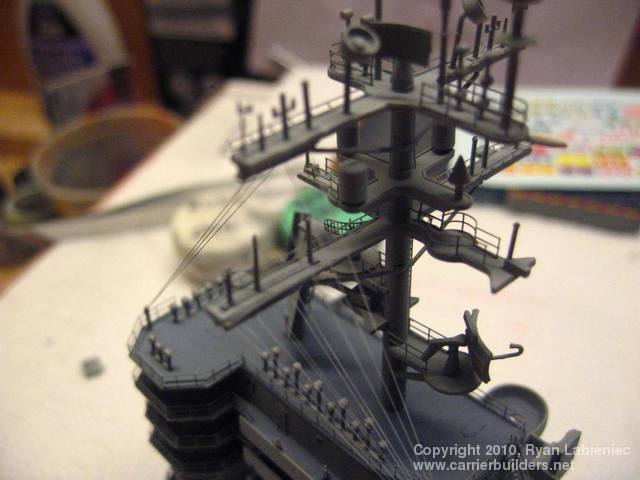
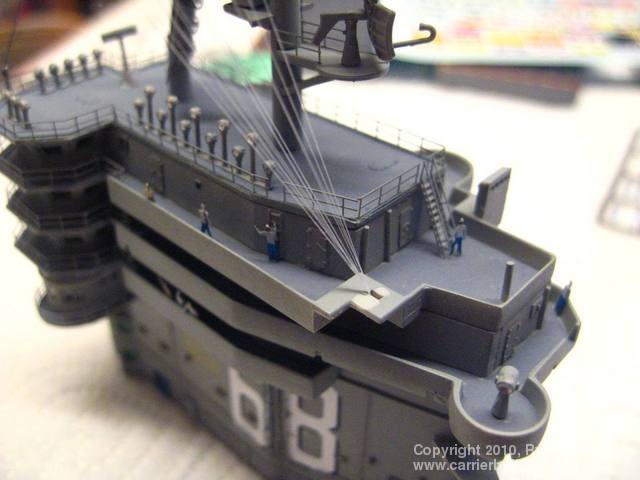
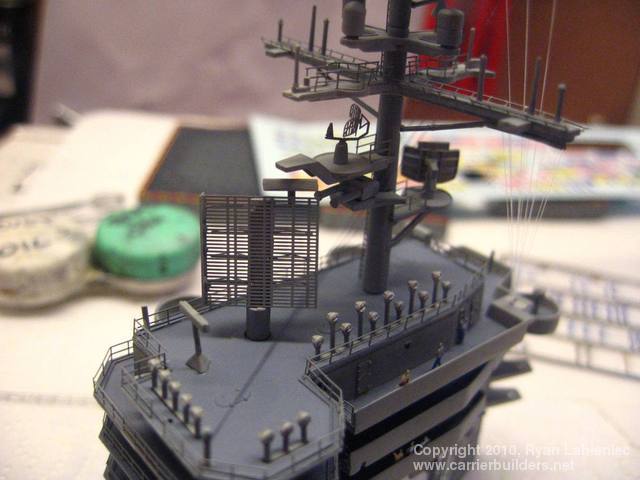
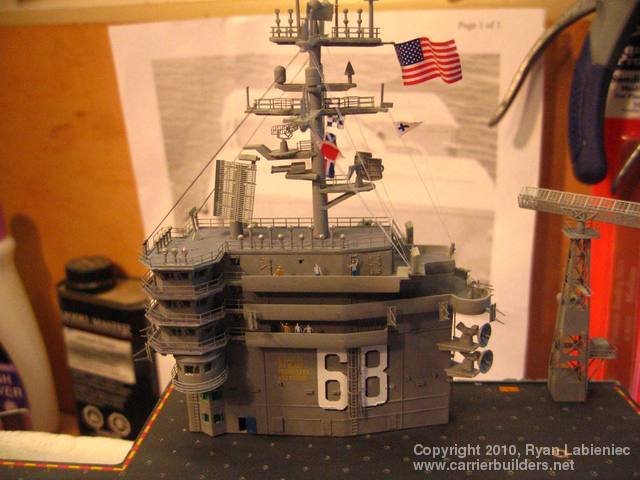
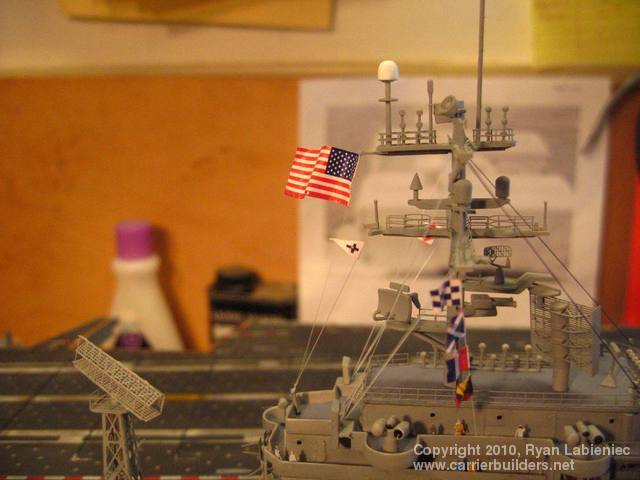
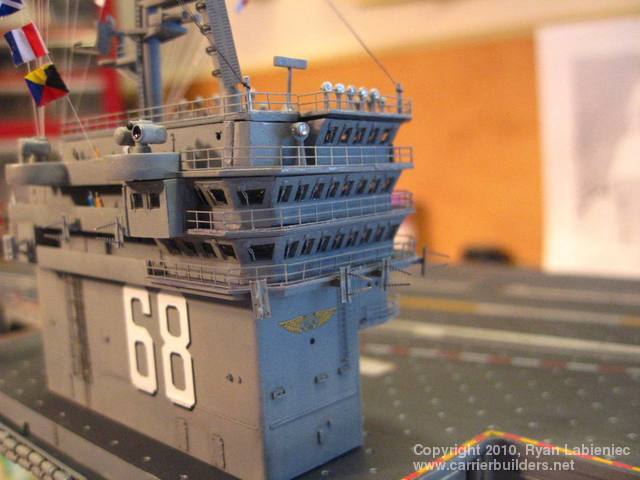
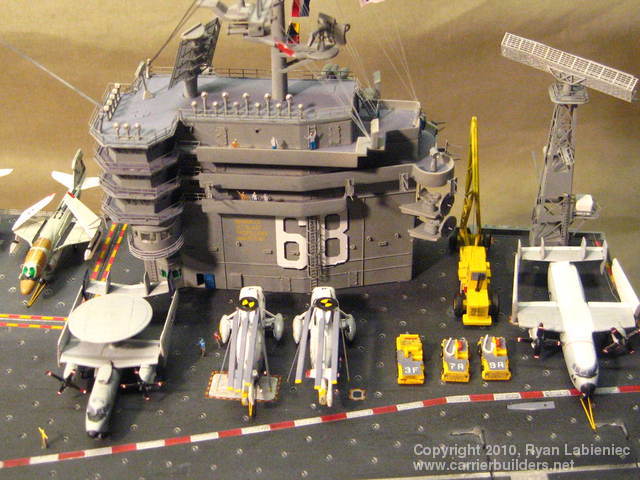
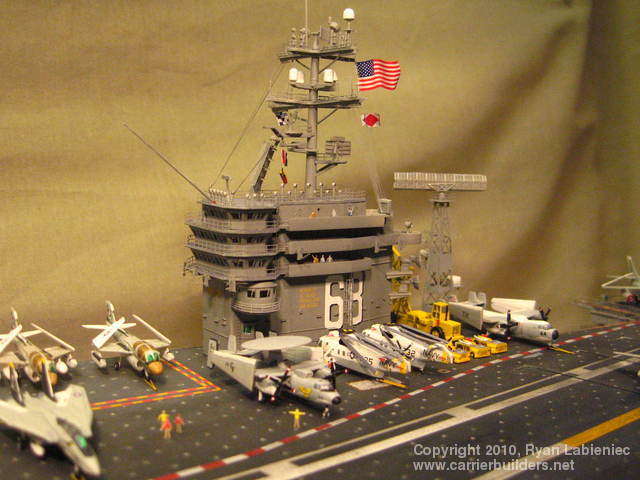
The GMM Brass really brings the island to life, especially the wipers for each window on the tower. I rearranged the flag bags a little to match some pictures I found of them, and I rigged the mast with Caenis Thread, which I purchased form J Stockard Fly Fishing, it is super thin, but strong, and made rigging a breeze. Actually it is so thin, that I doubled each strand before I attached it to the model to make it more visible. All of the flags came form Iron Shipwrights / Commander Models, it is the first time I have used these flags, and I really like using them. The set comes with lots of flags and pennants I have not seen anywhere else, and they went on great. I put them on very thin foil first then glued them to the rigging, it made it easier to shape them how I wanted them. All of the island markings came from the GMM set.
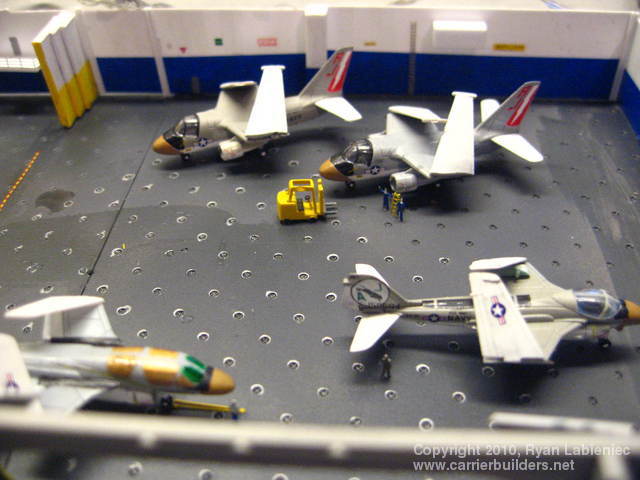
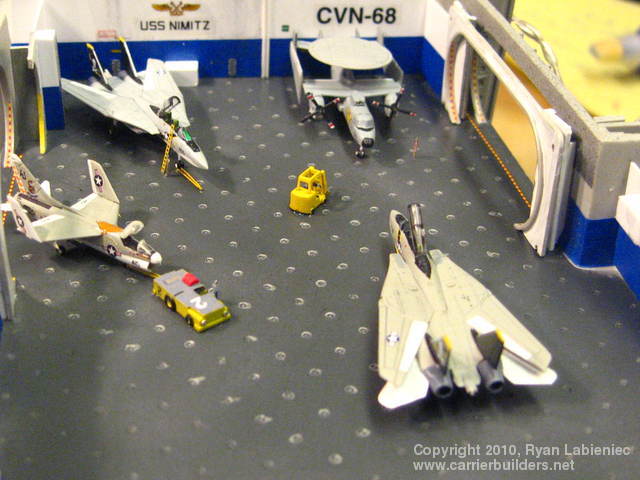
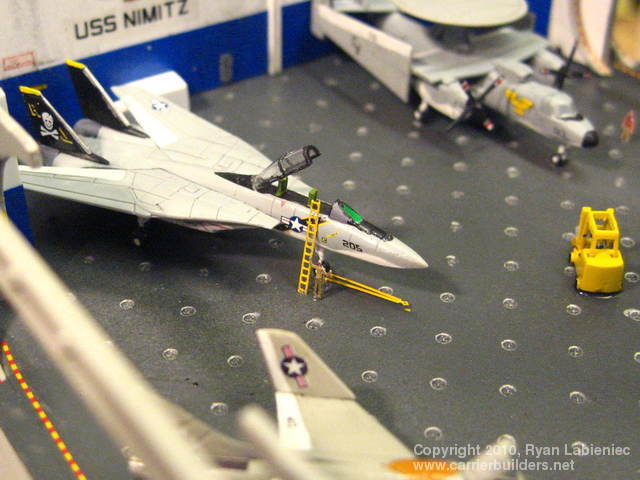
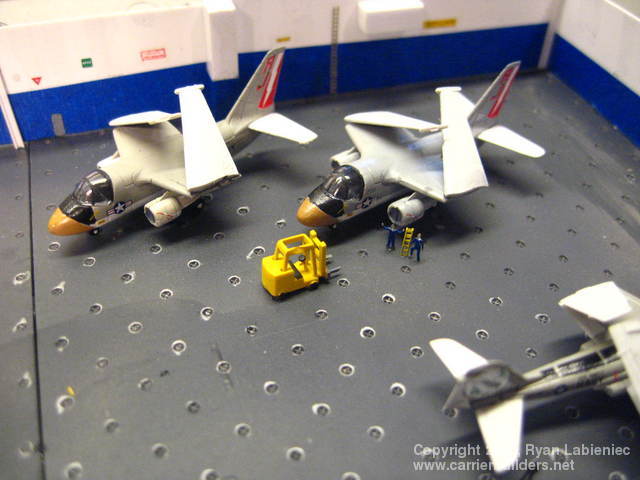
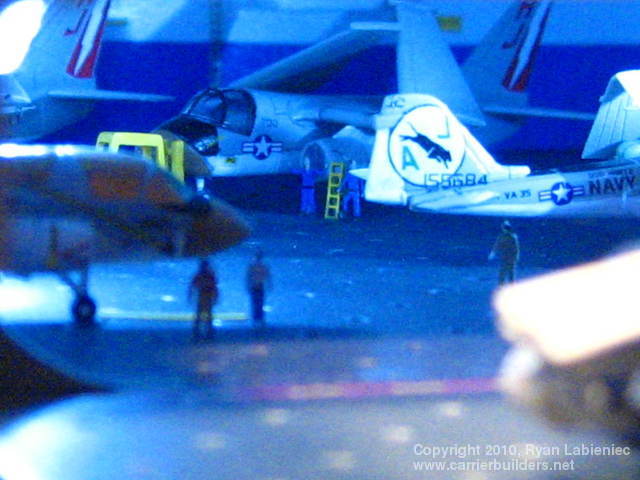
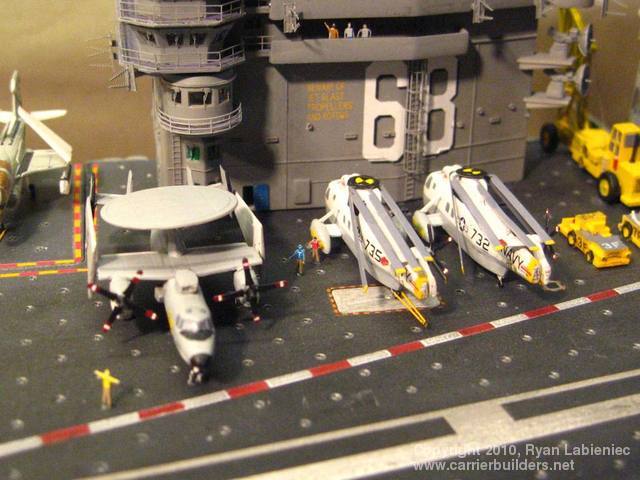
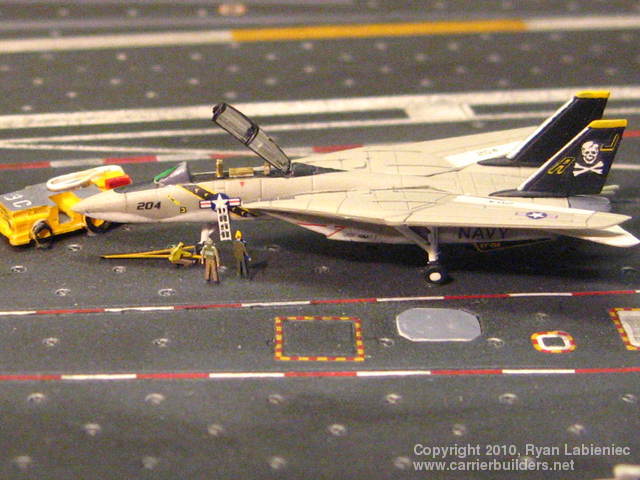
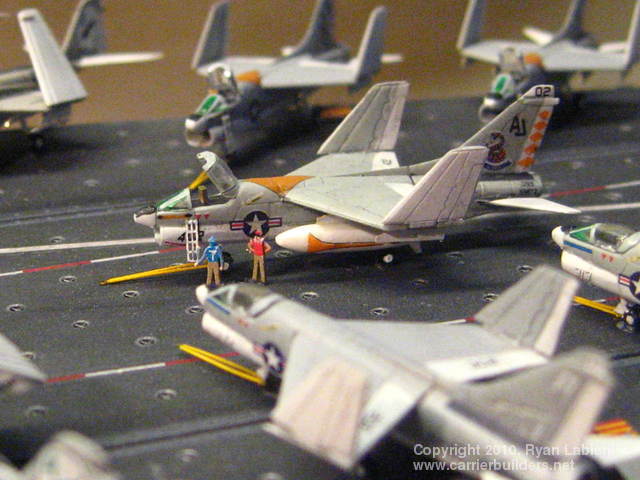
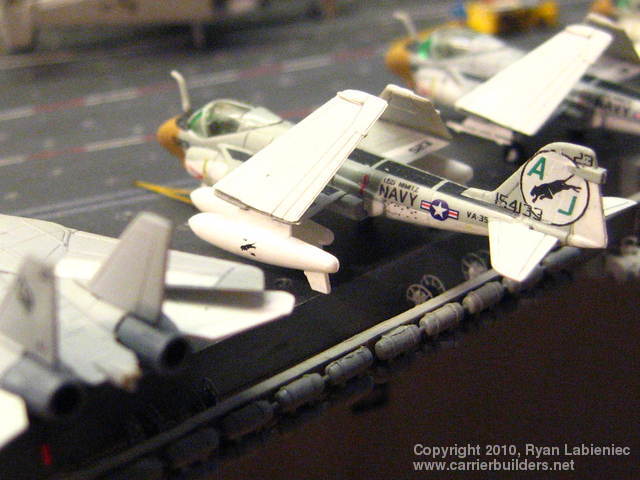
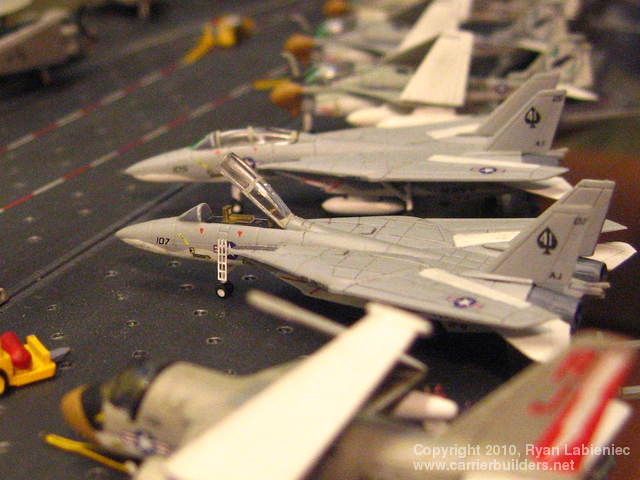
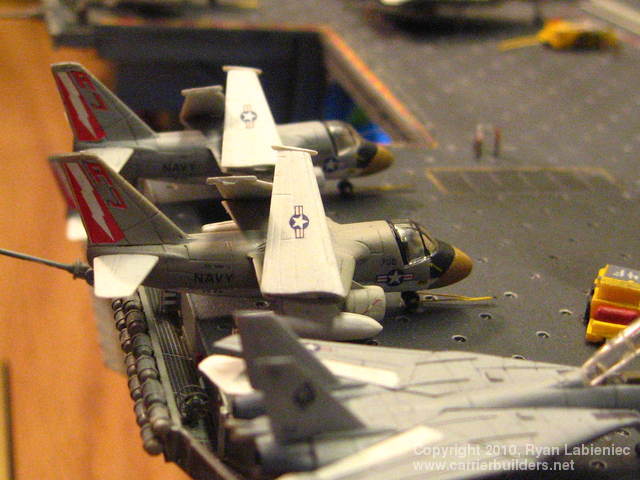
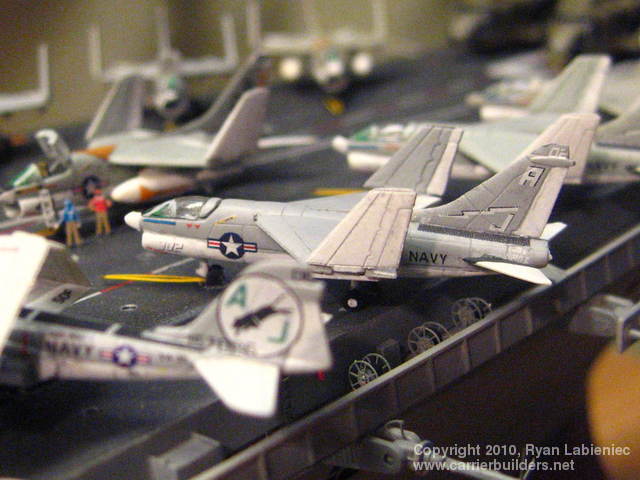
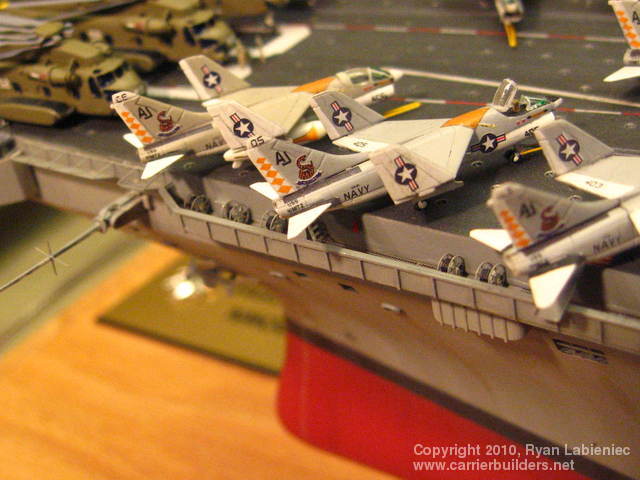
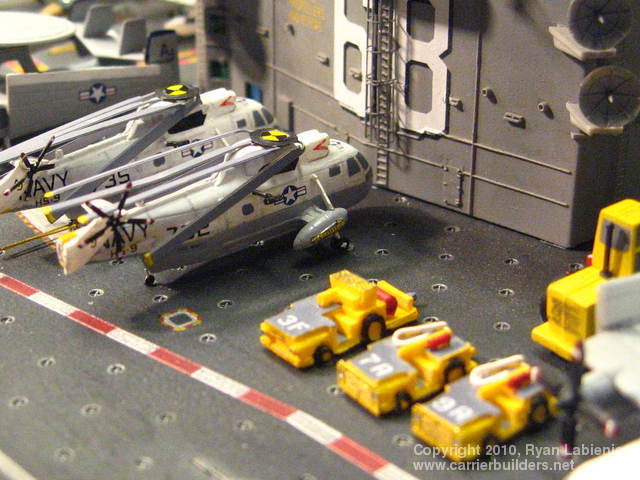
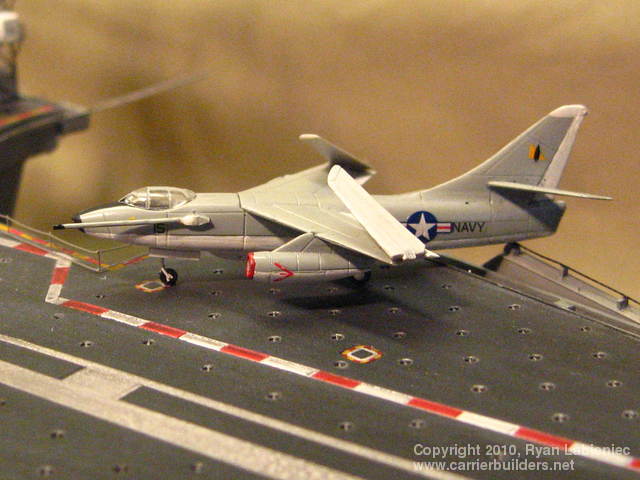
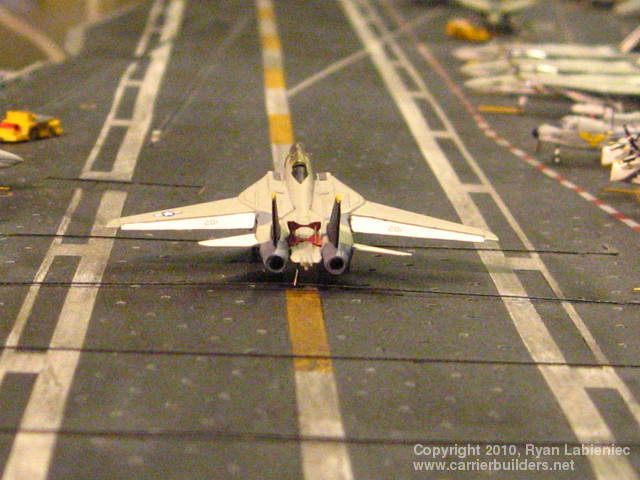
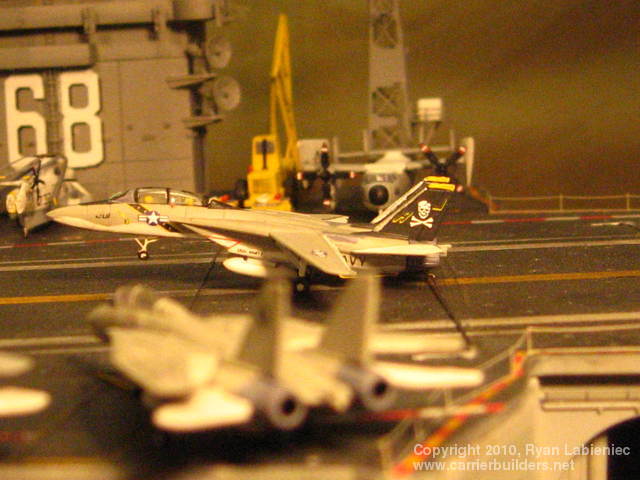
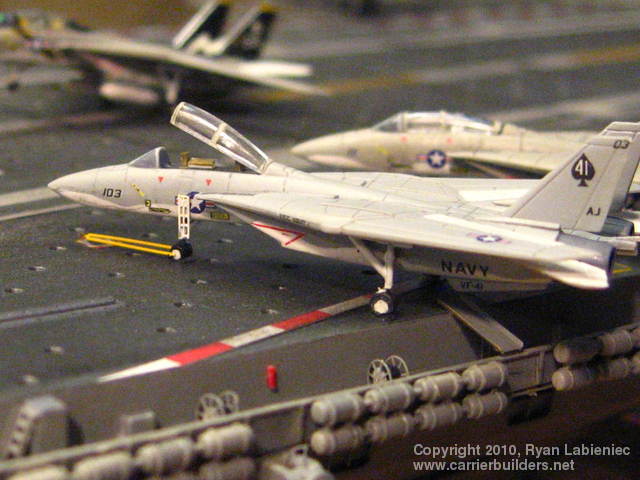
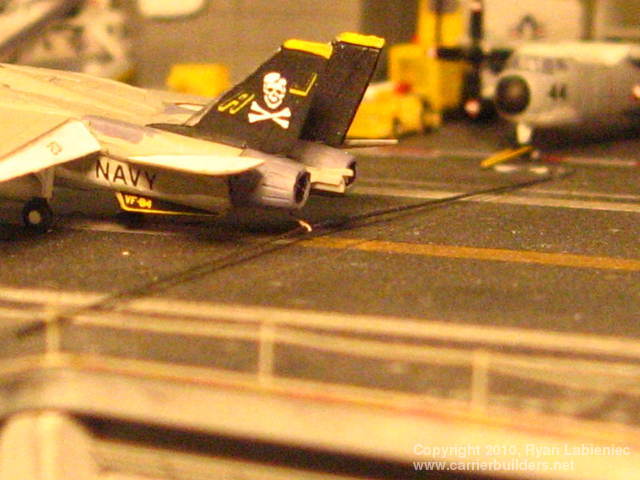
All of the aircraft are Trumpeter kits, some have more flaws than others, but I do like the detail on them. I used GMM brass for detailing the planes, but I did not give them the full treatment with replacing all of the gear and doing all of the landing bay doors. I was faced with a time constraint to get this project done in time to drive it (to Tennessee from Connecticut) to him during a vacation week I already had scheduled, so I detailed the airwing with some ladders, under wing pylons, rotors and props for the helos and E-2’s and things that were the most visible. The majority of the planes are wearing Starfighter Decals, and they are great, very thin and go on easily, but are also very fragile so be careful. The detail in these decals is awesome and the colors are great, a lot of research obviously went into them. Starfigher was used for all of the Intruders, Corsairs, Prowlers, and the “Black Aces” Tomcats. The Jolly Rogers Tomcats have a combo of Starfighter and Yankee Modelworks decals, both sets are great, but to depict the Tomcats as I needed them I needed to use some decals from each set. The Vikings, Seahawks and Hawkeyes have Yankee Modelworks decals. I scratchbuilt some of the drop tanks from styrene rod and strips.
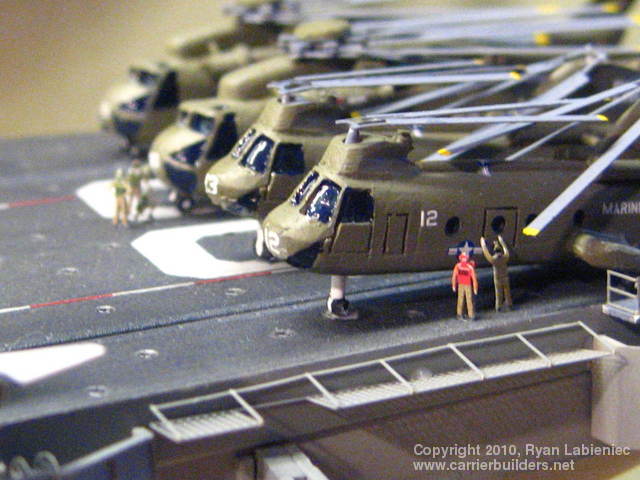
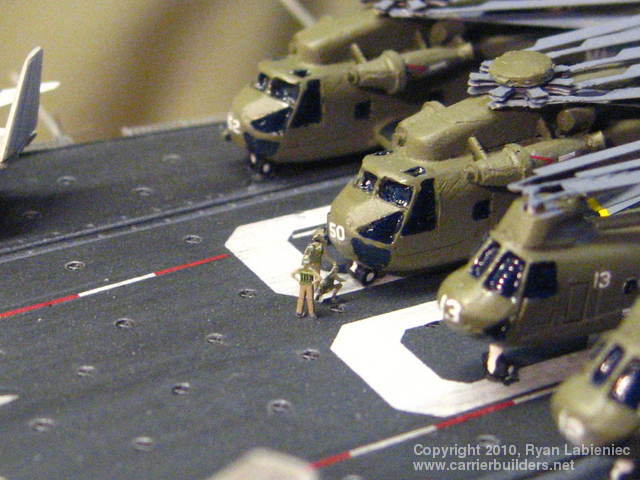
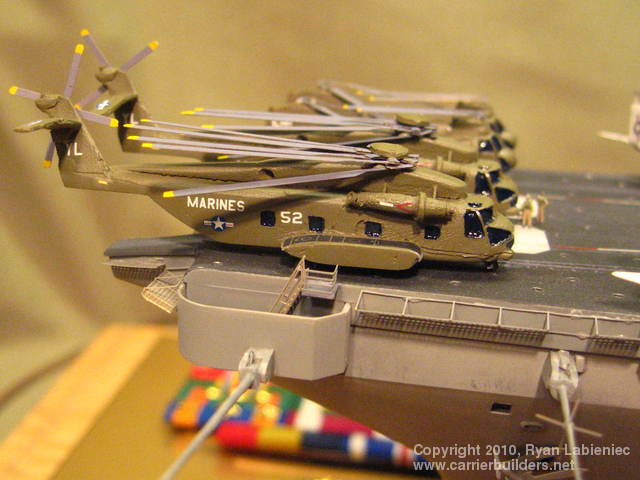
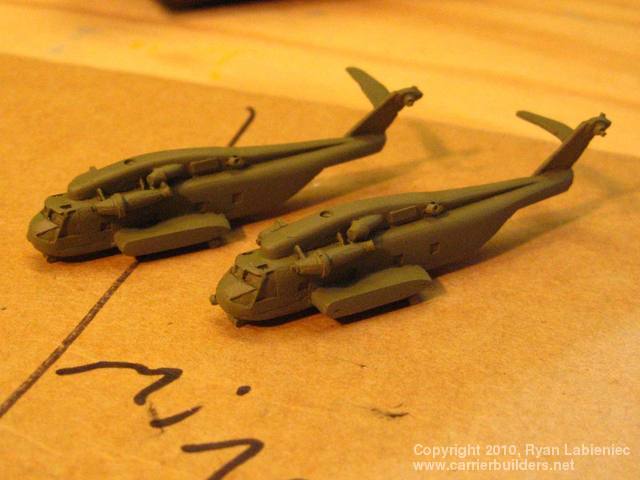
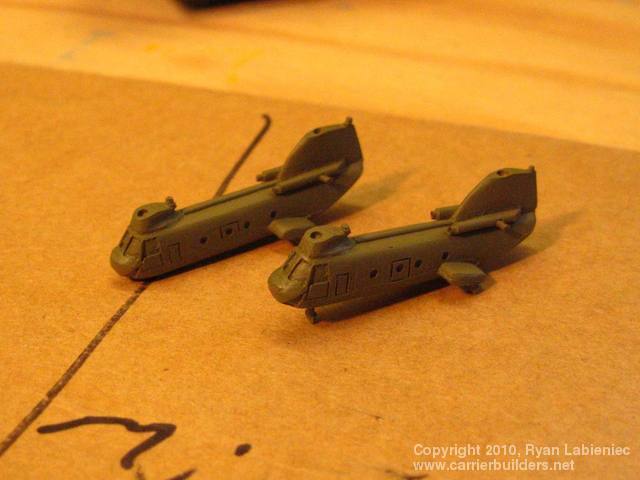
I don’t know if there was ever a USMC Helo detachment aboard Nimitz while CDR Brown was aboard, but I had to represent my Corps on board somehow! I used the Iron Shipwrights CH-46 and CH-53 sets, the helos needed a little cleaning of the resin at some mold seams but nothing major. The choppers are easy to assemble and look pretty cool when they are done. The markings on all of the helos are form Iron Shipwrights as well. This is the first time I have ordered from Iron Shipwrights, and I am very pleased with them. I had a couple small issues with my initial order I received, and they corrected them immediately and their responses to my e mail and phone call were very fast!
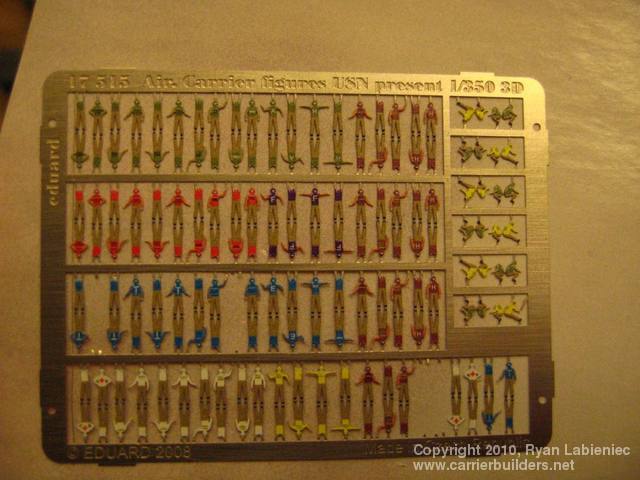
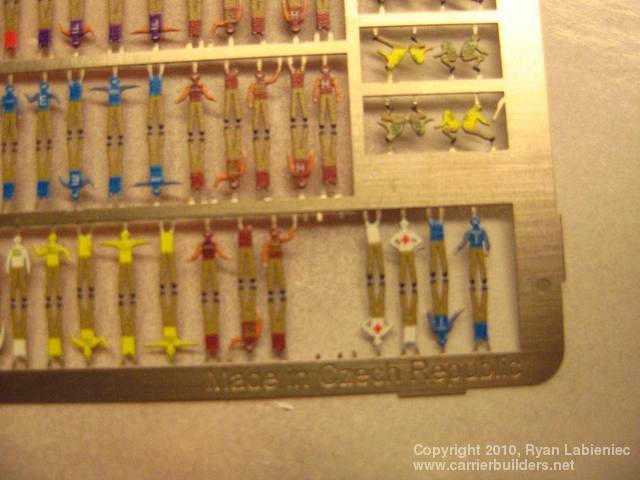
The deck tractors are from Iron Shipwrights, and have a lot more detail than the kit ones. A bunch of tractors come in the set, but a good number were unusable, with big air bubbles, and chunks just missing from the mold releases. The 4 cranes that came with the set are not correct for the Nimitz at this time but would have been completely unusable anyways. The crane is stolen from my Enterprise, I had a completely scratchbuilt crane with the GMM boom, but I had a bit of an accident at the end of the build and the crane was a total loss. Too bad, because it was really good looking and I was proud of it. All of the deck tractors have Starfighter Decals markings on them as well. The aircraft tow bars are from the GMM set, and are another nice detail that is often overlooked. The tractors I did get to use look great and add a lot to the scene on deck. Ship’s Crew This is the first time I have placed a crew on any of my models, and I really like the lively look it brings, I will have to go back and add figures to the rest of my ships as time allows. I used the Eduard 3-D Modern Carrier and 3-D US Navy sets. The reason I chose these is they are pre painted, and the detail on them is pretty cool, with visors on helmets, and markings on jerseys visible to the naked eye. I did reposition some of the figures and repainted a few of them, the 2 big things missing were figures in flight suits and officers in their khakis, a little paint and problem solved. I had some flight deck crew left over, but I did not want to over do it and have it look like a party on the deck during flight ops.
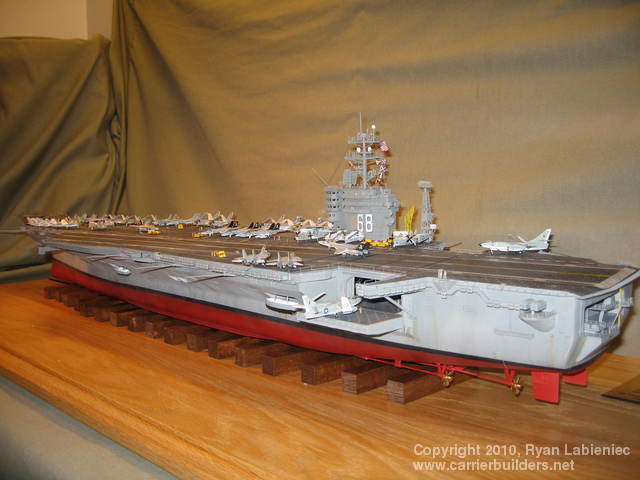
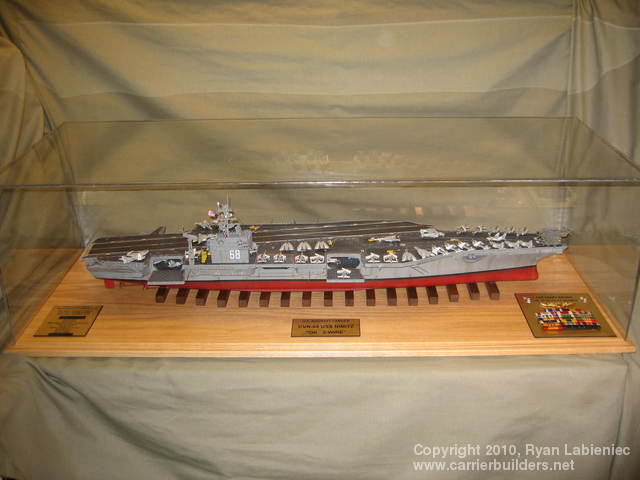
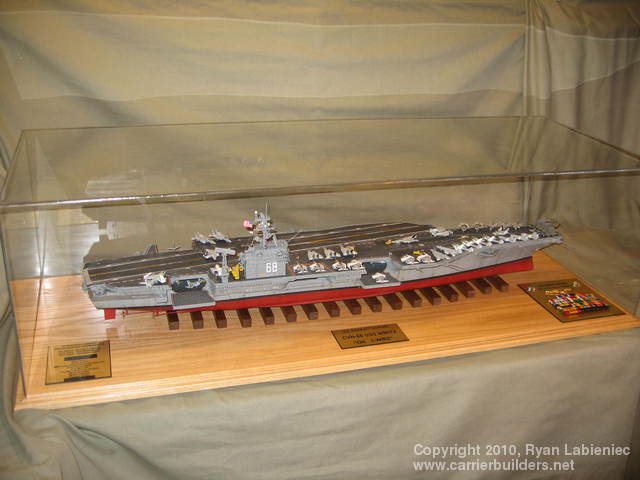
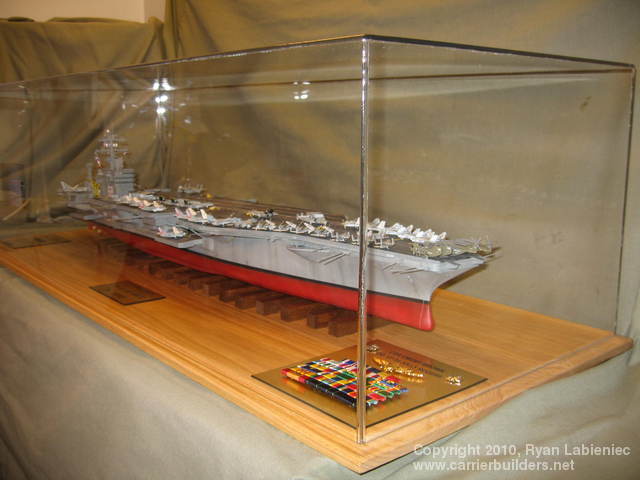
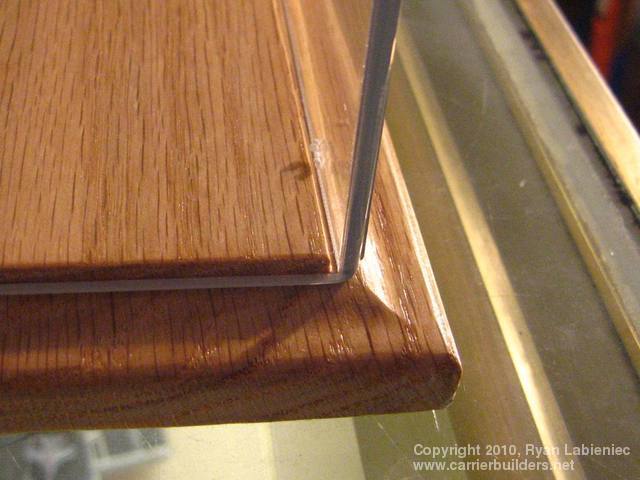
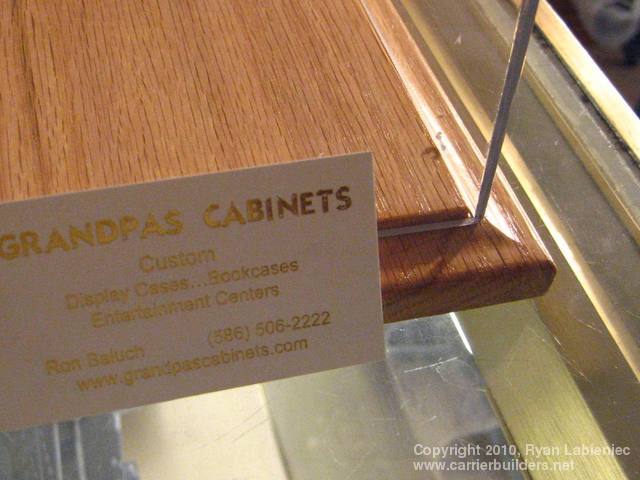
The beautiful acrylic case and it’s base were built by Ron Blauch of Grandpa’s Cabinets. I think it adds that touch that makes this look like it belongs in a museum. The fit of the top to the base is perfect, with no gaps, and will certainly protect this ship for a long time. The edges are “flame polished” which gives them a smooth look and feel instead of seeing a seam at the joint. The acrylic is crystal clear and easy to clean my finger prints off of it. First class all the way on this one!
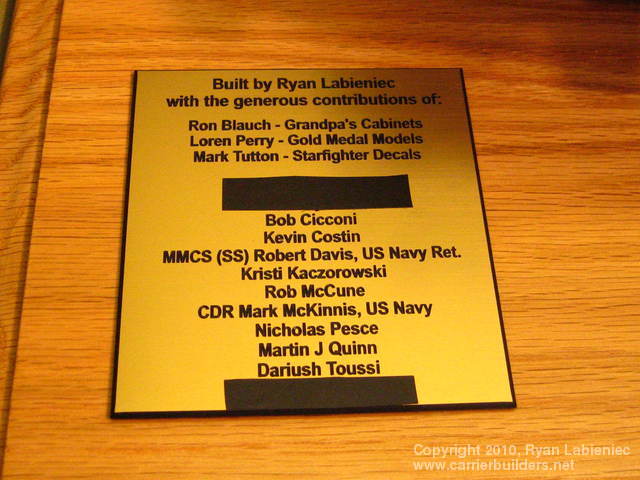
This is the most rewarding model project I have ever done, and I am happy I was able to make it happen. I never imagined that I would be able to use my hobby to do something meaningful for someone. I am also overwhelmed by the generosity and willingness to help displayed by so many people who contributed to a project for a total stranger. This was a team effort, and could never have been done by me alone. I am truly grateful for all the help I received on this project, not only in donations, but in helpful tips, advice, build articles done by other modelers, and simple words of encouragement. My sincere thanks also goes to the guys who run Modelwarships.com, this site was instrumental in helping me get the word out about this project. Semper Fidelis! Ryan Labieniec
Photos and text © 2010 by Ryan Labieniec February 18, 2010 |