|
|
How to
make USN / USMC Weapon Thermal Ablative Coatings
|
Since the Vietnam war US
Navy (USN) and US Marine Corp (USMC) GP bombs are distinguished by a
thick ablative fire-retardant coating, which is designed to delay
any potential accidental explosion in the event of a shipboard fire.
Land-based air forces typically do not use such coatings, largely
because they add some 30 lb (14 kg) to the weight of the complete
weapon. (Source: Wikipedia)
I'm always looking for
ways to make my models that little bit more interesting, and it
seemed that something as noticeable as the ablative coating
shouldn't be that hard to reproduce. I never really tried to tackle
it until I started my AV-8B Harrier. Around that time I was speaking
to a friend at our local IPMS club and he was showing me how he
applied a non-slip finish to his armour models. Figuring that the
technique could be adopted for my purpose, I decided to give it a
go. Thanks Mark :)
They say a
picture is worth a thousand words, so lets get into it!
Click on the
images below to enlarge!
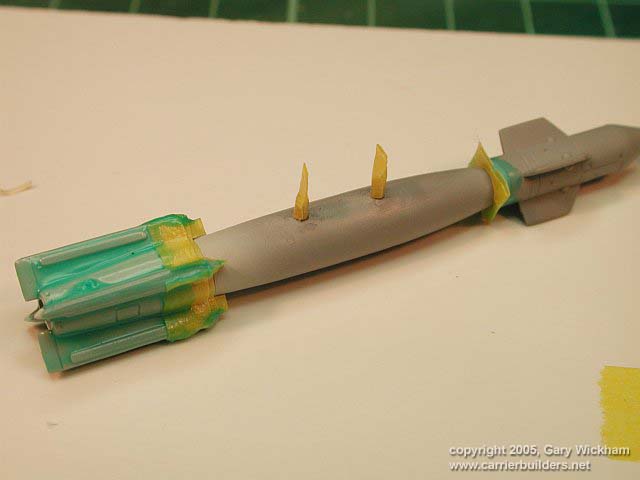
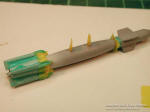
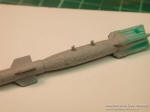
The first step is to mask off
those parts of the weapon that should not have the ablative coating
applied. Here I am using a GBU-16 from the Hasegawa Weapons set. In this
case I had already painted the tail fins which is why they have been
completely masked off using Gunze Mr Masking Sol neo.
Take your time in this step as having a sharp edge to the ablative coat
helps ensure a realistic result. |
 |
|
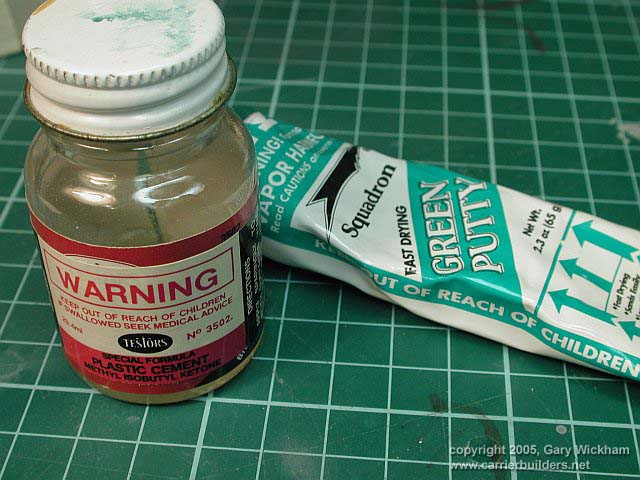
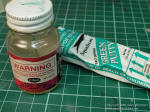
The coating itself is made by
mixing a liquid styrene cement (in my case Testors) with a modeling
putty (here I have used Squadron Green Putty). I have not experimented
with other combinations of putty and glue, but assume it should work the
same. If you give it a go, let me know how it works out. |
 |
|
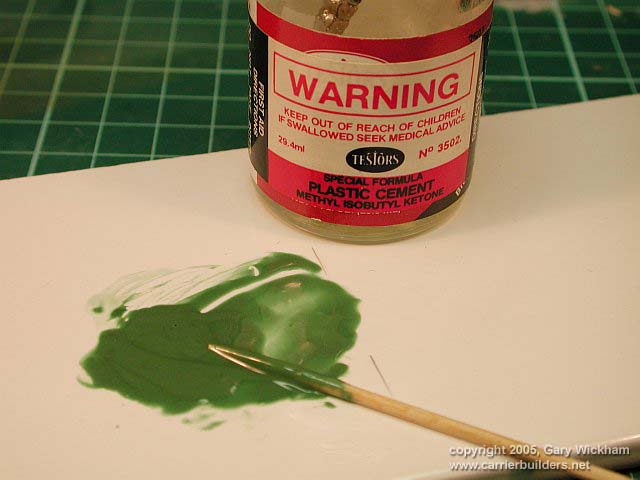
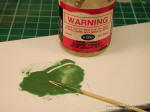
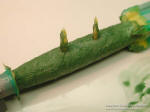
Now for the messy part.
Squeeze a decent amount putty onto a clean surface (I am using a ceramic
tile). Slowly add in small portions of the liquid glue and mix it into
the putty with a toothpick. Once you get a consistency that is about
that of honey, start applying it to the body of the bomb using the
toothpick. |
 |
|
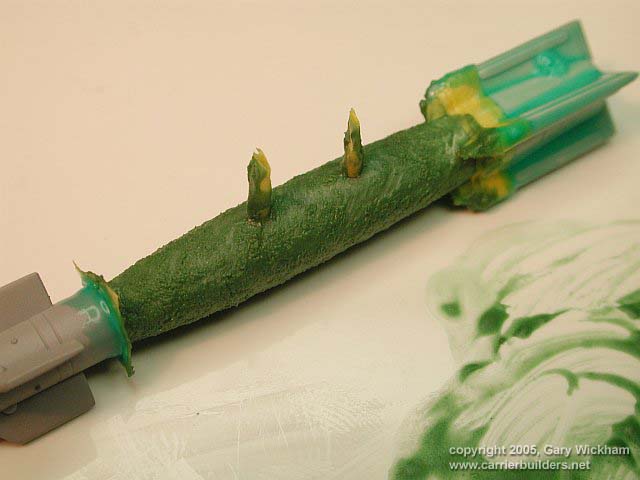
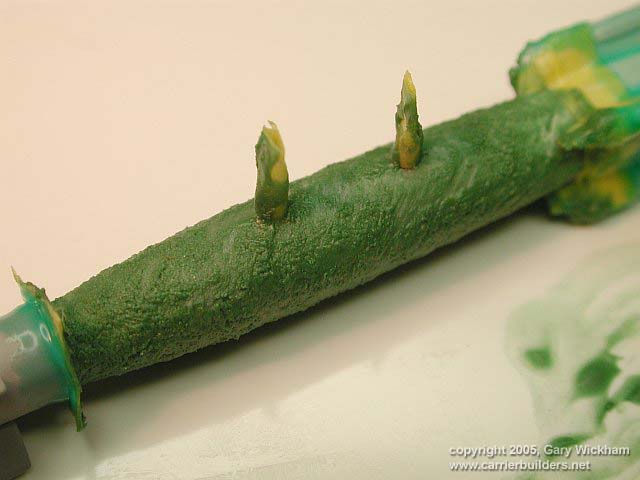
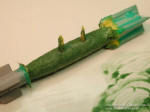
One thing I found was that
this goop dries pretty fast, so you probably only have a couple of
minutes to move the mix around once it hits the model. By the time I had
finished applying an even coat to this 1/48 1000lb bomb which is about
1" (2.5cm) long, the first sections were starting to set. The morale
here is, don't muck around. Get it on and use the time to smooth it out
and get it looking the way you want. If the phone rings in the middle of
this exercise, ignore it !! |
 |
|
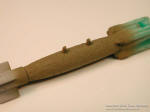
At this point the goop has
started to seriously set and grip the model. Having glue mixed with
putty makes this stuff stick pretty well. Resist the temptation to try
and fix any uneven bits at this stage as you'll only make a bigger mess.
Once the coating dries you can even it out some by sanding it. |
 |
|
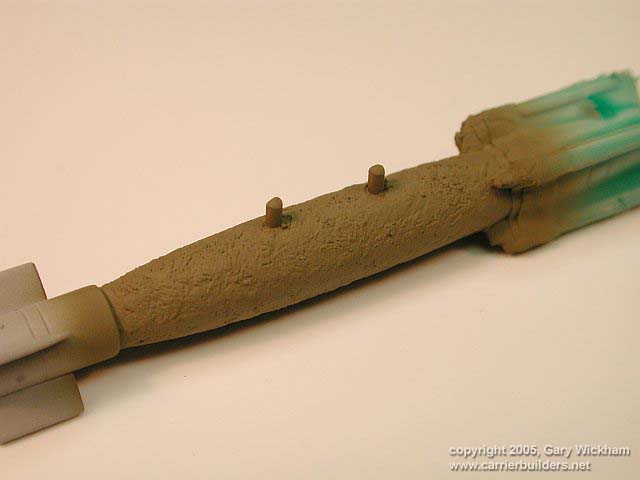
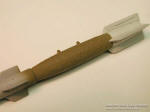
Give the putty/glue mix
overnight to dry properly. Here I have applied a primer coat to see how
it looks. Now is the time to sand any high points. |
 |
|
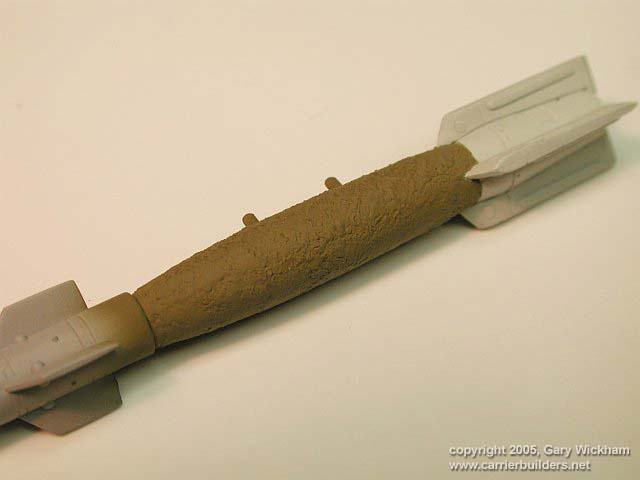
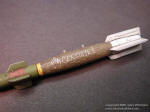
Once I was happy with the
finish I applied an Olive Drab coat. Now you can see why I painted the
tail fins first :) |
 |
|
Next step is to remove the
tape from the tail fins. Be careful here. Don't just rip off the tape as
it will bring off parts of the coating. This is because the coating is
brittle when dry. To avoid this, you will need to use a sharp blade to
trace the edge of the tape. This will separate the coating that is
applied to the model and the coating that is on the masking tape. |
 |
|
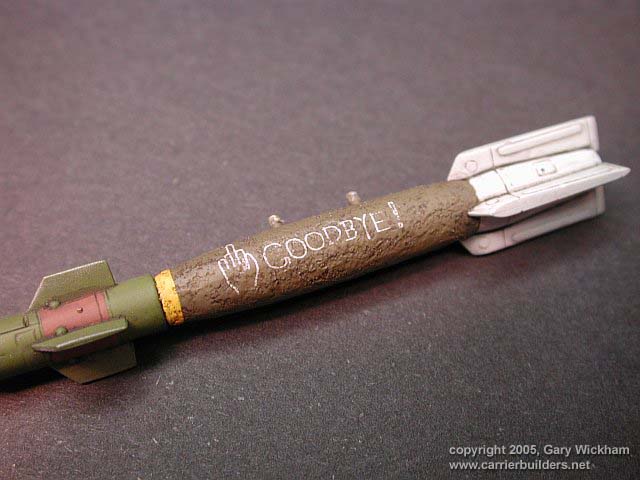
All going well, you can now
continue to paint, decal and weather your bomb as normal. |
 |
|
I think you'll agree this is a pretty easy method for simulating this
distinctive feature of modern USN / USMC aircraft.
Good Modeling ! |
Photos and text © 2005 by
Gary Wickham
November 14, 2005
www.carrierbuilders.net
|